Sunday, January 15, 2023

Houseboat build, pg61...

 When installing the TVs, I decided to be able to utilize OTA TV, streaming (from the hot spot on my phone), and other sources. Here's a few pics and descriptions...

This is a RV TV from Tyler. It's only about 14", and a perfect size for the front kitchen / dining area of the houseboat. It receives OTA TV, has multimedia options (MP3, etc) built-in, and has a good FM radio. It also has a built-in battery pack that'll run it for about 4 hours. I added a cheapie Roku Express to it (seen on the RH edge of the TV)  for streaming from my phone, and mounted it on a small wall arm. 


In the bedroom, we picked up a little 20" TV from Walmart for about $98 (!!). It receives Roku streaming, as well as OTA TV. I added another cheapie part, the $38 sound bar, seen just below the TV. Great picture and sound. 


In the above two photos, you can see the omni-directional TV antenna I added to the houseboat for OTA TV. It comes with a preamplifier, and was only about $41 delivered. It picks up about 40 channels, more than enough stuff to be able to get local TV and news while at the lake. 


http://www.NCFishy.net

Houseboat build, pg60...

 A bit more work on the plumbing and the power inverter... 

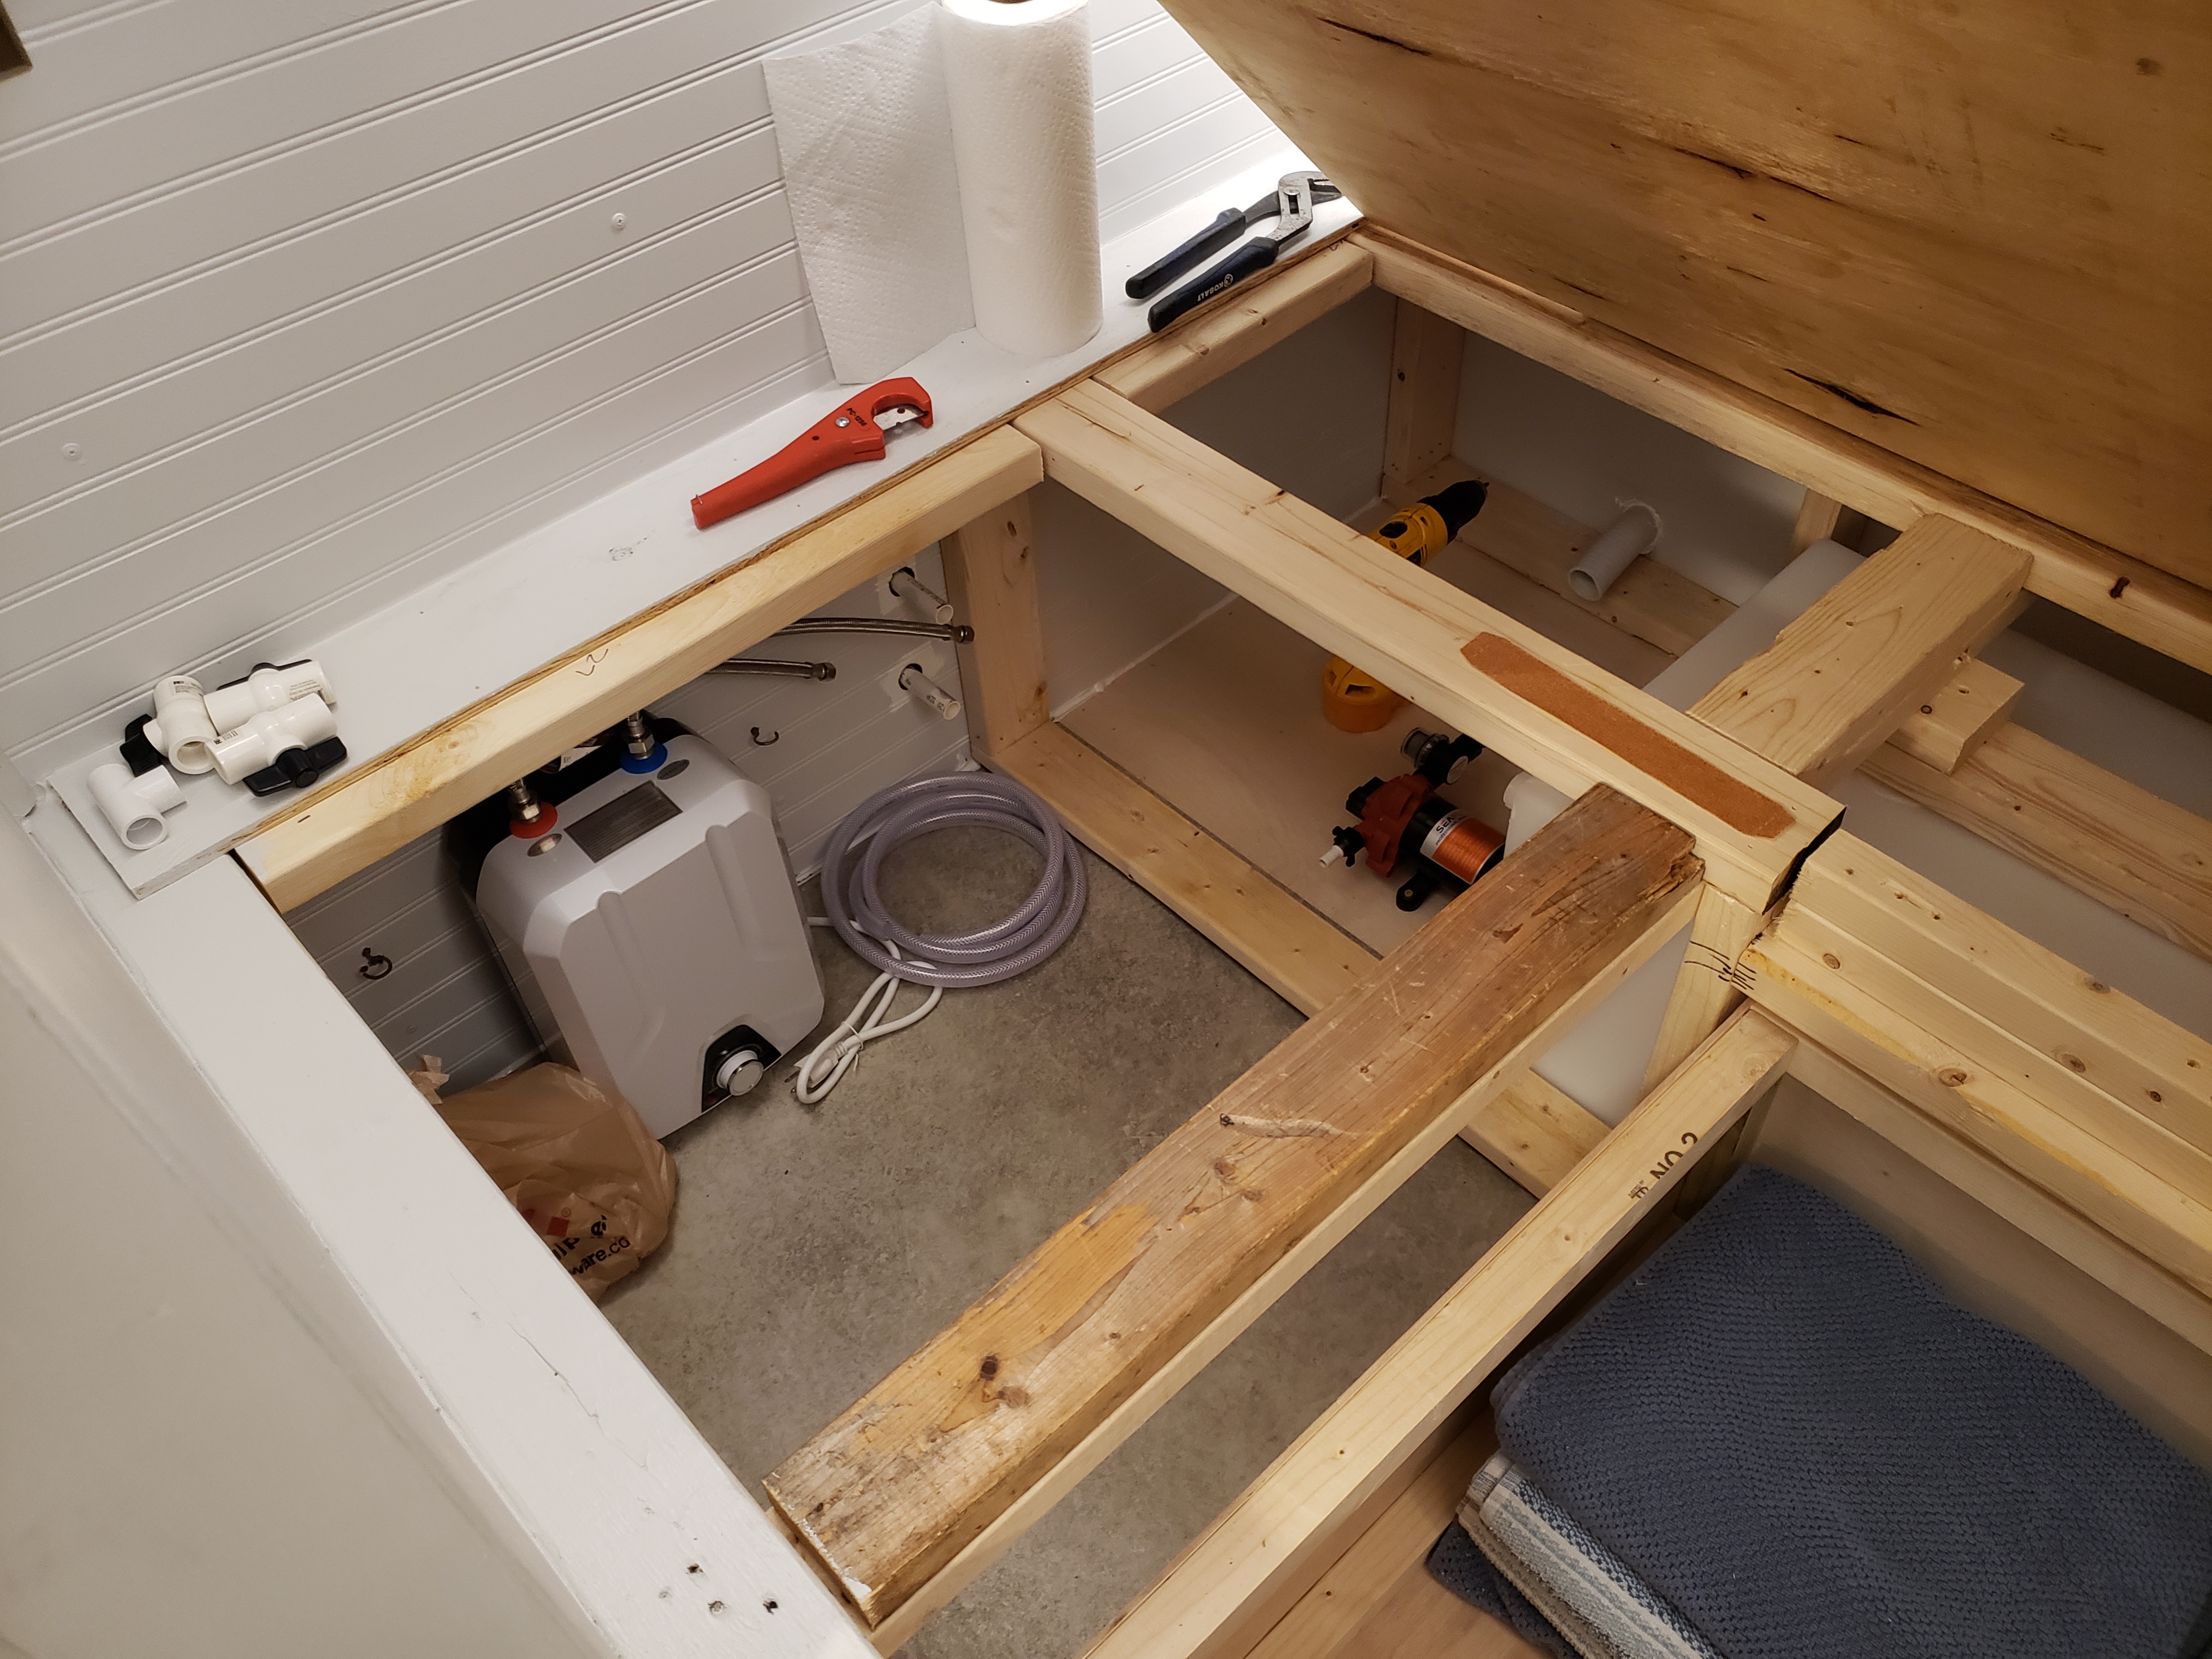
Water control - There's a series of valves under the bed that allow easy diversion of the water flow to supply the boat from the slip or from the on-board fresh water tank, or to be drained during a period of inactivity when there may be freezing conditions. You can see those (black "T" handles) in the RH edge of the first photo below.

Water supply - When operating in the winter months at the marina,  there is no water from the shore tap on our slip. We have to be able to operate from a self-container water source. There's a water hydrant at the shore to fill the on-board tank, so it's not too hard to keep the 42 gallon fresh water tank filled, we just need a pump to push it through the taps on the boat. For this, we have a 3 GPH water pump and filter under the bed. It comes on at 25psi, and cuts off at 45 psi. It's powered by the on-board 12 vdc storage batteries. You can see the pump in the RH side of the first photo below, beside the valves mentioned previously.

Hot Water - I installed a 1500w on-demand 115 vac hot water heater, for the small amount of hot water we need. The shore power tap o the slip is 115 vac @ only 20A, so I have to be careful of the things in the boat that run on AC 115 vac electricity.  We have a small split heat pump and a refrigerator that are always on AC power. The microwave, toaster, and air fryer (all lighting is LED) are used with care (not on at the same time) on 115 vac, to keep the usage below 20A total. Since it was out of the question to use the hot water heater on 115vac, I installed a 16,000 watt AC inverter to convert high current 12 vdc from the batteries to 115 vac for the hot water heater. The HWH only runs in small bursts, so this seems to fit our needs (at least during testing). It is bolted down in the equipment area below our bed frame, along with our HWH. You can see the hot water heater, the white unit strapped to the wall, on the LH side of the first photo below.

Inverter - Along with being used to power the HWH, the 16,000 watt inverter can run the heat pump, refrigerator, or other AC items during a power outage, if needed. This was another reason for buying such a large inverter. A generator will be added to the back deck for auxiliary power at a later date.
You can see the AC power inverter, bolted to the floor,  in the center of the first photo below.


Above is the equipment area below the bed. The bed is lifted up (the upper portion of the bed frame is hinged), and props put in place to hold it up during service. 


http://www.NCFishy.net

Saturday, January 14, 2023

Houseboat build, pg59...

 I wanted to add some mood lighting to the cabin area of the houseboat...not to be used for general lighting, but rather a mood setting night lighting. I picked up a spool of "cut to length" LED lights and controller from Walmart for about $30. I installed the controller in the port side upper cabinet, and installed the LED strip under the front edge of the cabinet for it's full length. I cut the strip at that point. I wanted to match the lighting under the edge of the starboard upper cabinet, so I soldered a piece of 4 conductor thermostat wire to the cut end of the port side strip, ran the wire in the ceiling and across to the starboard cabinet. There, I connected it to the next strip, and it worked great, with the wiring totally concealed. This will generate a bunch of different colors, and can be dimmed to act as a night light in the front of the houseboat. Here's a few pics with the brightness all up...


 http://www.NCFishy.net

Friday, January 13, 2023

Houseboat build, pg58...

 Debbie is working to best utilize the overhead cabinets. With the odd angular interior, it's a bit of a challenge to do. She wanted her dishes and saucers standing on end, accessible to either without them being in contact with each other. Here's what we came up with and a pic of the finished plate holder...


http://www.NCFishy.net

Thursday, January 12, 2023

Houseboat build, pg57...

 With the tight quarters of a "tiny-home" concept, we found the gas cooktop being immediately next to the couch.  No matter of a splatter shield on a frying pan, one can see that some cooking spray would make it onto the cloth upholstery of the couch. To hopefully get around the need for covering the couch while cooking, and provide another functional item to the kitchen, I decided to build a "splatter shield" that would double as a chopping block. We located a nice chopping block for the kitchen, installed 3/8" steel dowels, and match drilled them into the storage pocket for the dining table top. Here's a few pics to illustrate the implementation of this idea...


http://www.NCFishy.net

Wednesday, January 11, 2023

Houseboat build, pg56...

 The bed is finally finished! A hatch cover was cut in for easier access to the system water control valves, the queen size mattress was unpacked / unrolled / allowed to expand, and the linens were put on. Wow, this is a good feeling bed! I can't wait to actually get a night of sleep on it, but the initial tests feel great. Here's a few pics...


A look at the side of the bed, through the hallway arch / entrance to the bedroom. 


A look at the head of the bed. A headboard is under construction next, and will be installed, later. It'll have some little cubbys for what-nots. The starboard transom window is seen in this pic...


This is the foot of the bed, showing the TV and the port side window. There's a sound bar between the curtain and TV, now.

http://www.NCFishy.net

Monday, January 9, 2023

Houseboat build, pg55...

 We got a few more things done since the last post. All of the plumbing "up top" (inside of the houseboat) is completed and tested. All supply lines, drain connections, on-board freshwater system and pump, low capacity on-demand hot water heater, and freshwater drains are connected, tested, and ready to rock! Here's a few pics and descriptions...

Above is a shot of the plumbing under the bed. On the far left you see the low capacity 115 vac / 1500w on-demand hot water heater. It's set up at about 125 deg F. The red item about mid-photo is the 12vdc water pump, it supplies 3 gpm with a cut-in of 25psi and cut-out of 45p psi. In the RH side of the photo you'll see the white virgin polypropylene 42 gallon fresh water storage tank.  The system is designed to allow fresh water to be supplied from the shore-side via connection on the dock, or provide stand-alone  hot and cold water from the house boat's self contained water system. 


Above it a better shot of the fresh water storage tank. It's blocked in, just behind the large 34" long x 12" tall front access drawer under the bed. 


Bathroom sink supply and drain being tested for performance and leaks. This is the bathroom vanity with the dual drain system shown in previous posts. 


Kitchen stainless steel sink being tested for supply and/or drain leaks. This is the sink that was shown in a previous post to have it's drain routed through the wall and interconnected with the bathroom drain. All worked well!


Above are a couple more photos of the plumbing system for filling the on-board tank, operating from shore water, providing hot water, and allowing the system to be completely drained in cold weather. 


This is picture of the partially open bed drawer, as seen from above. There are a pair of hidden switches just inside the inner edge of the drawer's opening, to control the pump and the hot water heater. I wanted simple access to these switches without having to lift the bed top, and as with most tiny-houses, there wasn't many other places to easily install these. 


The above photo is of the bed drawer, closed. It hides the switches for pump and hot water control quite nicely. 


The above picture is from inside of the bed, with the top lifted, looking forward towards the two hidden switches described in the previous photos above. 


Another photo of the drawer closed, with me pointing at the upper edge of the drawer where the hidden switches are located.


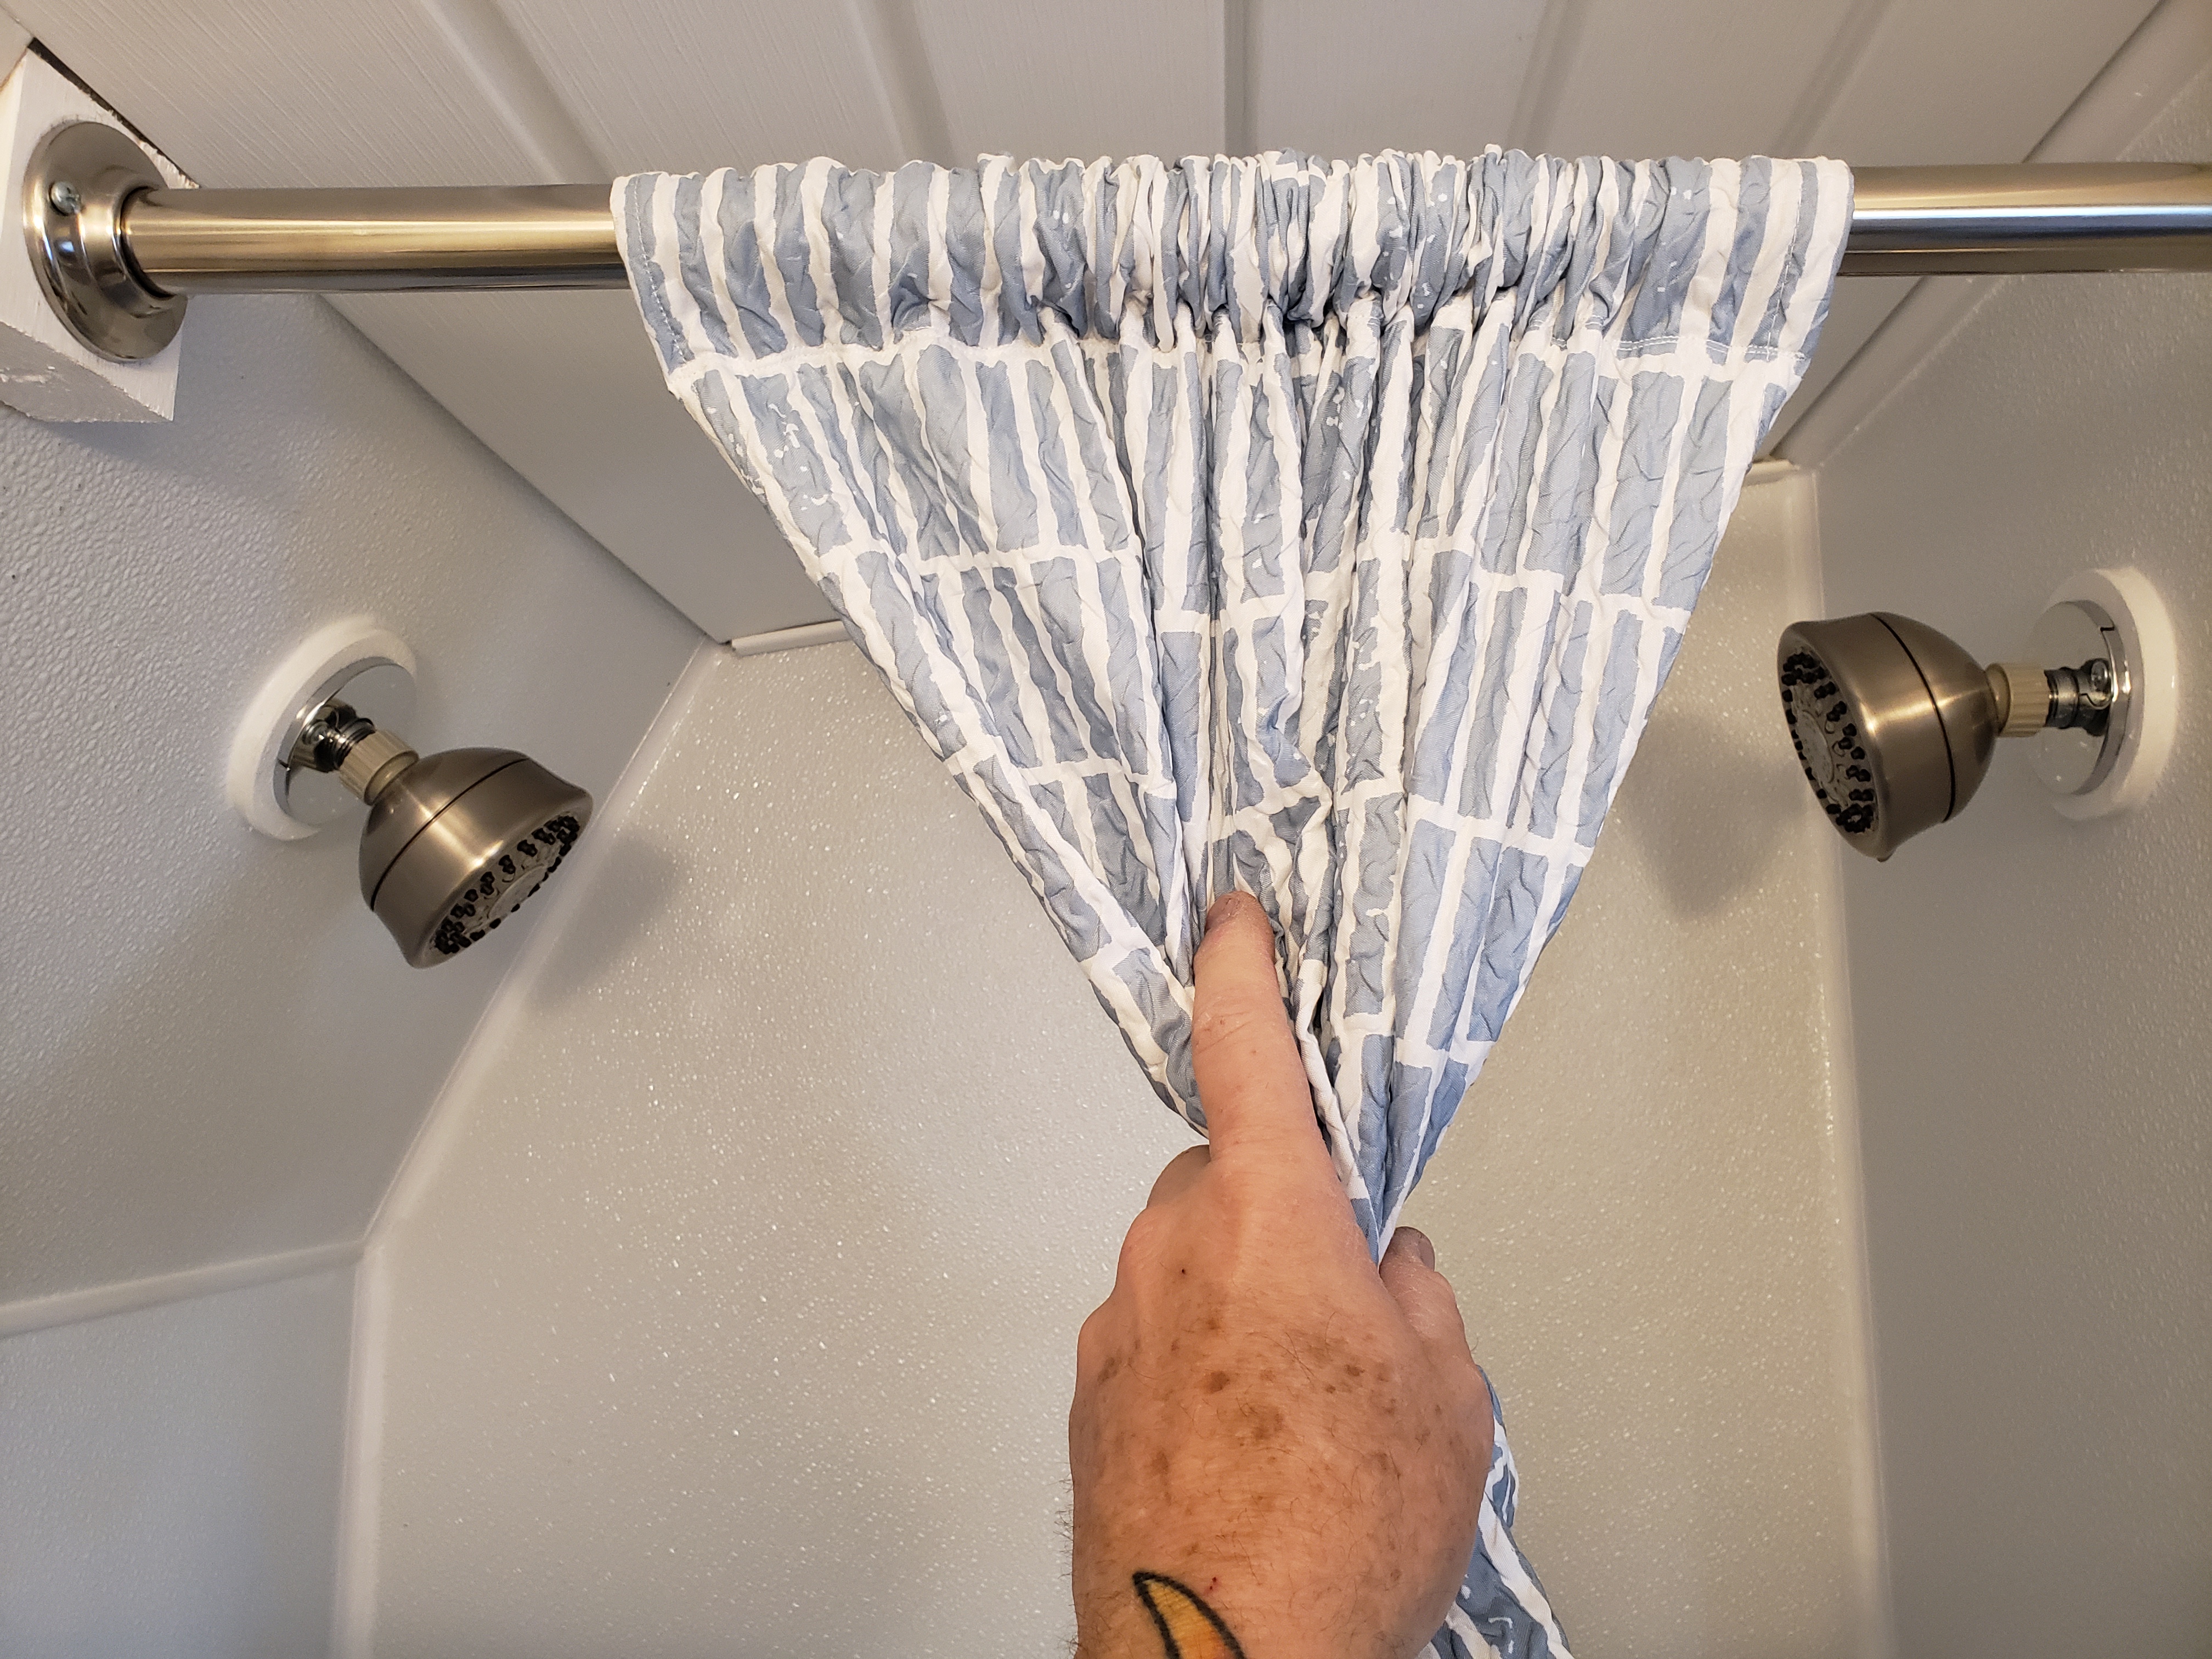
Moving along, above is a photo of the dual shower head setup (heads not installed). I made round spacers to allow a polished escutcheon to be installed. These were painted with exterior paint and caulked with 100% silicone. 


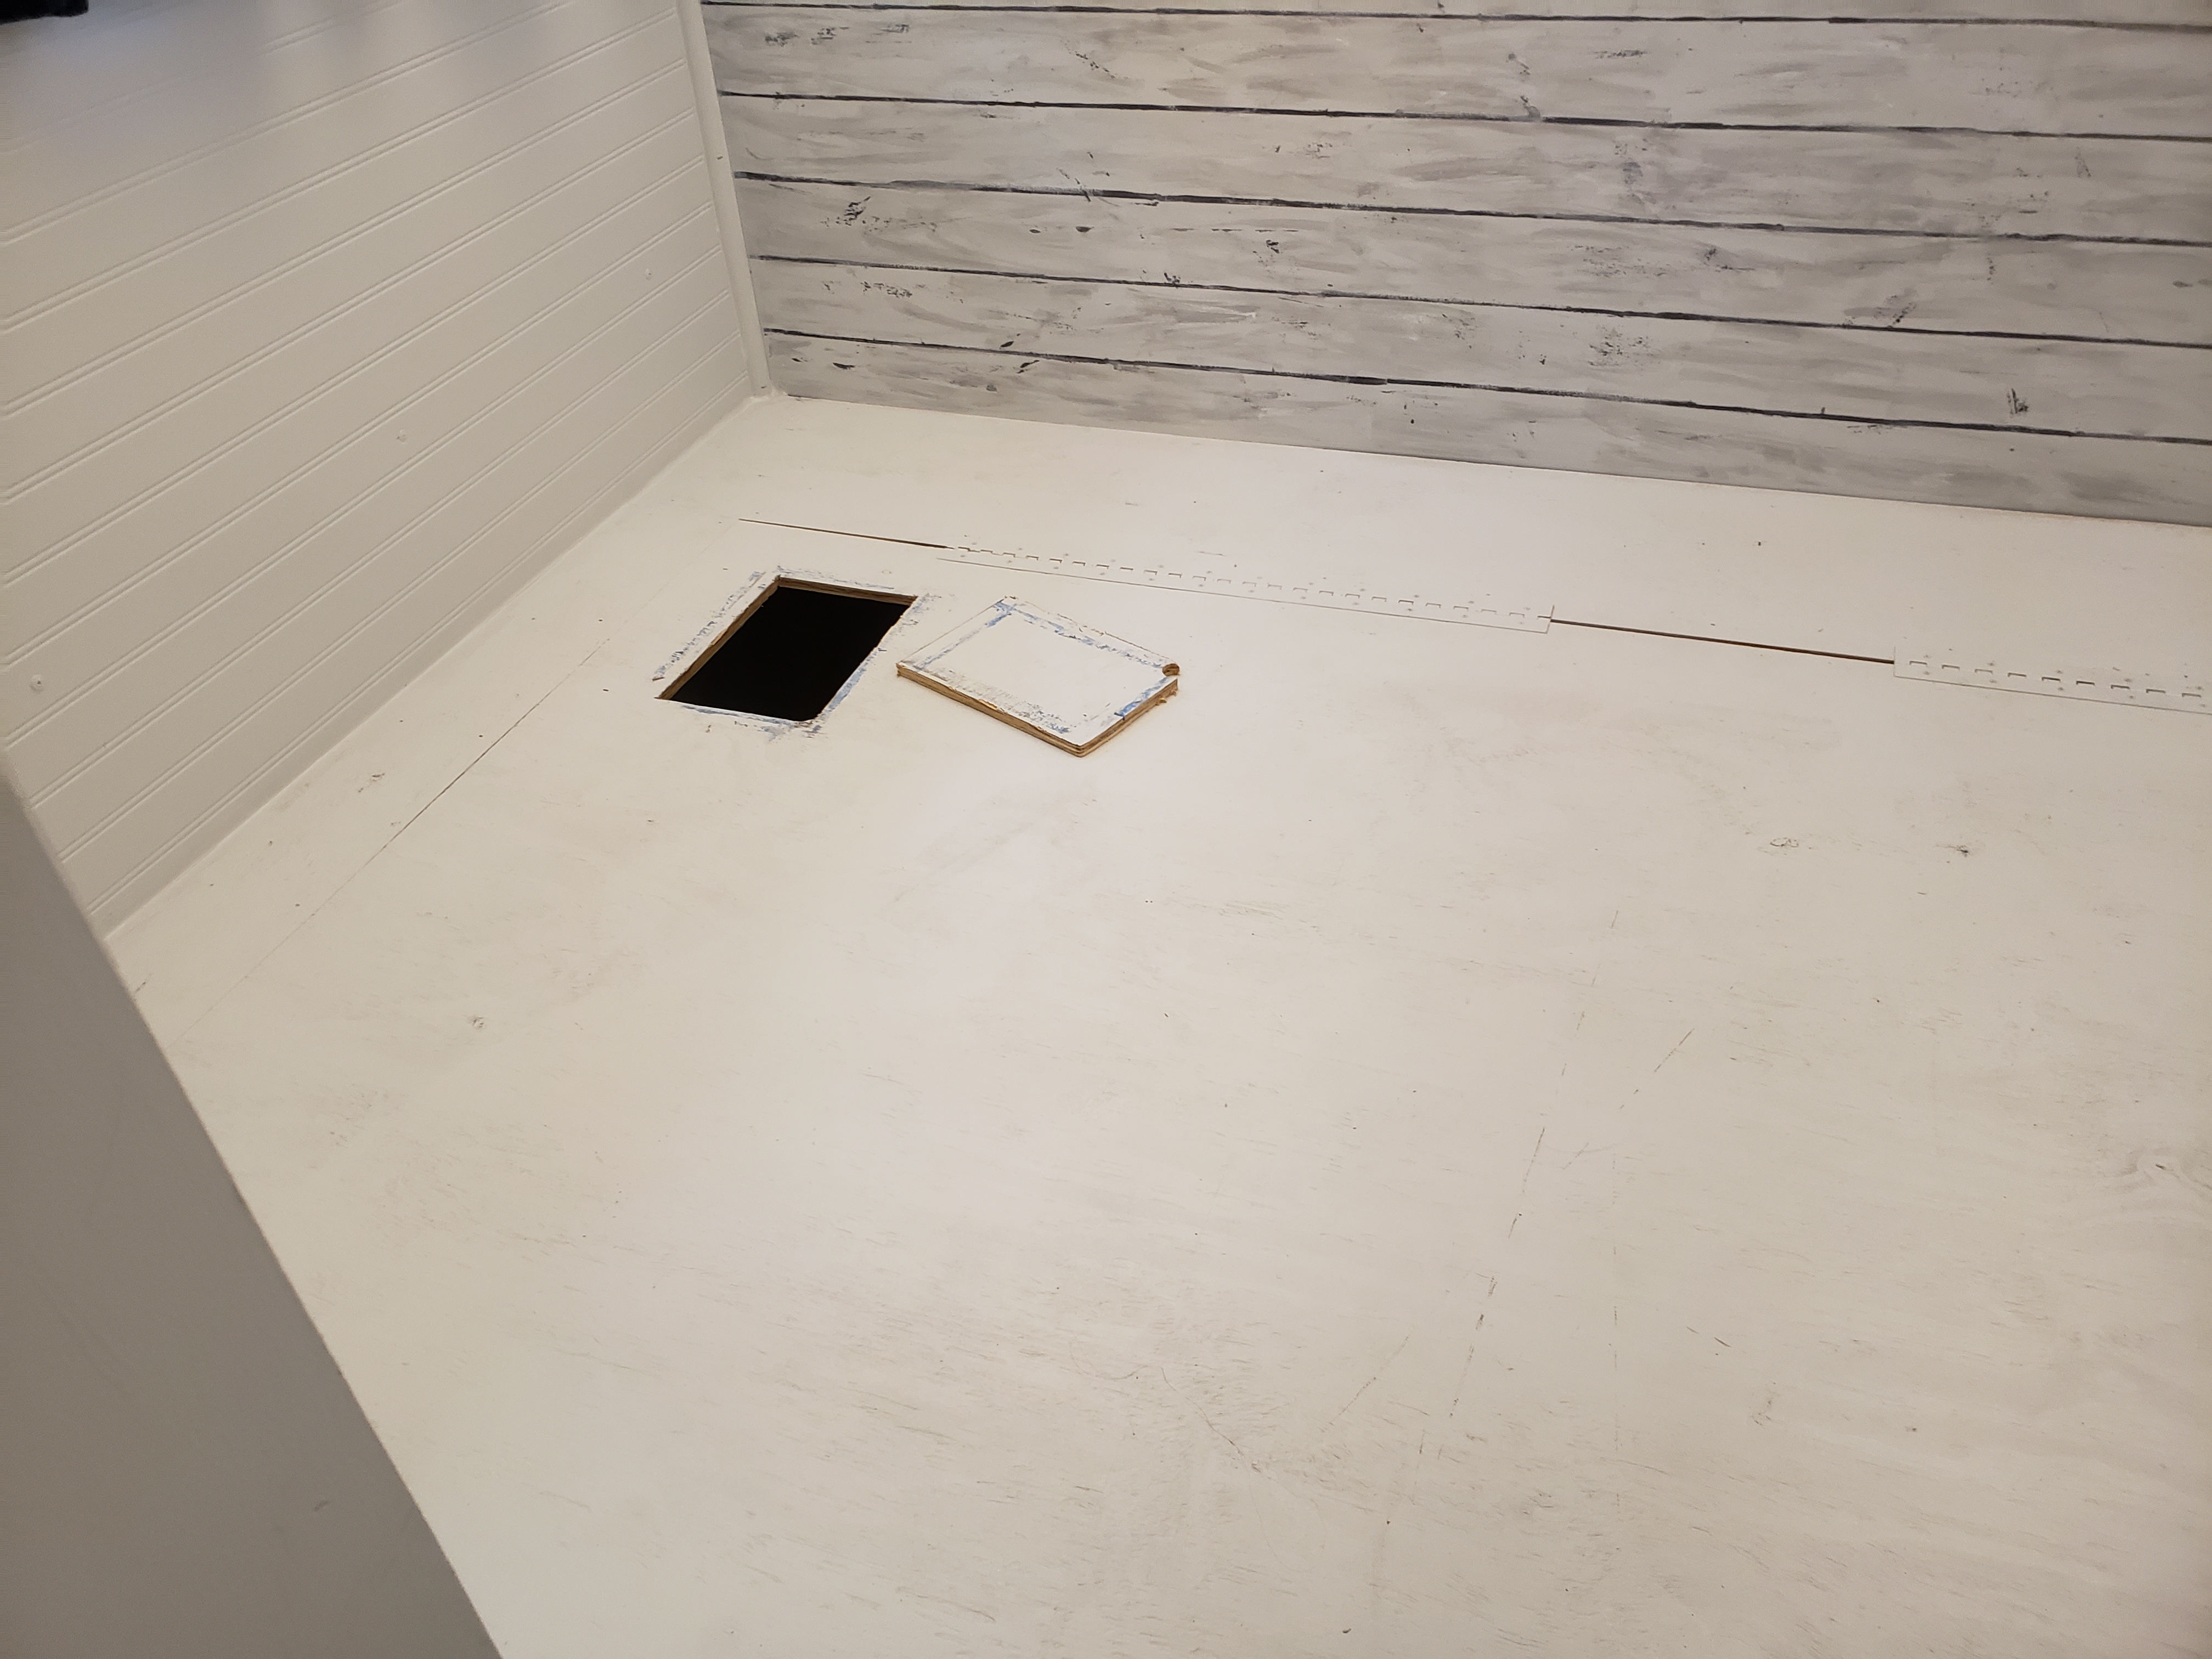
Back to the plumbing under the bed. I wanted an easier way to access the manual control valves without having to lift the bed top. I cut an opening, installed a finger hole, and framed it up to allow it to be easily removed and reinstalled. The 2nd photo shows the view through this service access. 


The three photos above show the shower as completed, with the dual shower head system installed. I can't wait to give it a real try. The dual heads were an idea my dad had, to allow for your body to be quickly wet/rinsed without the need to turn around, and without the splattering caused by an overhead nozzle. 


 Lastly in this post... the new bed mattress is finally installed!! Yay!!! Boy, this thing feels GREAT!! This is a queen size custom built RV mattress. Only 47lbs in weight, but feels really good to my back. More on this once we actually sleep on it for a night.

http://www.NCFishy.net