Wednesday, November 30, 2022

Houseboat build, pg42...

 We're really moving along with the cabinets and counter tops... The cabinets now have the outer luan skin installed, spackled , and painted the first coats, the counter tops are cut and installed, and a few decorations are up. Here's a few pics and info...


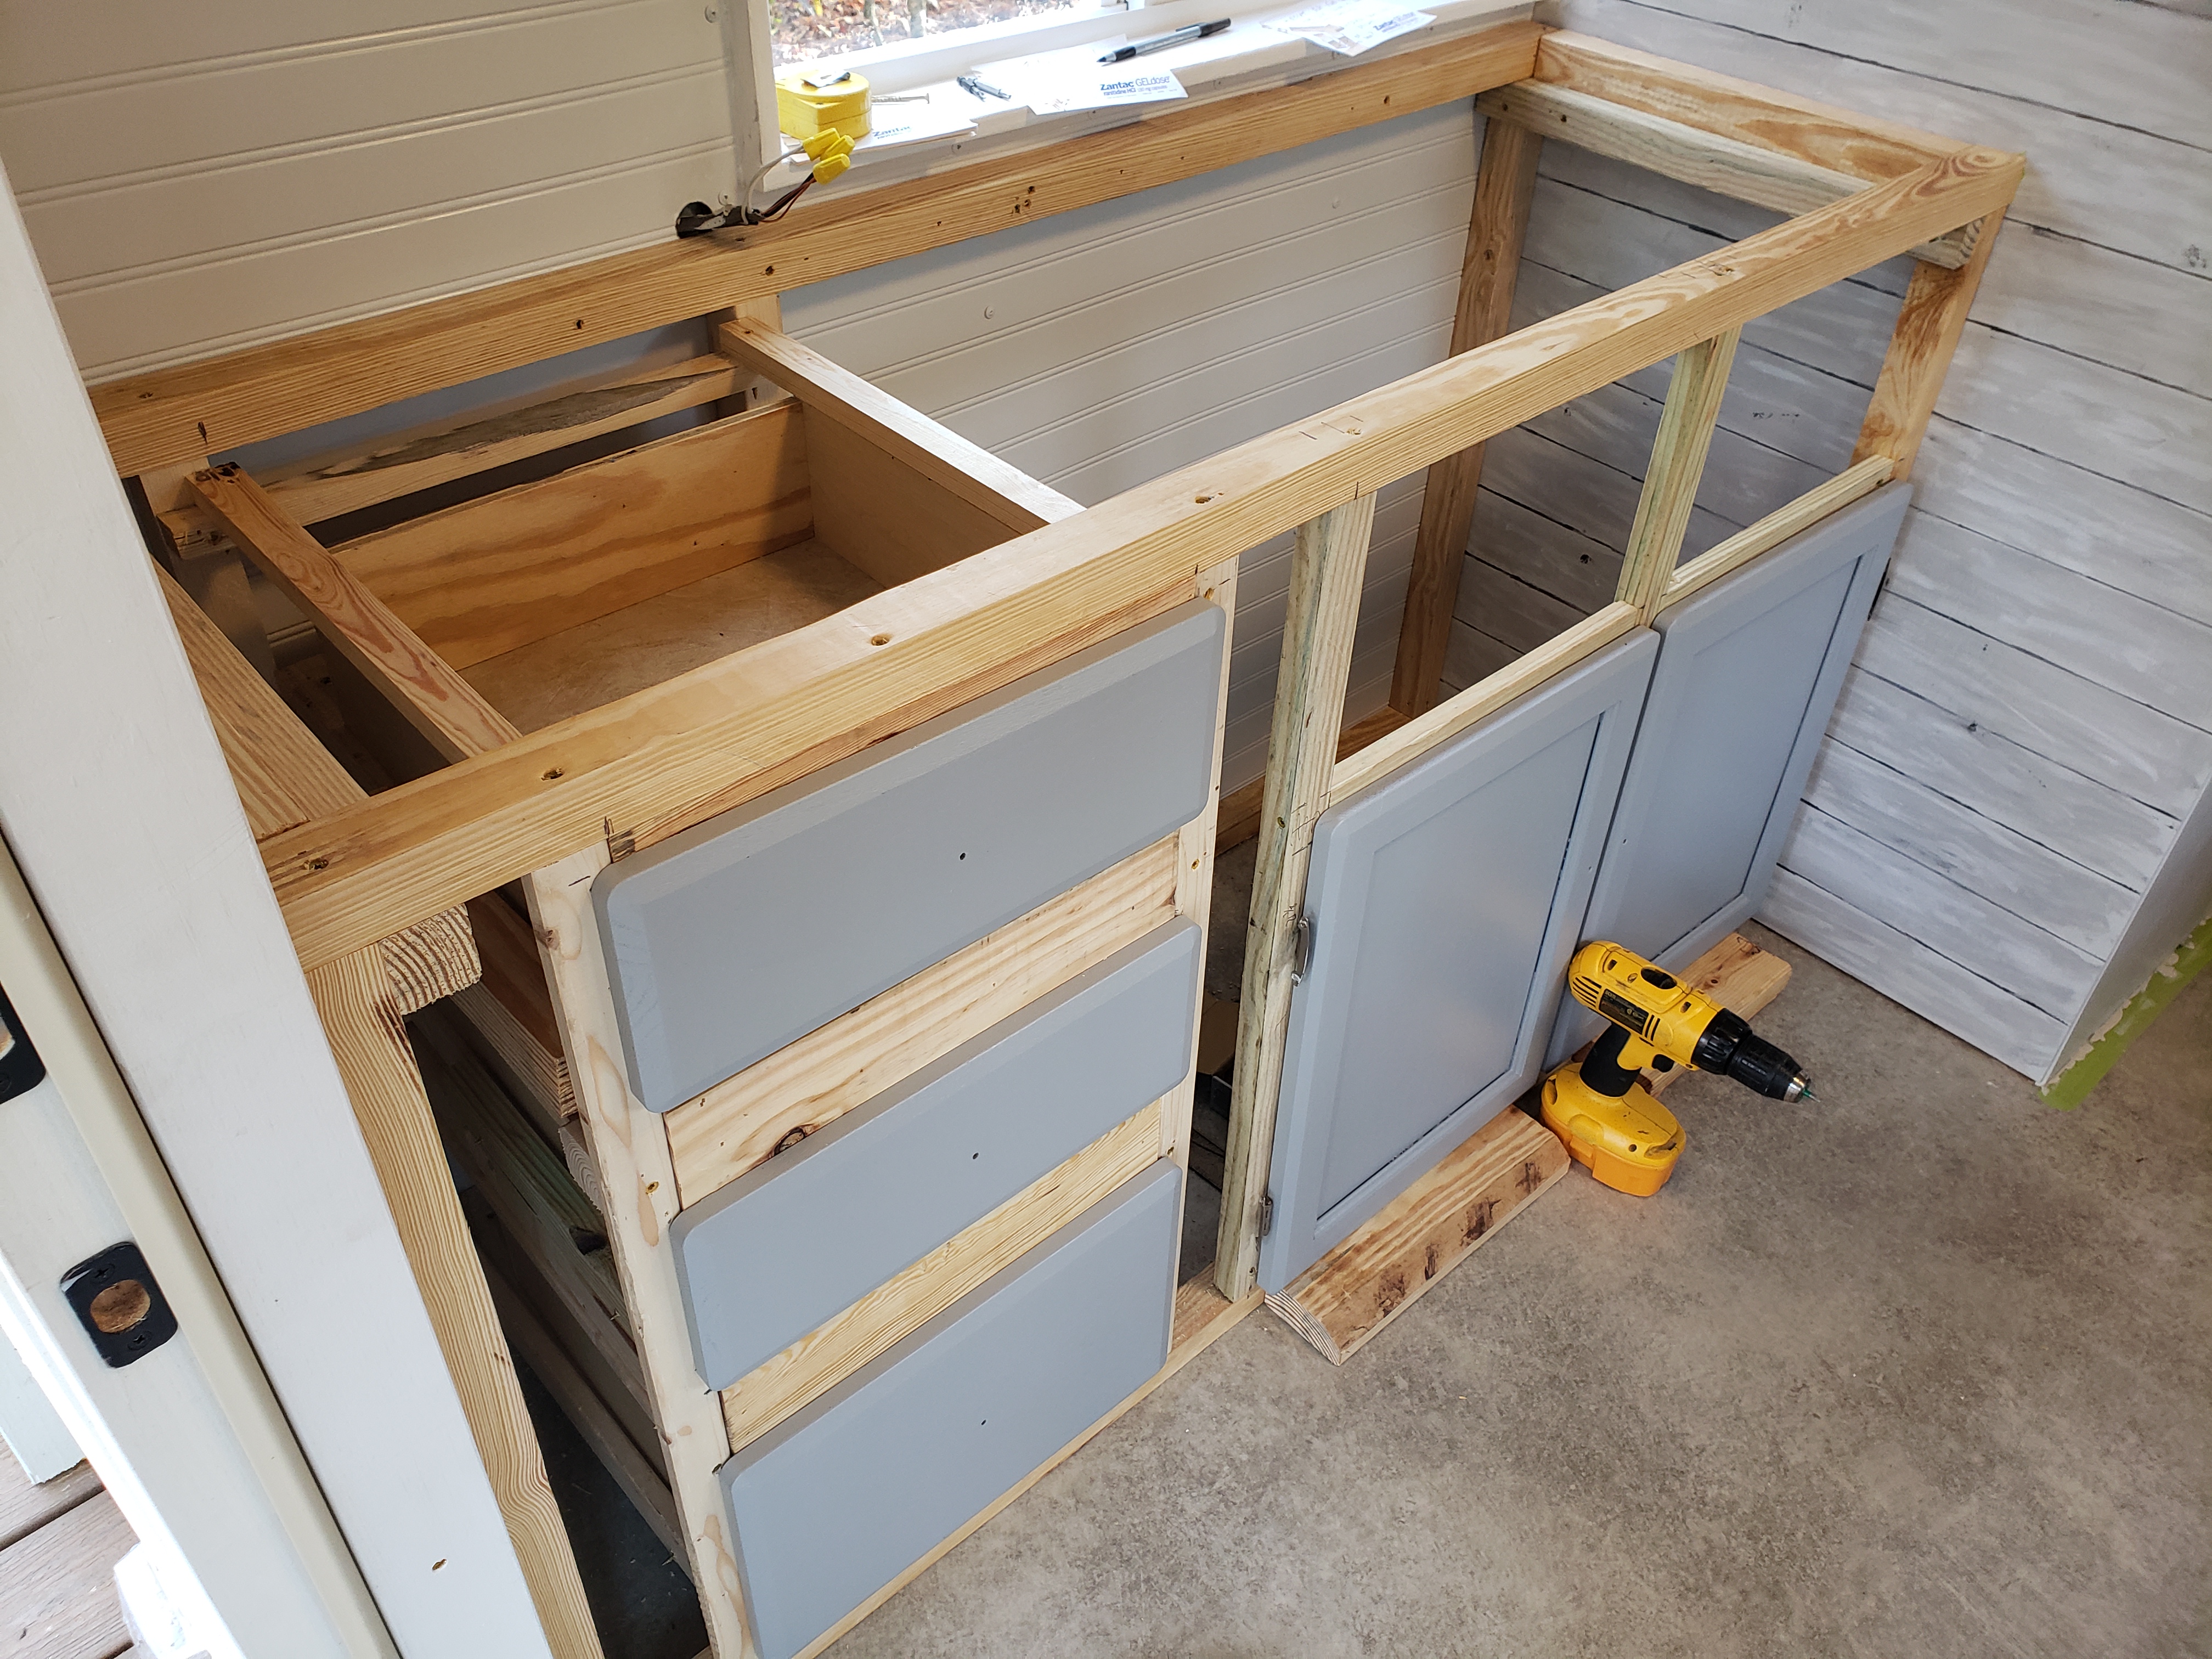
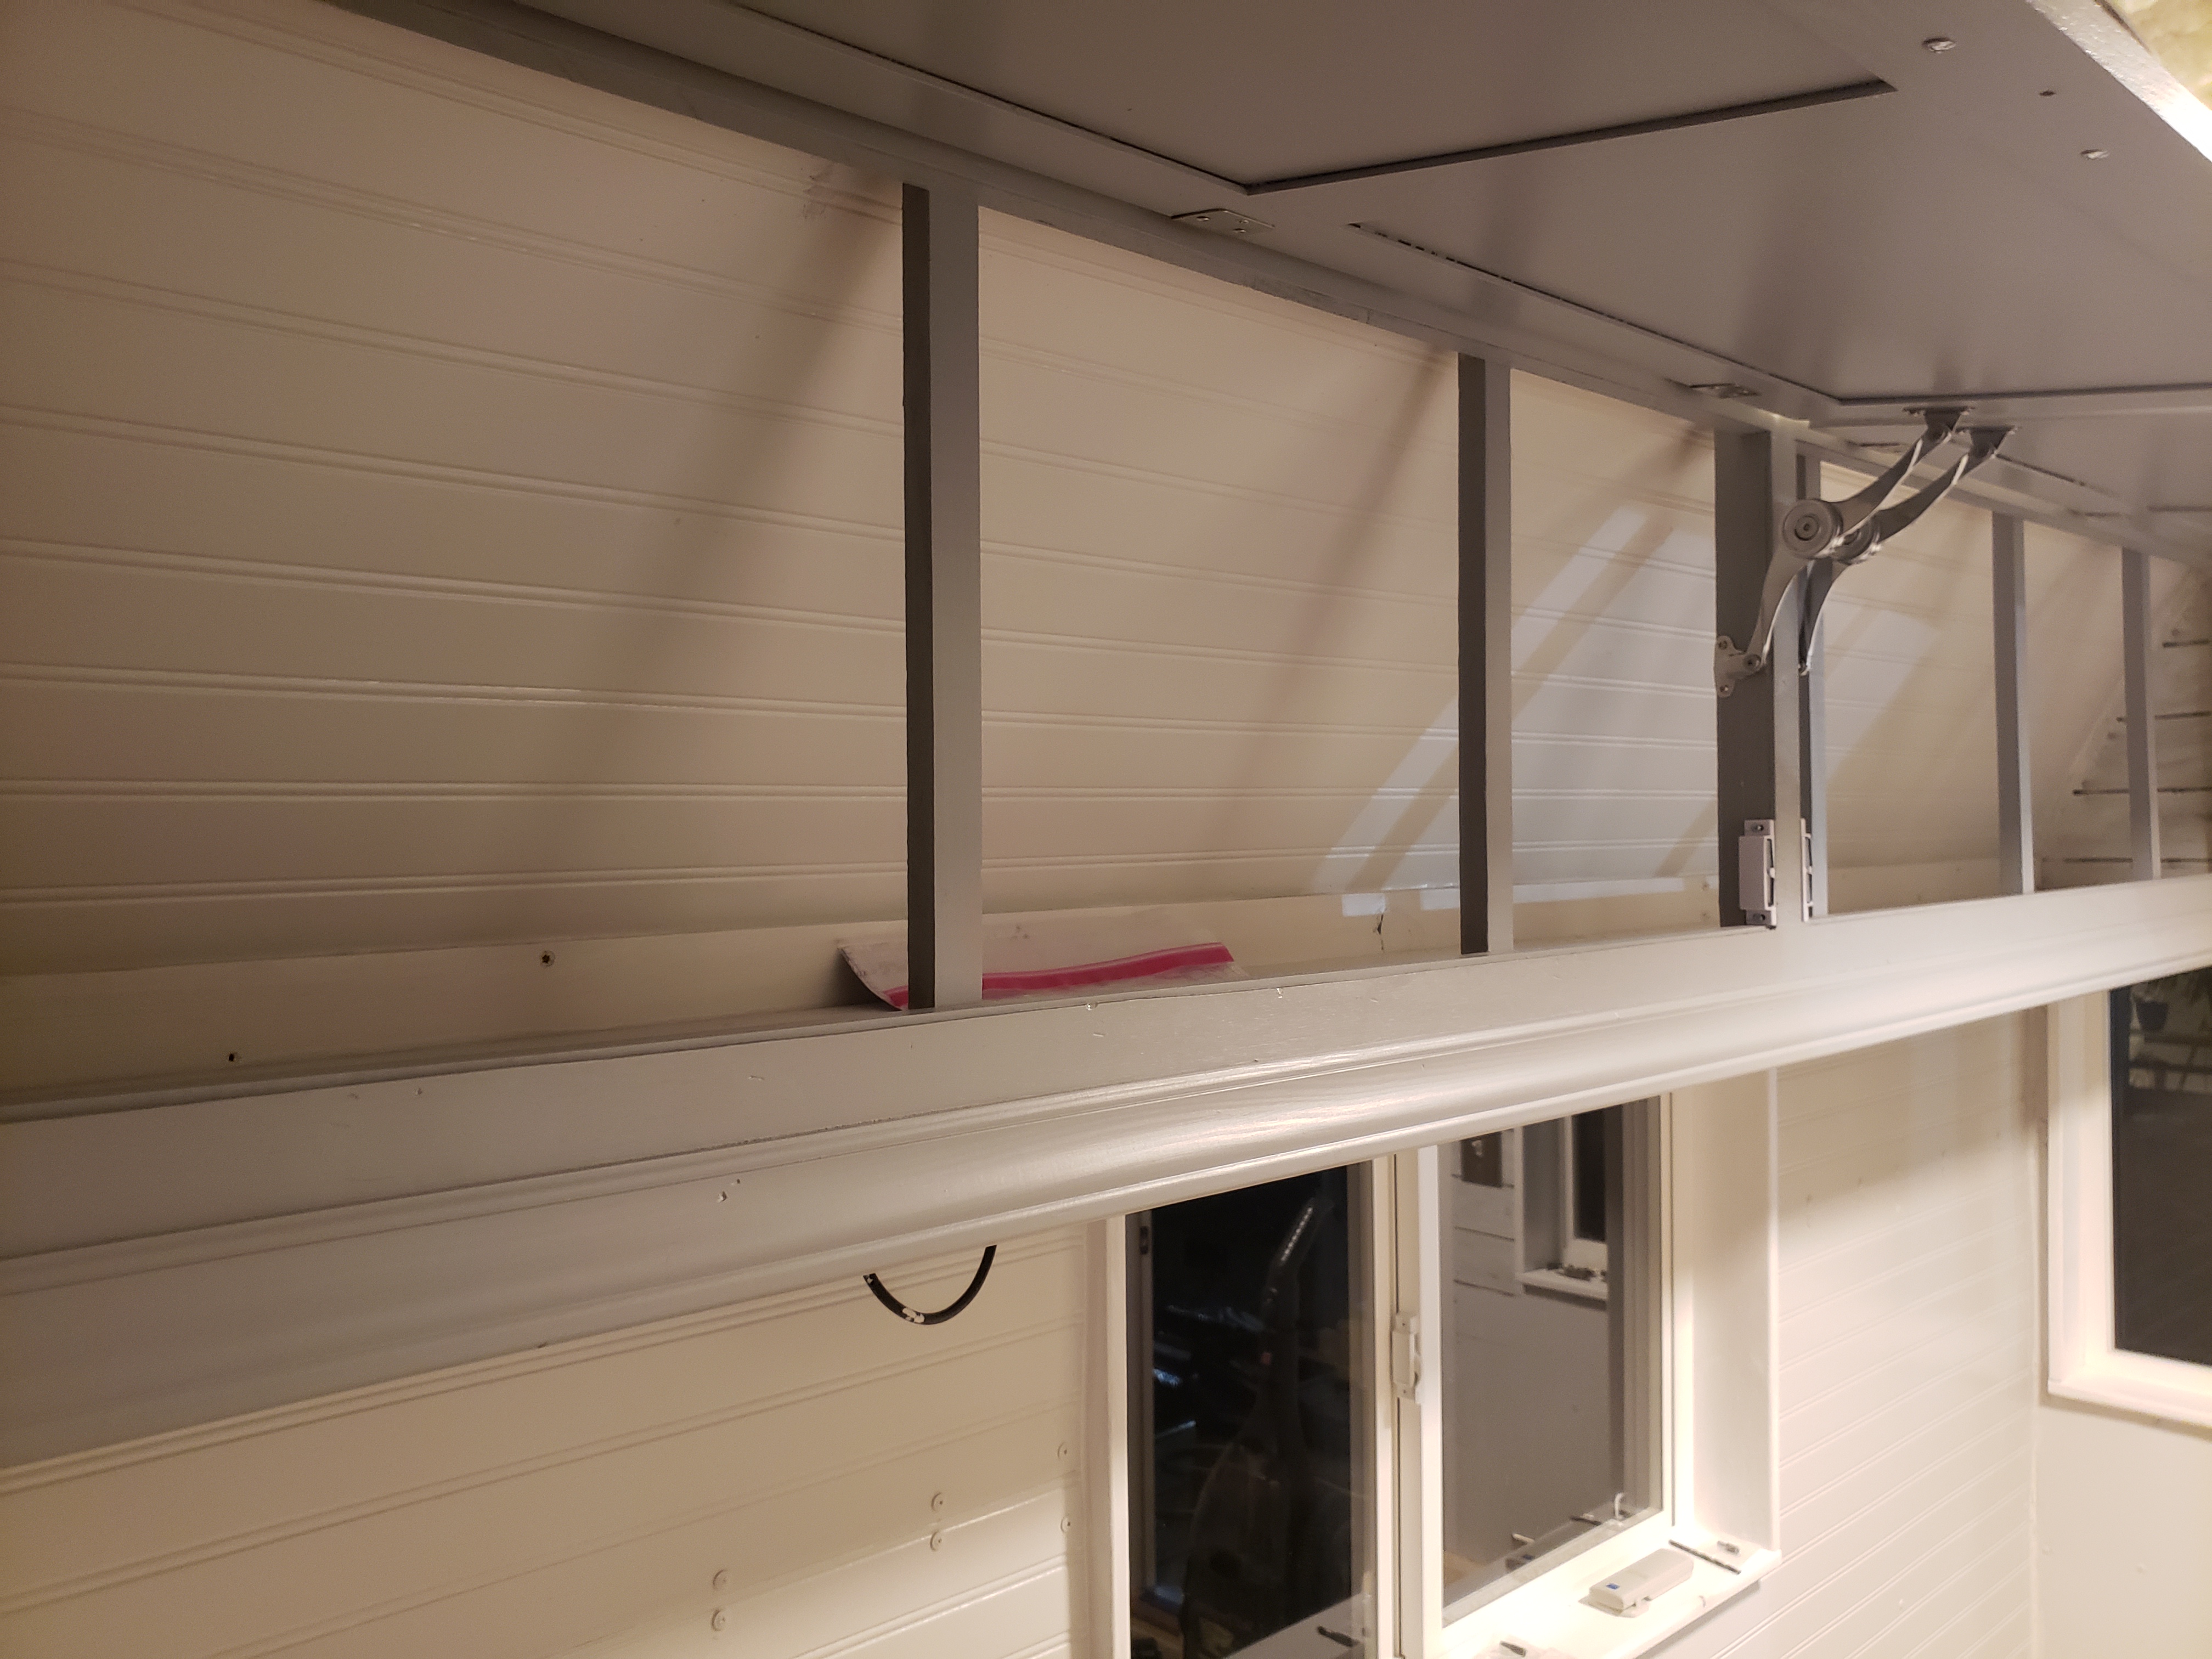
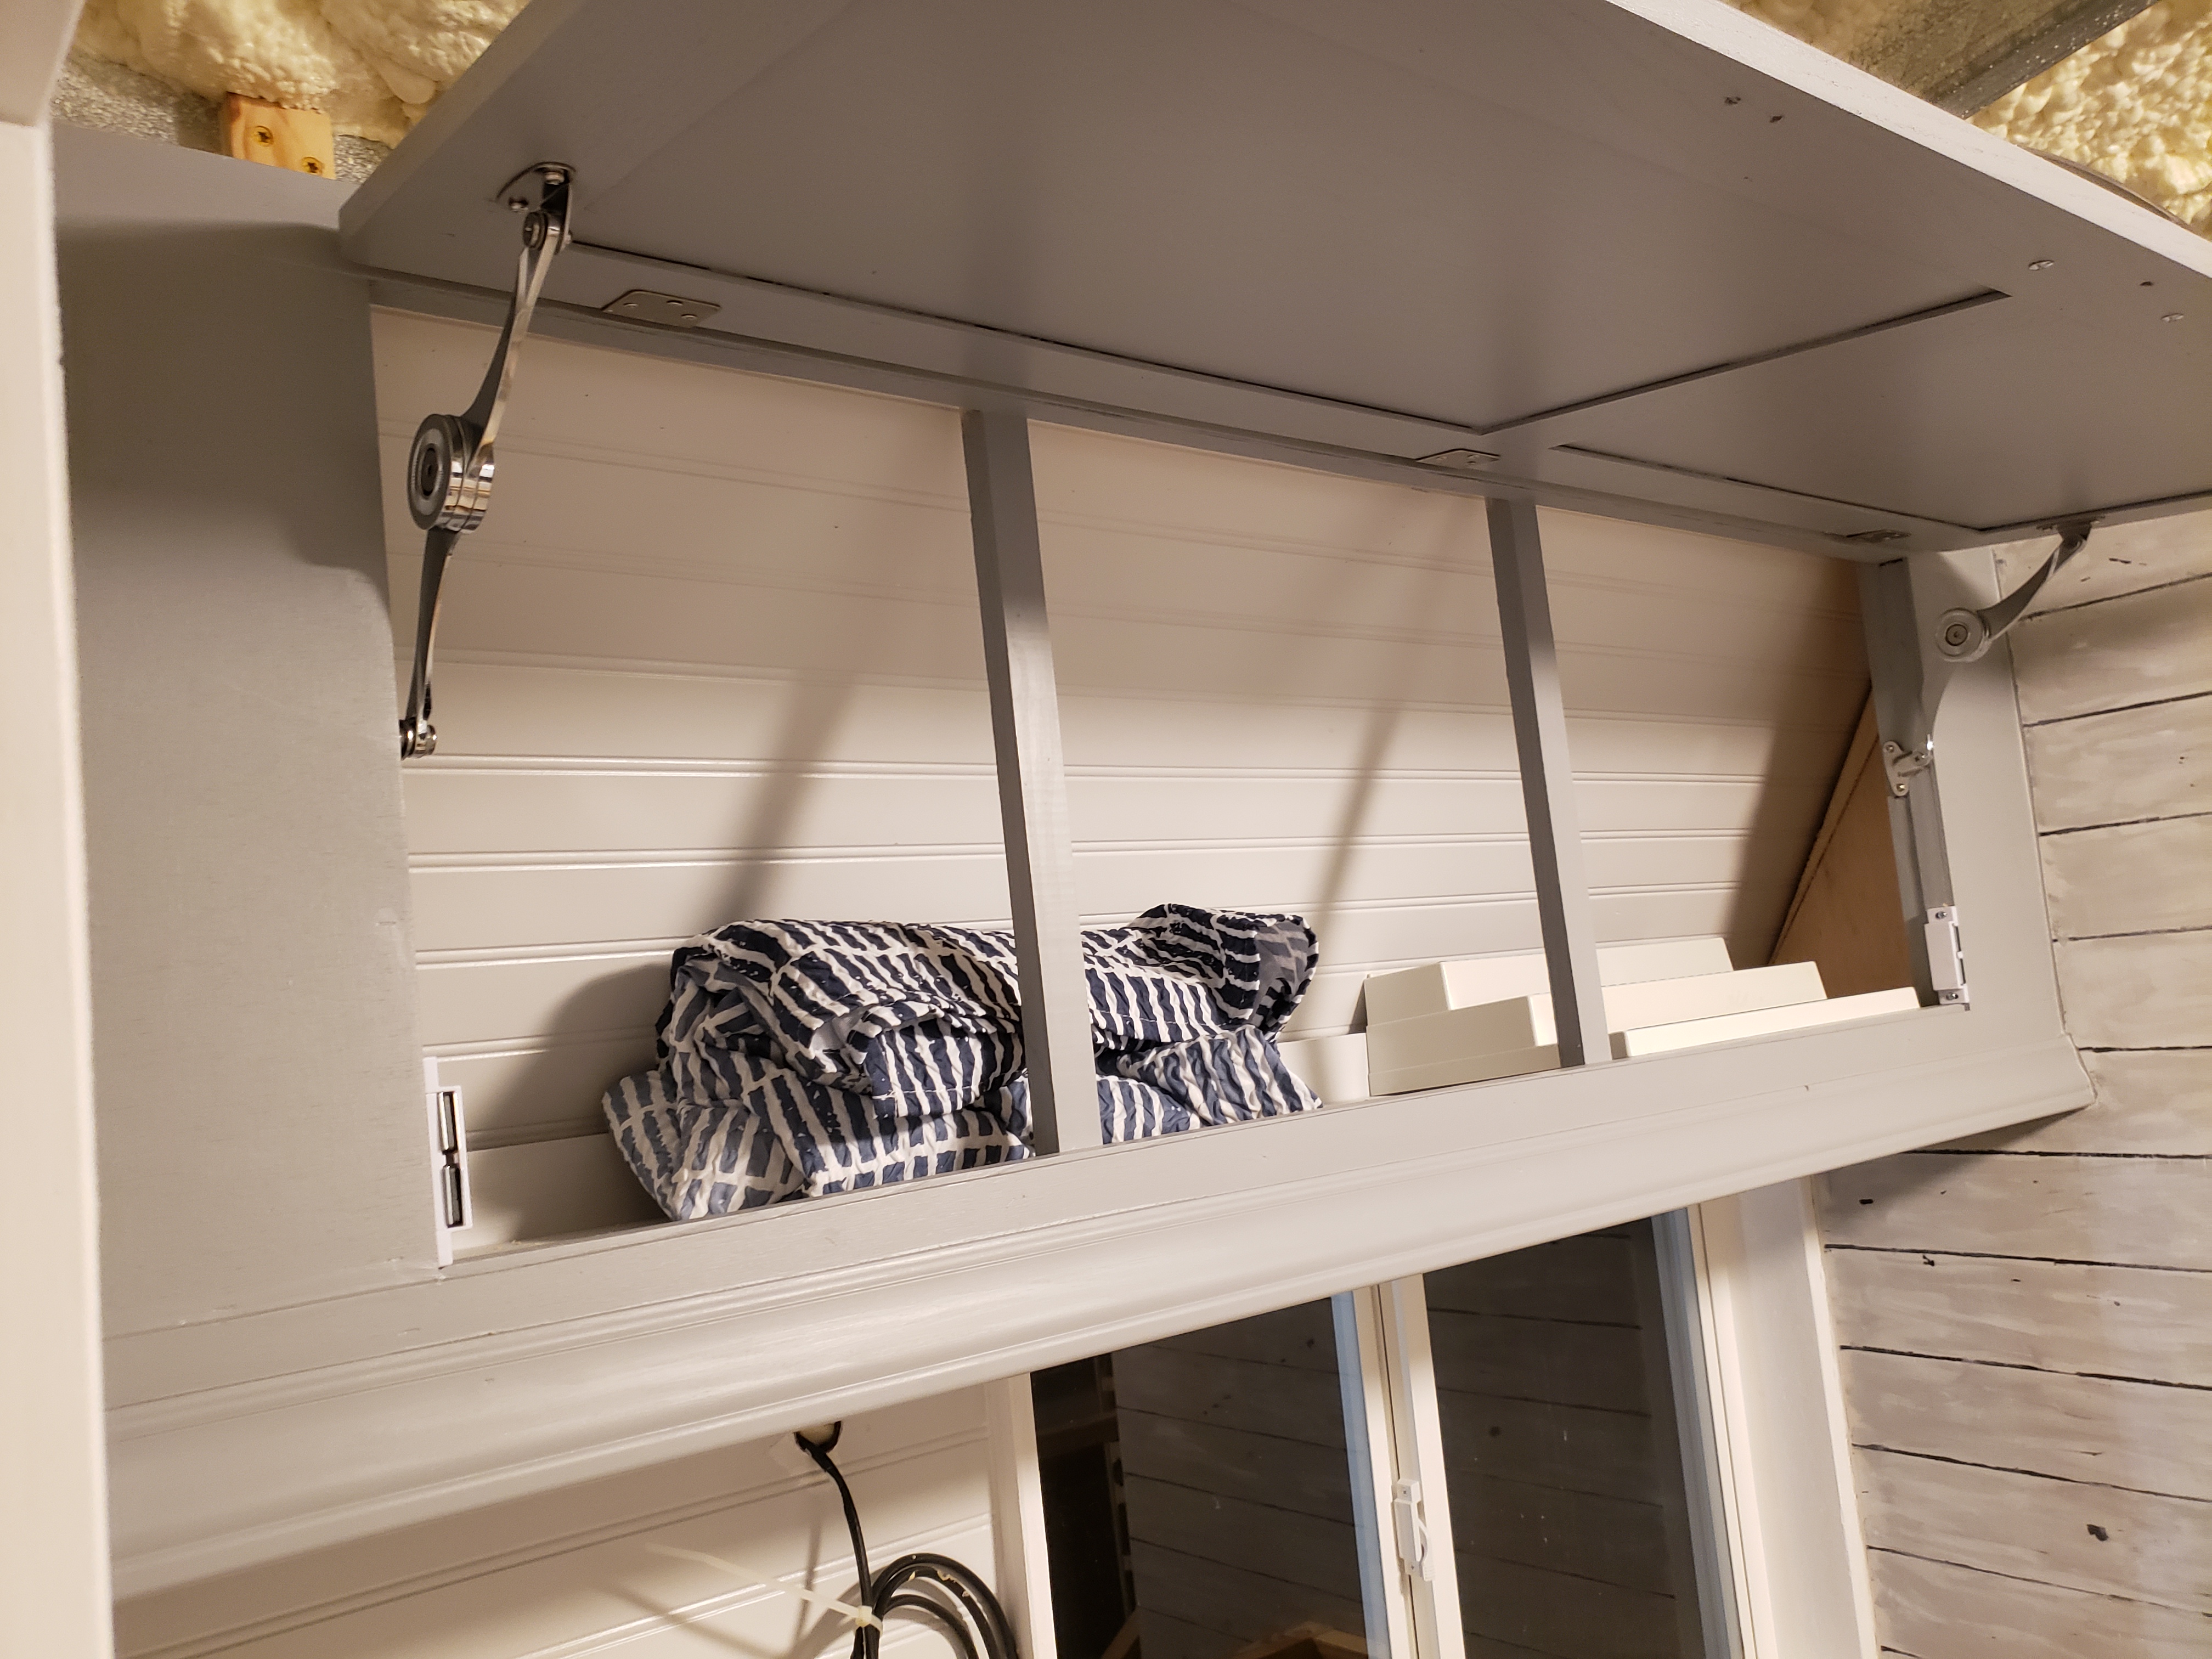
       Above is a couple of pics of the couch / dining area / 2nd bed... I have the basic frame built, and have included 2 pair of large drawers in the front area of it for additional storage. The top will be covered in plywood and hinged for access to the rear space for more storage. Debbie and Donna are building cushions for the top and back, now. More on this contraption, later :-)


The six photos above show the starboard side cabinet being finished. I covered the outer portions in luan 1/4" ply for it's light weight, spackled all of the staple / nail dents, and Debbie got it painted. In the previous post, it didn't have the smaller drawer in the center. Once I got it built and located the space for the kitchen sink on the RH side, I discovered there was enough dead space to install another drawer. Can't have enough of those! We cut and installed a prefab counter top and back splash from Lowe's. It's waiting for caulking now to finish up that install. Then, it's time to cut the hole for the kitchen sink!


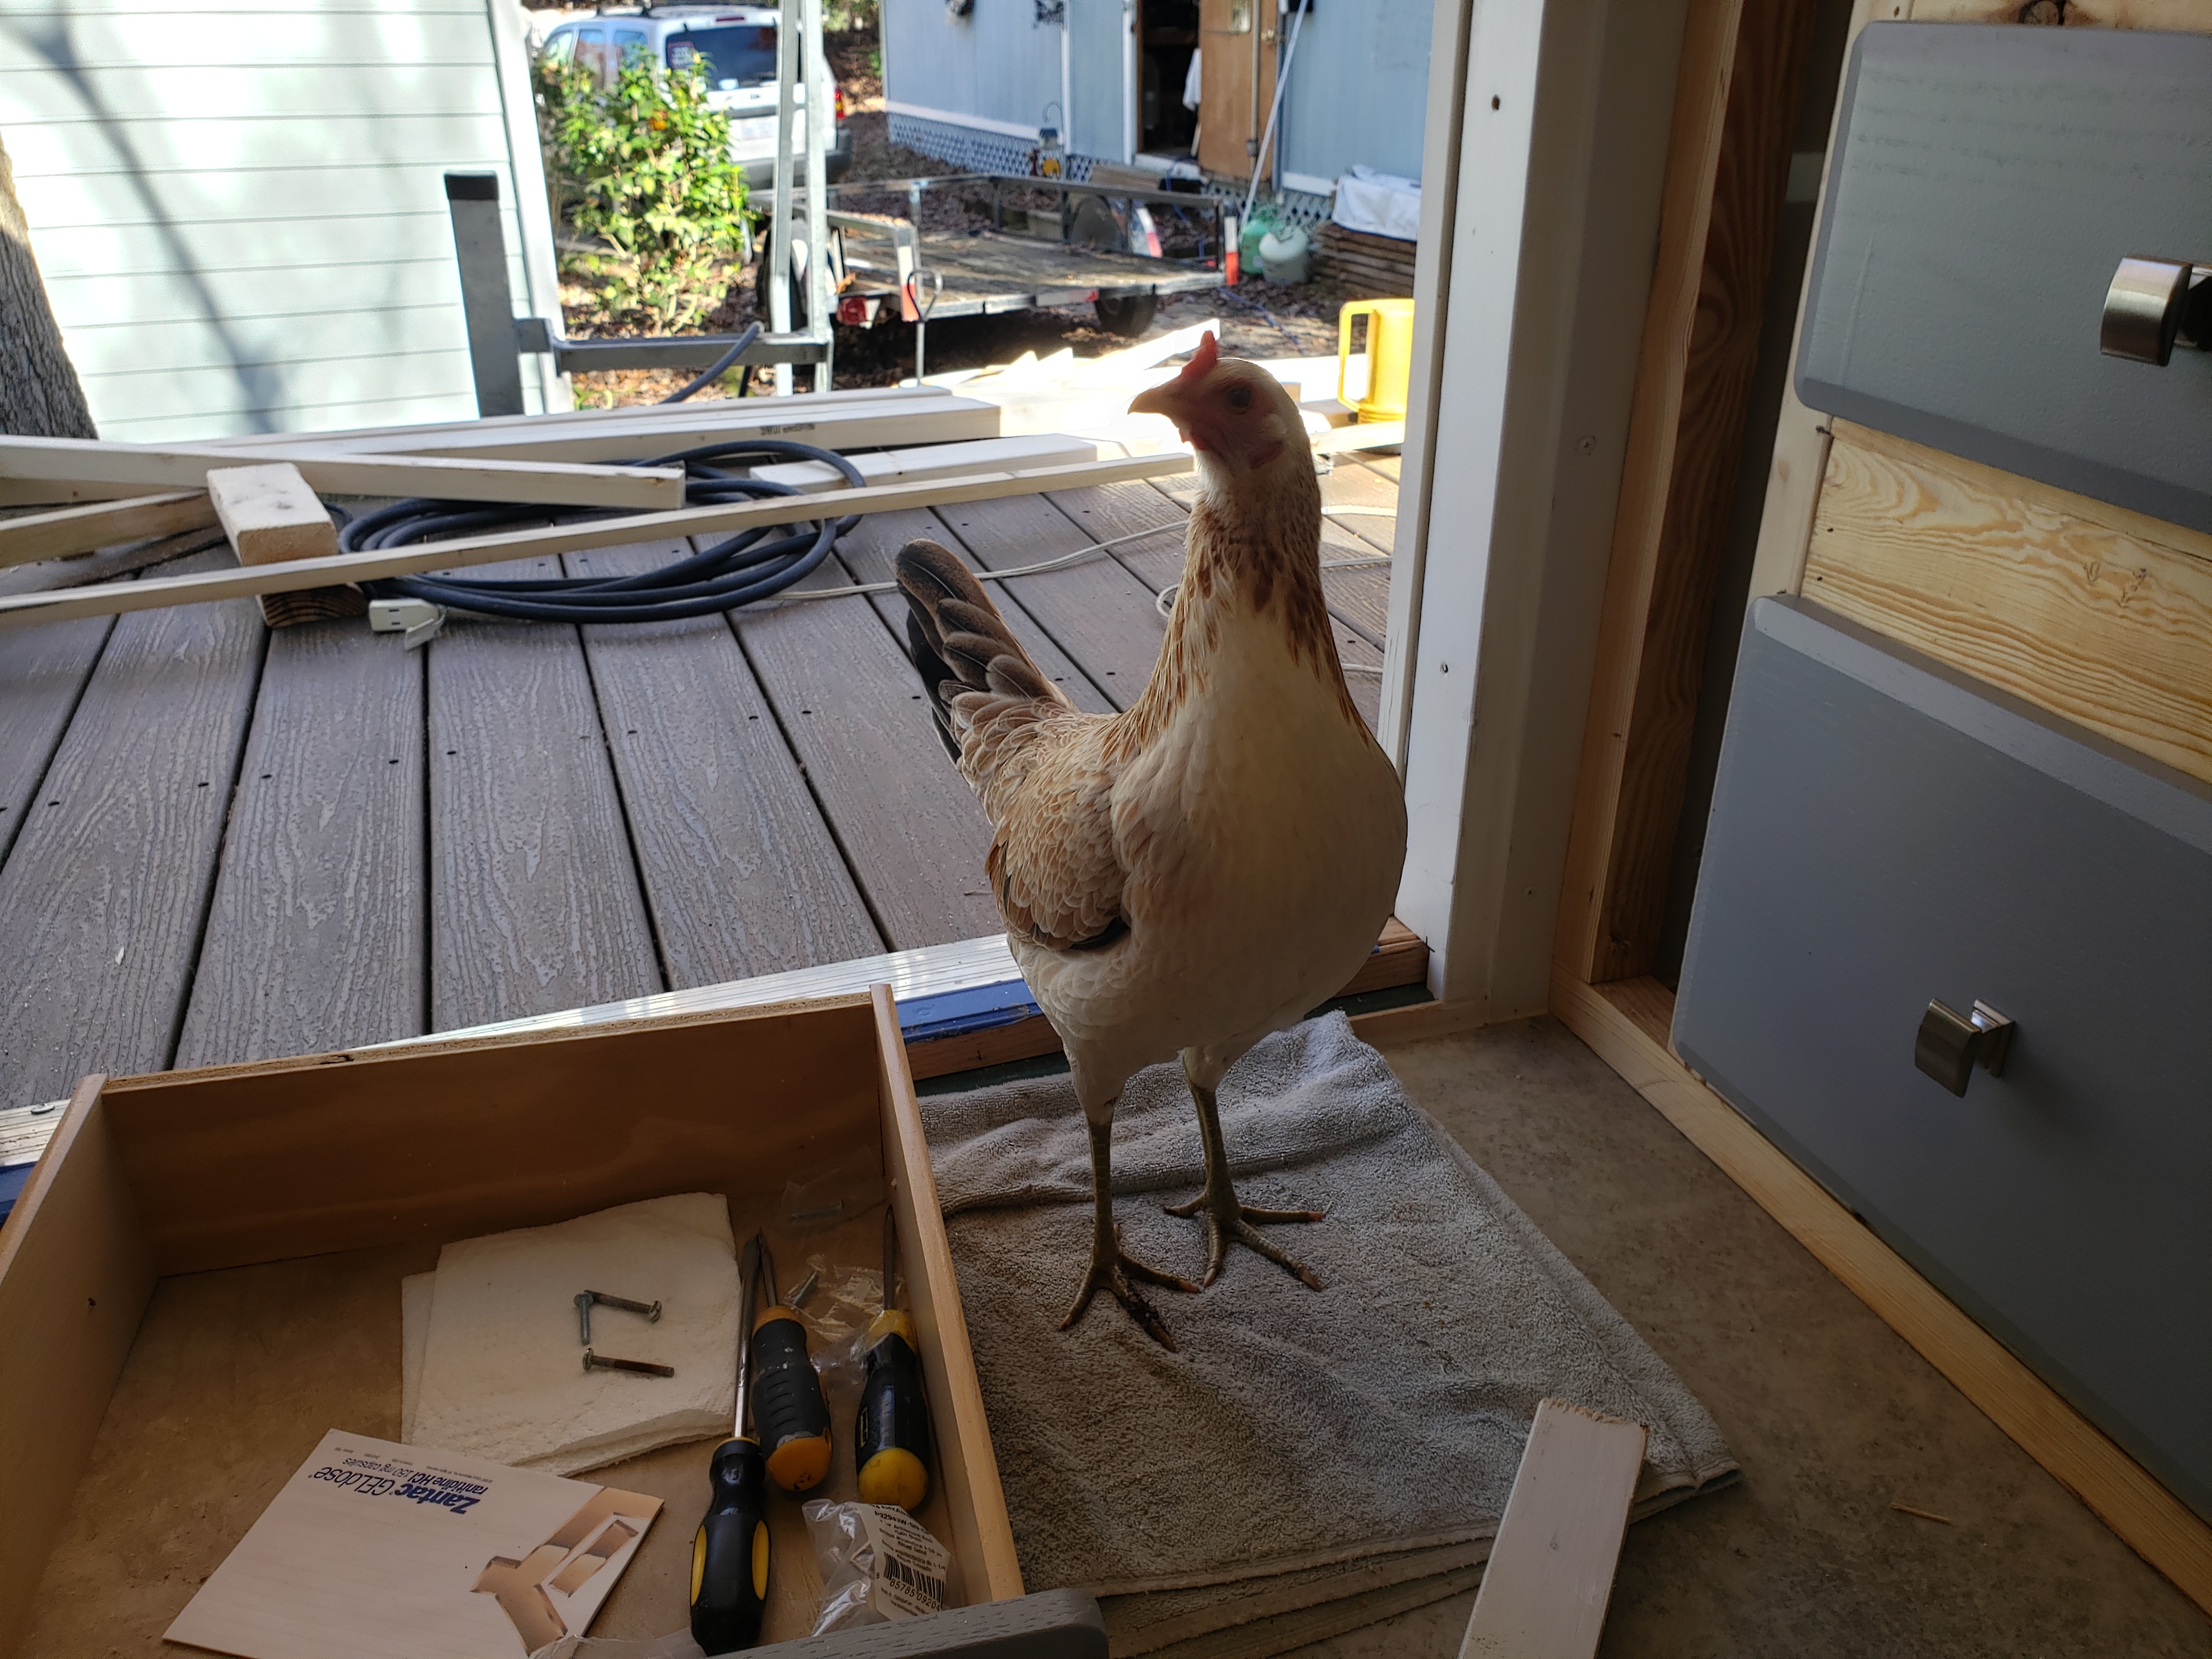
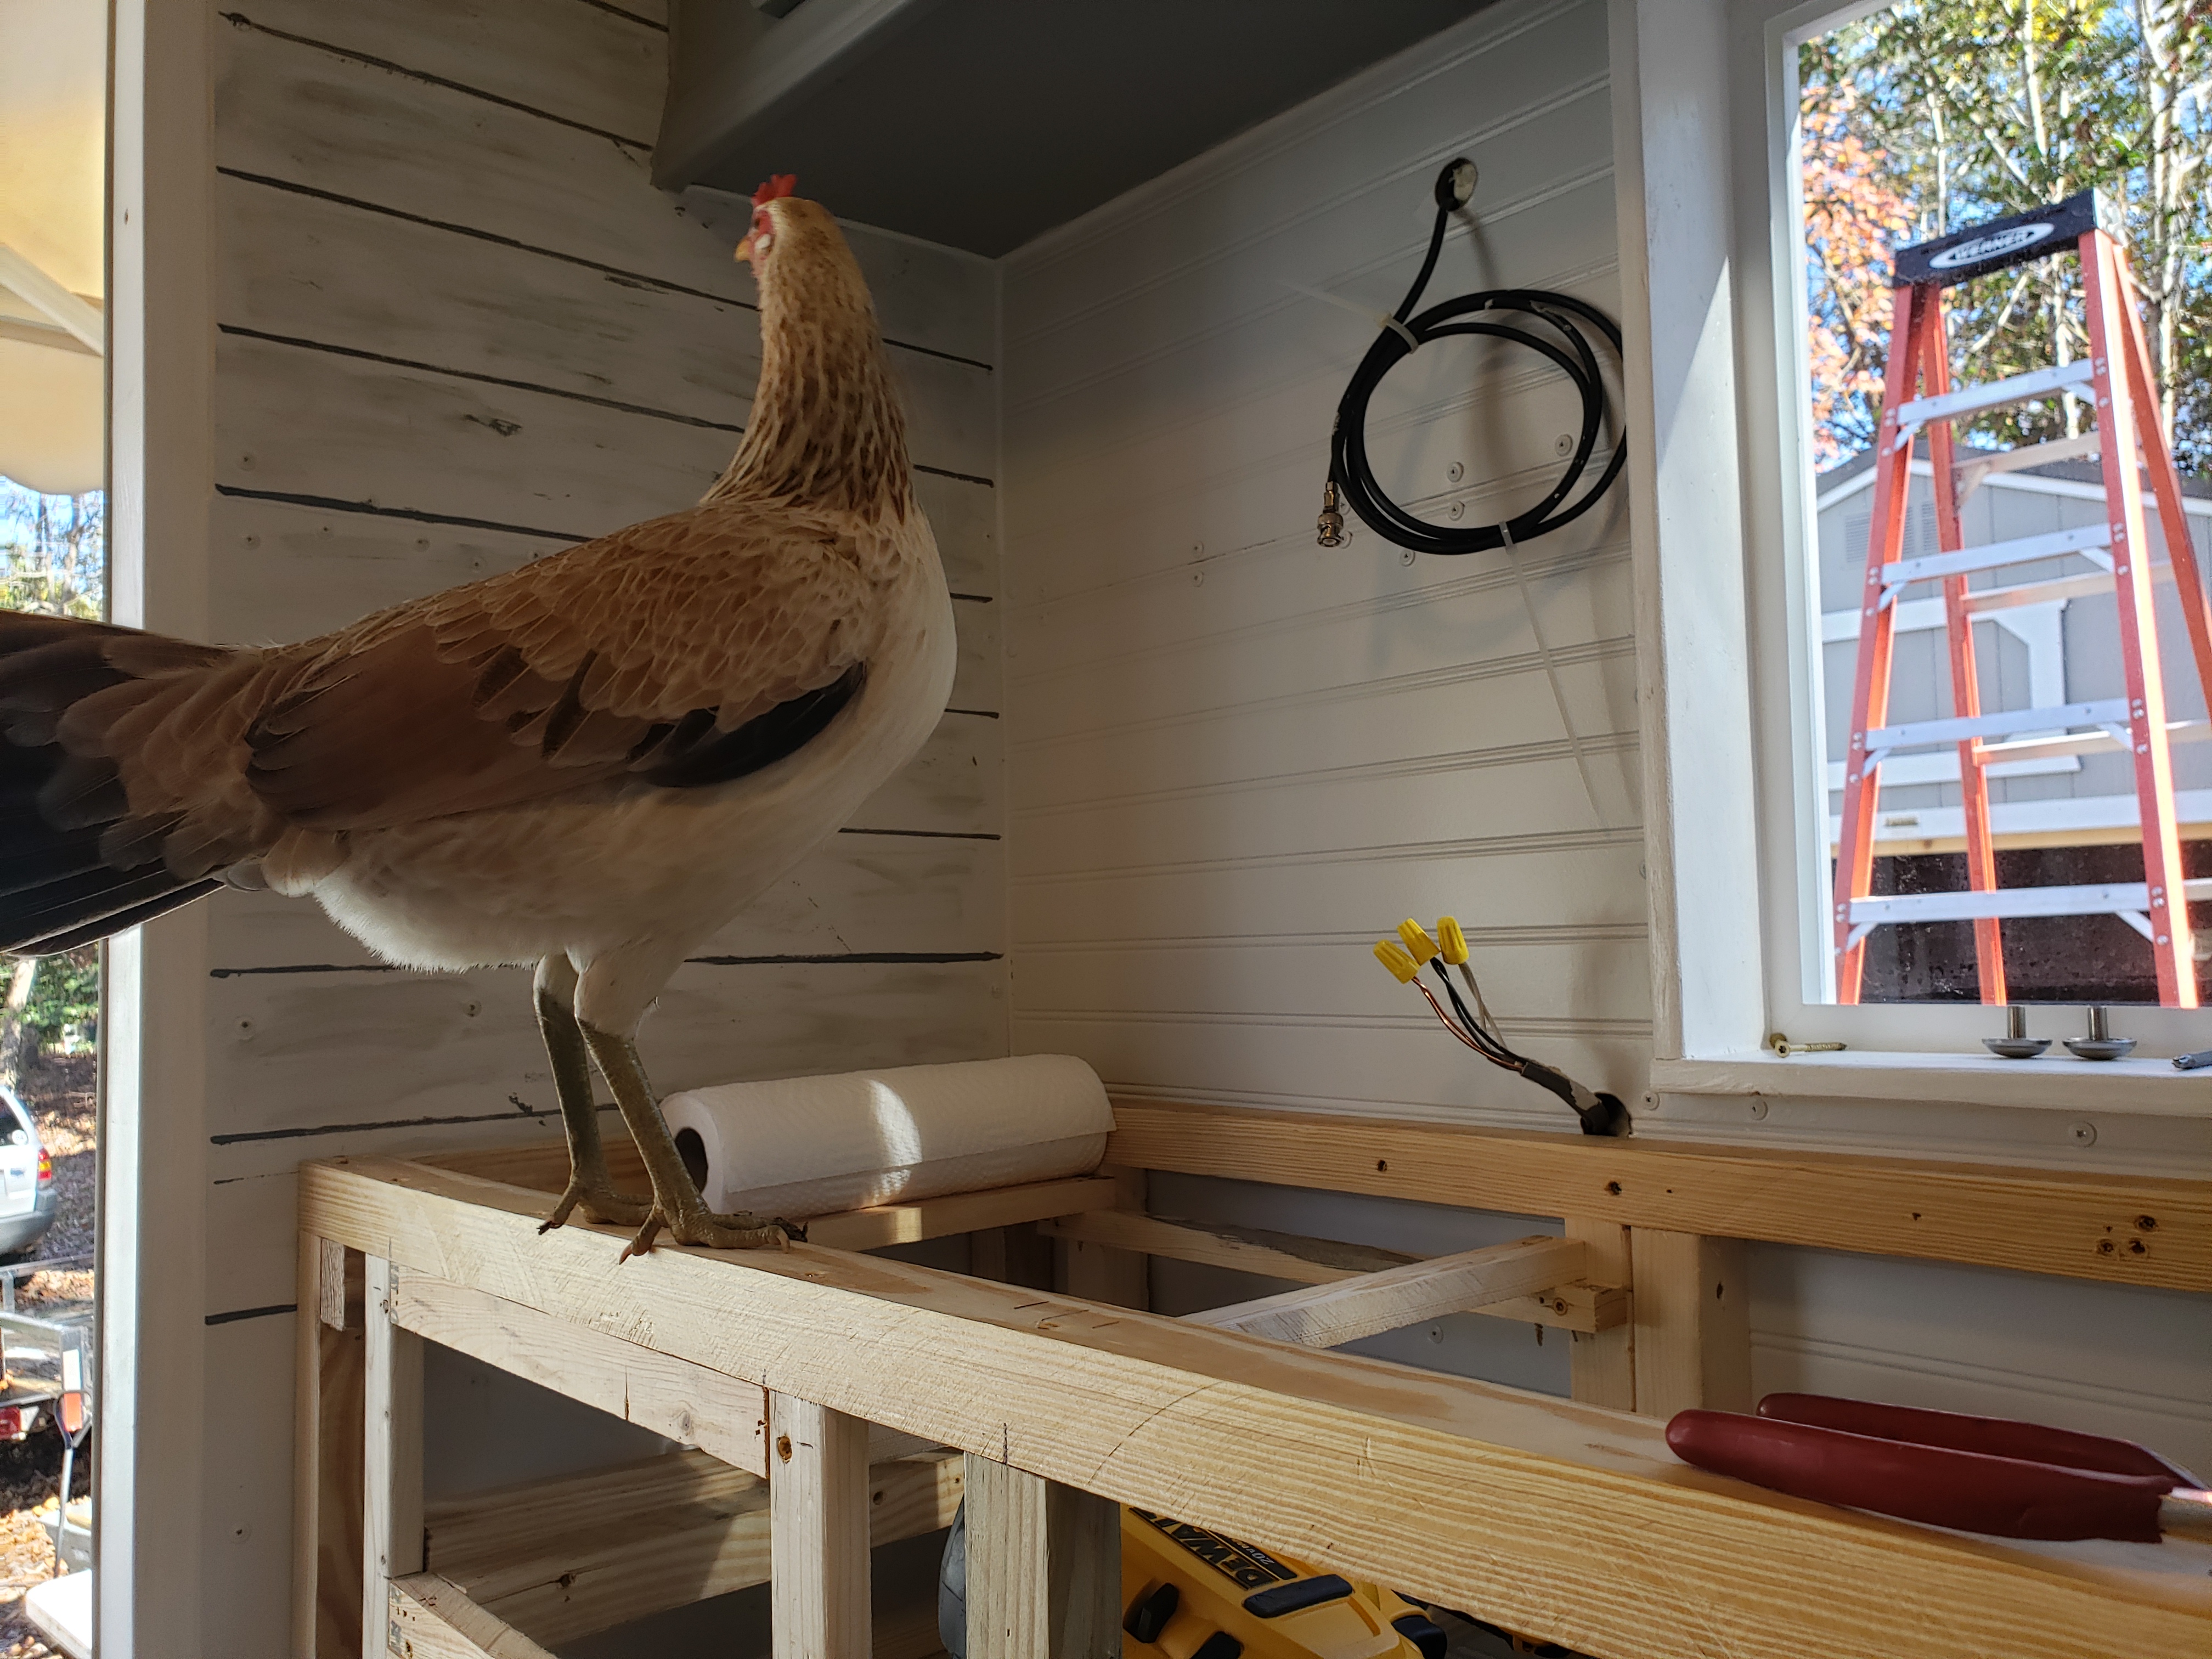
The two pics above are of "Baby Bird". We have several pet chickens, many of which know their names and each have their own personality. Chickens are much smarter than folks give them credit for, and make great pets. This bird, however, is much smarter and more personable any bird we have. She literally walked up out of the woods, lost from her momma, when she was about the size of a tennis ball. She called for her mom until dark, but no mom. Debbie and I were sitting on the patio, and heard her. She came up on the patio, hopped in Debbie's lap, and went to sleep. I guess she had found her next momma. We "think" she is a "modern game hen", but we don't know. She has a totally different language from the rest of the flock. She's very curious, and wants to be around us all the time. She is constantly up on the houseboat, just hanging around and checking things out. She spends time with the other birds, but doesn't really bond as part of their flock. She likes vanilla cookies first thing in the morning, and will come to the back deck's windows and wait for them. She likes to be held, and she talks in a strange, low volume gibberish all the time. Ok, so much for "Baby Bird", back to the boat project...


The five photos above show the port side cabinet... this is the cabinet that will hold the gas cook top, and have additional storage below. Like the starboard cabinet, I discovered I had space for an extra drawer, once I got it framed up and measured for the cook top. I installed another small drawer, cut and fitted the luan 1/4" ply to the face, and cut / fitted the laminate counter top. There's a odd structure on the RH end of the counter top, that will ultimately become a pocket to store the dining table top when not in use. More on that, later. 


The six photos above are of a few of the decorations and things we're beginning to get installed / anchored to the house. The bathroom mirror (I love the rope and sorta-nautical feel it has), coat rack, fish, etc. Things are beginning to feel like a little house!

http://www.NCFishy.net

Sunday, November 27, 2022

Houseboat build, pg41...

 Cabinets and more cabinets... I've been up to my ears in finishing kitchen cabinets. Cabinets are important for putting storage in every possible location, for supporting kitchen counter tops, for holding appliances, and more. Here's a batch of photos and descriptions. I'm getting close to having this baby ready to hit the water, and can hardly wait! 


 The above 5 photos are of the starboard side cabinets I fabricated to fill the space between the bathroom wall and the front wall of the houseboat. It will support the counter top that will hold the kitchen sink, provide counter space for the coffee pot and probably the air fryer. I framed up a series of drawers, as well as a set of lower cabinet doors to access the space beneath the sink for additional storage. I'll frame in one more small drawer in the LH void, then cover the outer surface with luan lite-ply, and paint. I was able to utilize some old existing drawers and doors we found on marketplace for free. 


 The three photos above show the small port side cabinet / counter space I'm building between the appliance stack and the combo dining area / couch. it will support the counter top that will hold the 2-burner gas stove top, and provide additional space for a toaster or some such. Below will be a pair of large cabinet doors for additional storage, as well as another small drawer. 


Speaking of the appliance stack, the above 3 photos show the now completed stack / cabinet. I built a mid-mount for the refrigerator so we wouldn't have to constantly bend over to get items from it. I built-in a small microwave up top, and the space below was perfect for one of those trash bin roll-out racks. You can see a pic of the lower door installed. It's now all painted and ready to go!


The three photos above show the port side upper storage cabinets I fabricated and fitted to the barn-shape of the interior wall. They're now completed, with mechanisms to hold the doors open when being accessed, and magnetic latches to keep them closed when not in use.


While talking about upper cabinets, here's the starboard side cabinets all finished, complete with latches and openers. 


This crazy looking contraption will serve as a couch, will have a drop-in post mounted dining table top to use or serving meals, and will ultimately convert to an additional bed space if we should have  overnight visitors. It will have plug-in parts to convert it do a full-size bed (next size above a twin). Debbie and Donna are about to start on a batch of custom cushions and chair backs for it. It is framed up for two large pull out drawers in the front, and the upper seating area will be hinged to allow access to the extra storage space in the back of it. 


If you've been following along, you'll recall there was a straight header above the doorway leading to the queen size bed space. This is where I was going to hang the indoor section of the heat pump. It was a head bumper, so we decided to move the heat pump section the the rear wall, and put an archway here. I had to rip out some of my work, frame up the arch, and wet some wood with ammonia to be able to bend it around this curve. Debbie was happy, she wanted an arch there from the beginning :-)


Lastly, there was a seam down the middle of the front bathroom wall that was driving me nuts every time I looked at it. Here, I've filled, spackled, sanded, and Debbie repainted this area. I'm prety happy with it now, and can move on to finishing the vanity cabinet installation :-)

http://www.NCFISHY.net  

Monday, November 21, 2022

Houseboat build, pg40...

 Debbie has been back at it, again. She laid down more of her "shiplap" paint on the forward outer bathroom wall. We're still working on fit and finish, and will be starting the lower kitchen cabinets and counter tops, next. Here's a few pics and descriptions...


Here's a photo (above) of the appliance stack with the door removed, luan installed on the face, caulked, and ready for paint. 


In the photo above, you see the opening under the entrance to the bed where the large storage drawer will be slipped in. the joints are all caulked and ready for paint.


The photo above shows the 3/4" thick pine I installed at the top of the outside walls of the bathroom. This will be used to mount coat hangars and such. Gotta make use of every inch of space in a tiny houseboat :-) Caulking and paint are coming together nicely...


The two photos above are of the bathroom wall where Debbie painted the ship lap look on. This has a cool look, but weights almost nothing!

 http://www.NCFishy.net

Saturday, November 19, 2022

Houseboat build, pg39...

 The bathroom... lots of headway in this area! I've been working on the drain layout under the boat, and where the drains from the lavatory, shower, and toilet will route. We have much of the walls completed, working on the cabinet for the vanity, installing the lighting, the header over the doorway, caulking, etc. Here's some photos and descriptions...


As usual, some of these photos are out of order. The photo above shows the bathroom light, installed once the paint in that area was completed. 


Above is a photo of the bathroom vanity being mocked up in the location it'll be installed, in. I'll be lagging that to the houseboat structure for stability. 


Above is a photo of the forward wall in the bathroom where it attached to the starboard wall. I just just finished caulking the corner joint where these walls join. 


Here's a peep through the bathroom doorway, and you can see where the toilet will be installed. The walls are still a work in progress with caulking, spackle, and paint. 


In the photo above, the new lavatory is sitting on the vanity cabinet as a test fit. It'll be installed with clear silicone and caulked to the wall, as well. 


Here's a look into the bottom section of the vanity cabinet, where the hot and cold water lines come in. The drain will go straight out the bottom. 


The four photos above show my masking tape notes and markings everywhere, while working out the fitment of the bathroom components. 


The three photos above are of the bathroom walls in various states of completion. These are also a "work in progress" as I spot fill nail heads, caulk joints, etc. Debbie is the painter, and lays the color on top of all this work. 


http://www.NCFishy.net