Wow, lots more headway on the houseboat project. We've been running every waking minute, trying to get this finished and on the water. My old body is taking a beating, but I think I can see the light at the end of the tunnel (hopefully it's not the train!) :-) . In this post, you'll see info on the completed ceilings, bathroom work, new LED lighting, custom painting, and couch progress. Here's a batch of photos and descriptions...


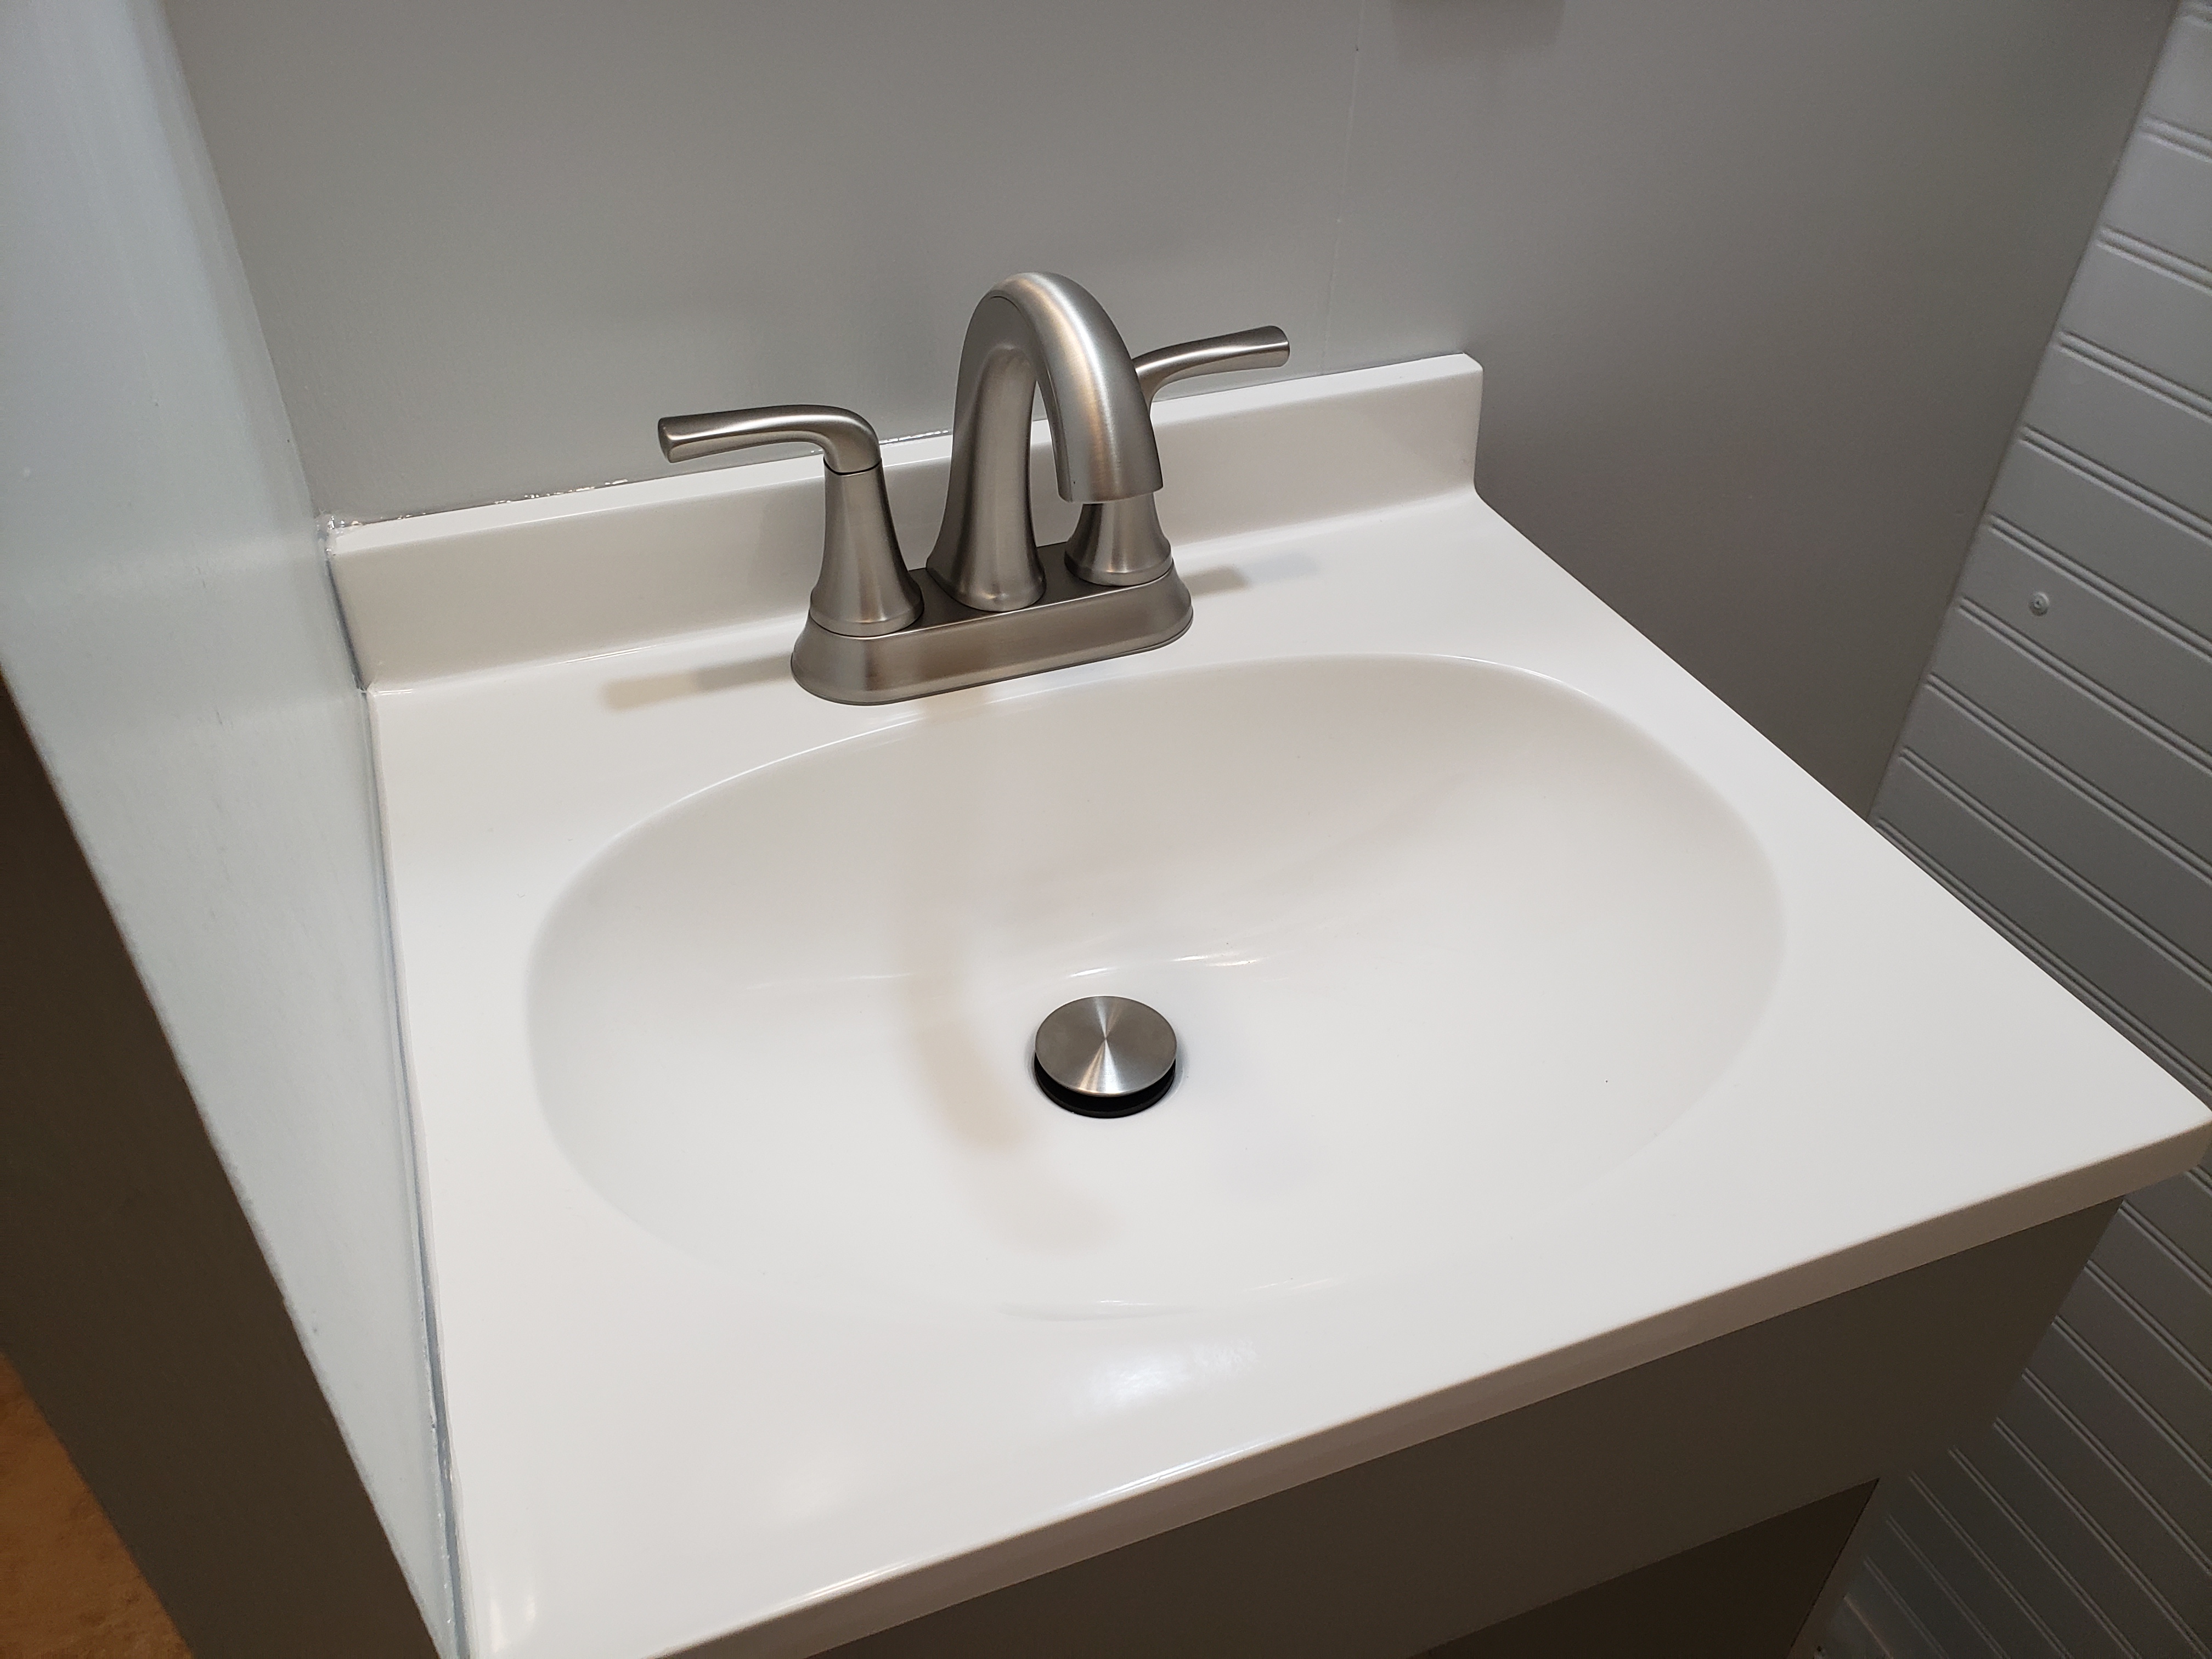

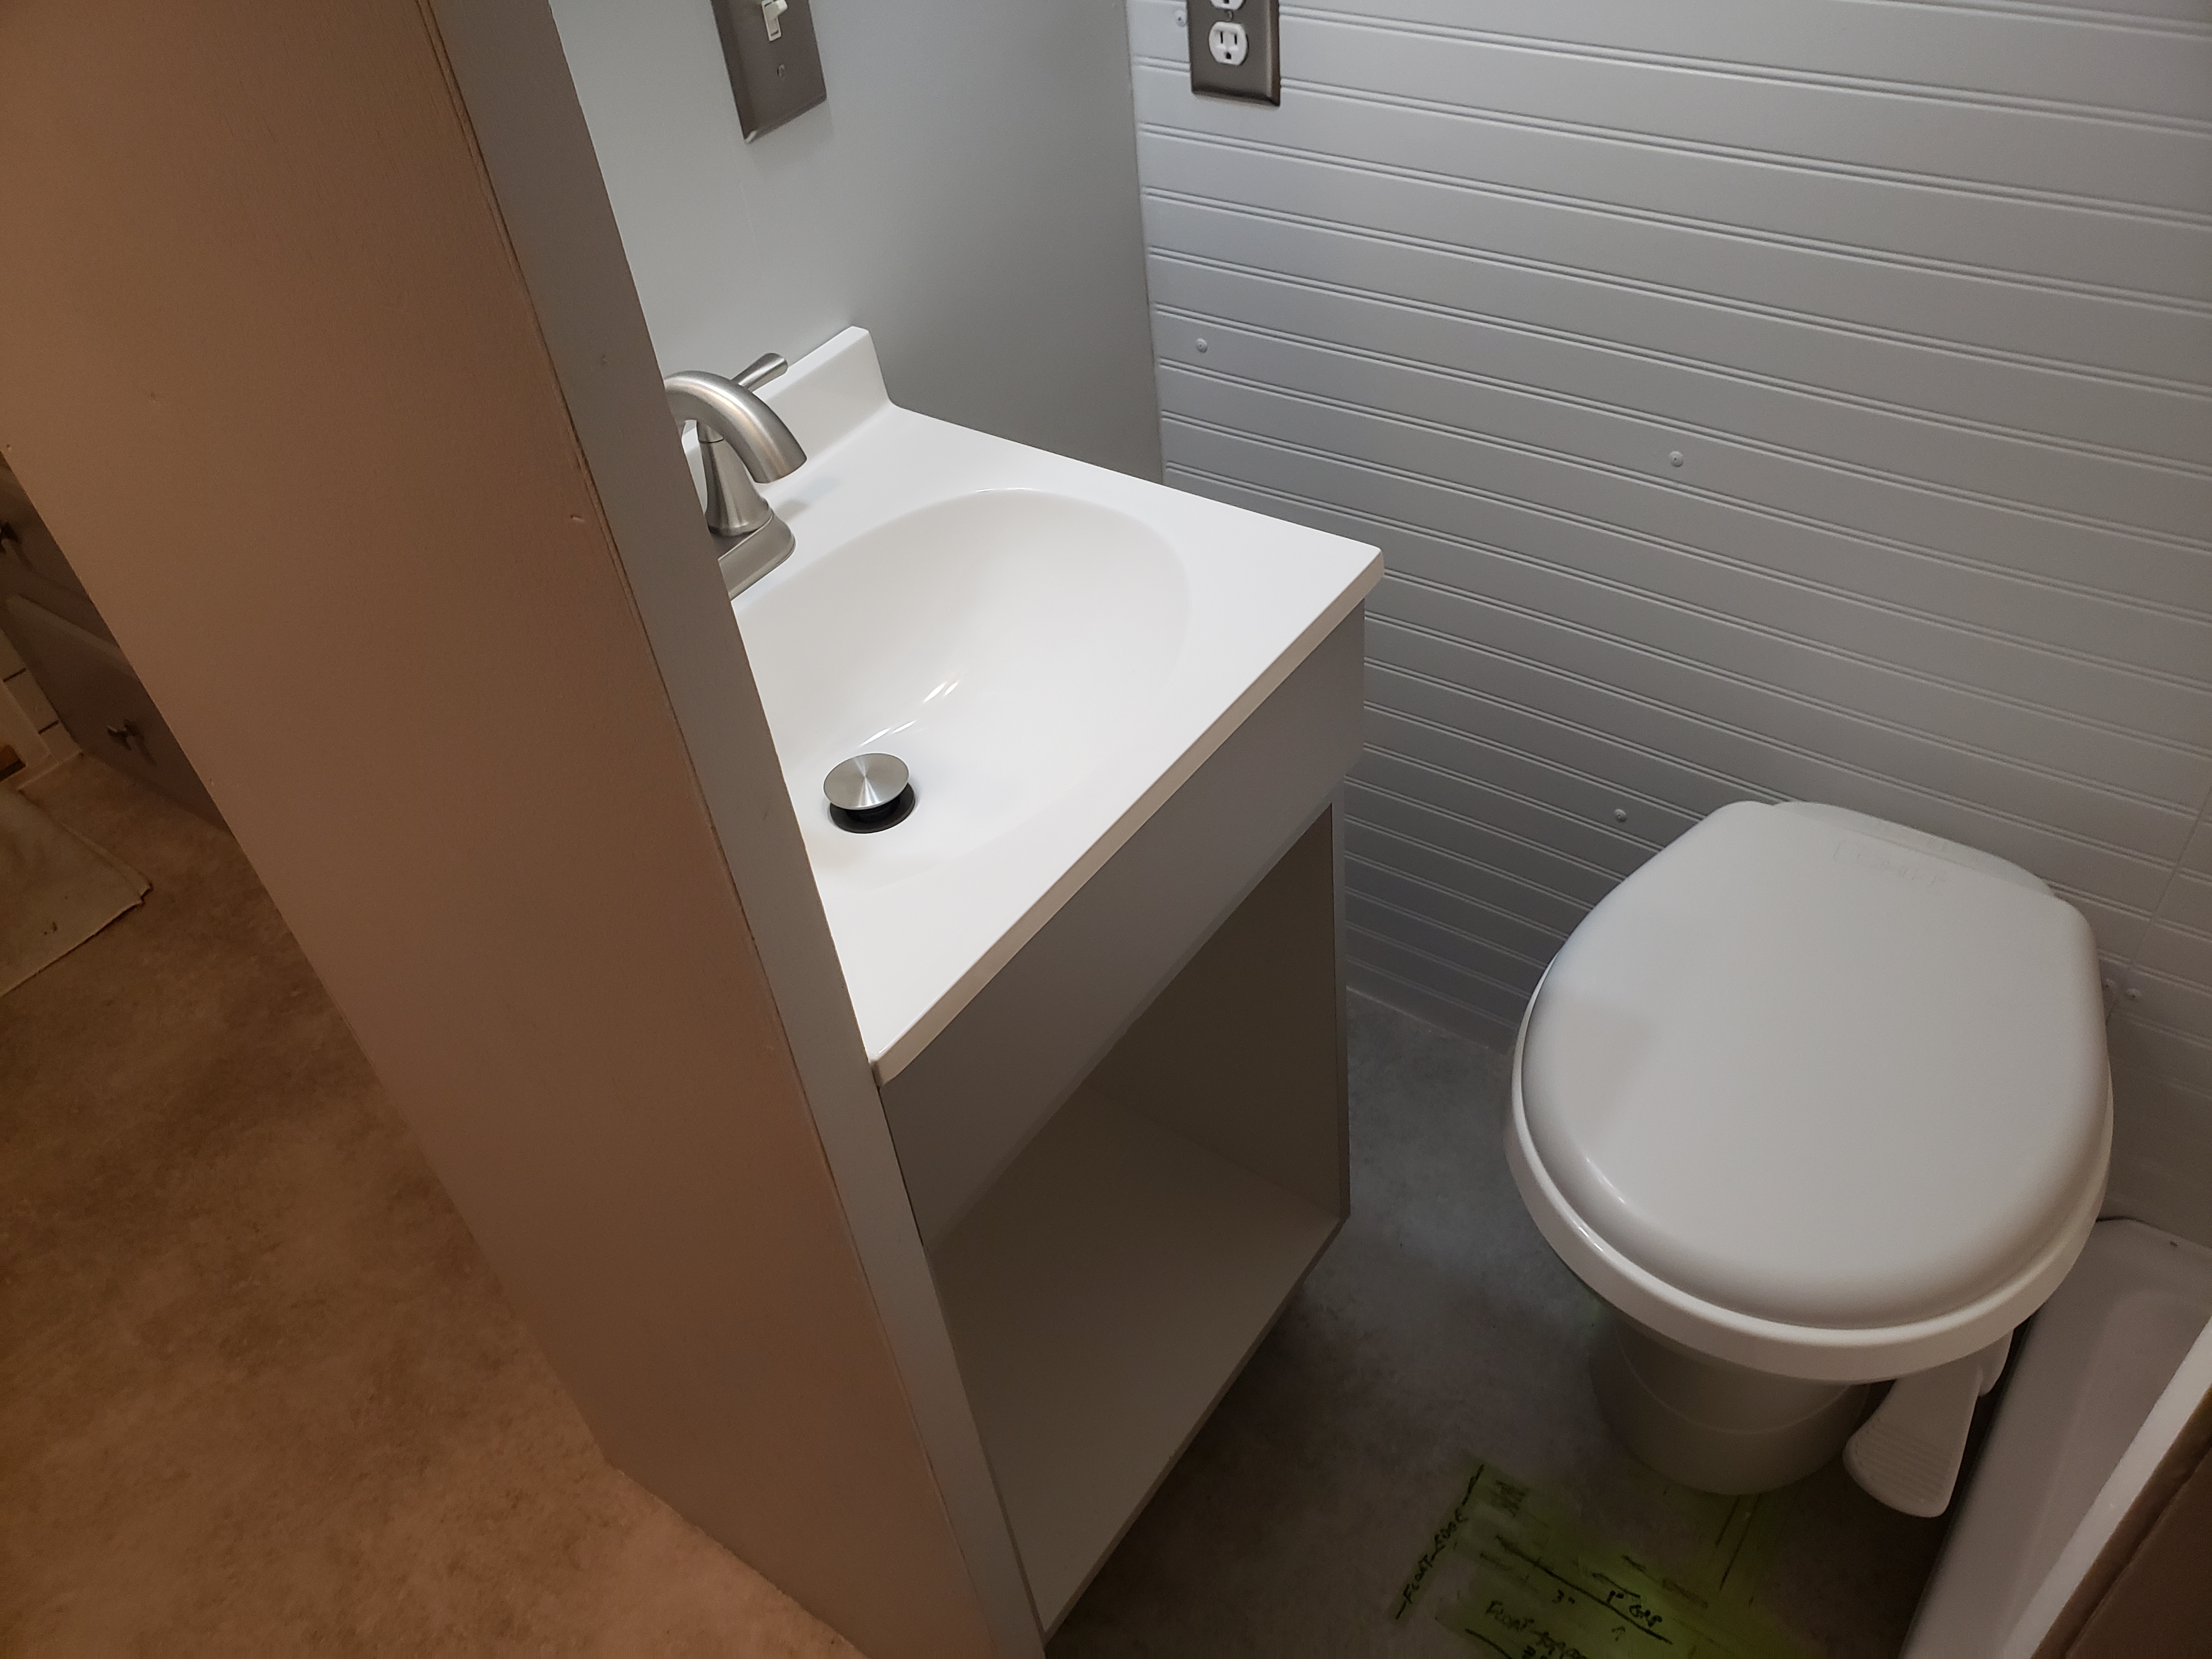
In the above 6 photos you'll see the bathroom vanity cabinet & lavatory assembly installed and bolted to the walls / floor for security. The lavatory faucet is a brushed stainless finish, like the rest of the fixtures in the houseboat. I used a "push up - push down" drain popup to avoid the need for a faucet with the little pull handle for drain control. Due to the location for the grey water drains and possibility of greater-than-normal flow rates, I installed a dual drain system. I was unable to drop the drain for the kitchen sink out of the cabinet floor, as the kitchen cabinet is 20", and the outer pontoon extends 21"inward. So, I routed the kitchen drain through the cabinet wall and into the space within the bathroom vanity cabinet. One photo shows me pointing at the hole where it enters that space. I installed two drops fro the drain under the vanity, and both the bathroom and kitchen will be tied together and drained at that point.


In the 5 photos above, you'll see the shower pan framework in place, and the pan installed. In pics #4 & #5 you'll see textured FRP installed for the shower walled with some of the trim. I have several wooden props fitted in place to hold the FRP in place while the construction adhesive is curing. I'll got back an caulk the corners and edges, and install the rest of the trim.


In the two photos above, you'll see the custom painting on the lower left and right hand front wall sections being completed by Debbie. She loves that "shiplap" look, and had that process perfected.

The above photo is of the convertible couch / dining area / double bed under construction. It's sort of a "U" configuration, I've built drawers into the outer sections, and the seat area is hinged to fold u and give access to more storage space. Debbie and Donna are building custom cushions for this, now.


All of the lighting in the houseboat is LED for energy efficiency, and the kitchen / dining area is no exception. Debbie found some cool LED lighting with built-in timers that can be set to 1, 5, and 15 minutes (or constant "on"). I installed 4 clusters of these over the cook top, kitchen sink, couch, and starboard counter top areas. Here's a few pics, including the last three showing the illumination at night with all of the other lighting "off".


The 21 photos above are various pics of the ceiling installation in the bedroom, bathroom, and kitchen / dining area. I used vinyl soffit for it's light weight and the look that sorta flows with the "ship lap" custom paint and wainscoting on the starboard & port walls. It is secured with vinyl J-track at the ends, and #8 screws. I ripped a piece of pine for the peak of the ceiling, down the center of the ceiling, like a "mini-beam". Debbie has painted the "beam" in the bedroom white (as well as all of the screw heads) to match the soffit, and it blends nicely.