Wow, busy times, and things are coming together nicely! We got the electrical boxes foamed in, got the luan up on the front and back walls, got the distribution panel cut in, windows foamed in the front, Debbie did some cool custom paint, and the bedroom lighting loop is completed and lights installed. Misc electrical covers are now installed, and a bit of trim work around them is completed. Here's a few pics and descriptions...
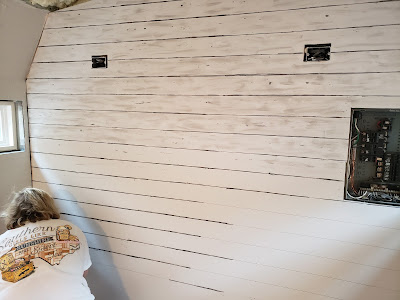
Debbie originally wanted to do a "shiplap" vinyl overlay on the back wall. This would have the look of shiplap, ut not the weight. She applied vinyl, but humidity, etc was just not allowing that to work out. She decided to paint it on, instead! Here's the first step of the process...laying down the horizontal lines and weathering.
Above it the artist at work. It's amazing to me, to watch her do this stuff in her crafting, but this was totally over the top. Wait util the see the end result....
Meanwhile, in the two photos above, I was getting the luan plywood cut and installed on the front wall. It fitted up pretty well, I still have to foam the receptacles / switches, and get it ready for paint.
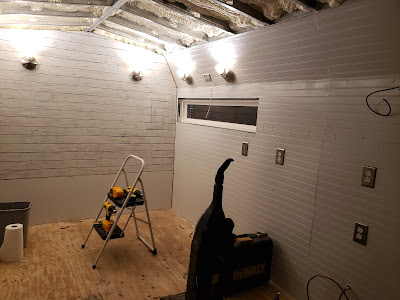
The three pics above are of the new bedroom lighting parallel power circuit in action, with the lights installed. The lights were originally designed to have 40w halogen lamps installed, but they are HOT! I retrofitted them with 3000k soft white 4w LED lamps. You can't tell the difference in them, but they pull considerably less power and are MUCH cooler! In the top and bottom pics of this group of three photos, you'll notice a white cable hanging down. This is for a small TV that will be mounting in that area, once finished.


