We got a few more things done since the last post. All of the plumbing "up top" (inside of the houseboat) is completed and tested. All supply lines, drain connections, on-board freshwater system and pump, low capacity on-demand hot water heater, and freshwater drains are connected, tested, and ready to rock! Here's a few pics and descriptions...
Above is a shot of the plumbing under the bed. On the far left you see the low capacity 115 vac / 1500w on-demand hot water heater. It's set up at about 125 deg F. The red item about mid-photo is the 12vdc water pump, it supplies 3 gpm with a cut-in of 25psi and cut-out of 45p psi. In the RH side of the photo you'll see the white virgin polypropylene 42 gallon fresh water storage tank. The system is designed to allow fresh water to be supplied from the shore-side via connection on the dock, or provide stand-alone hot and cold water from the house boat's self contained water system.
Above it a better shot of the fresh water storage tank. It's blocked in, just behind the large 34" long x 12" tall front access drawer under the bed.
Bathroom sink supply and drain being tested for performance and leaks. This is the bathroom vanity with the dual drain system shown in previous posts.
Kitchen stainless steel sink being tested for supply and/or drain leaks. This is the sink that was shown in a previous post to have it's drain routed through the wall and interconnected with the bathroom drain. All worked well!
Above are a couple more photos of the plumbing system for filling the on-board tank, operating from shore water, providing hot water, and allowing the system to be completely drained in cold weather.
This is picture of the partially open bed drawer, as seen from above. There are a pair of hidden switches just inside the inner edge of the drawer's opening, to control the pump and the hot water heater. I wanted simple access to these switches without having to lift the bed top, and as with most tiny-houses, there wasn't many other places to easily install these.
The above photo is of the bed drawer, closed. It hides the switches for pump and hot water control quite nicely.
The above picture is from inside of the bed, with the top lifted, looking forward towards the two hidden switches described in the previous photos above.
Another photo of the drawer closed, with me pointing at the upper edge of the drawer where the hidden switches are located.
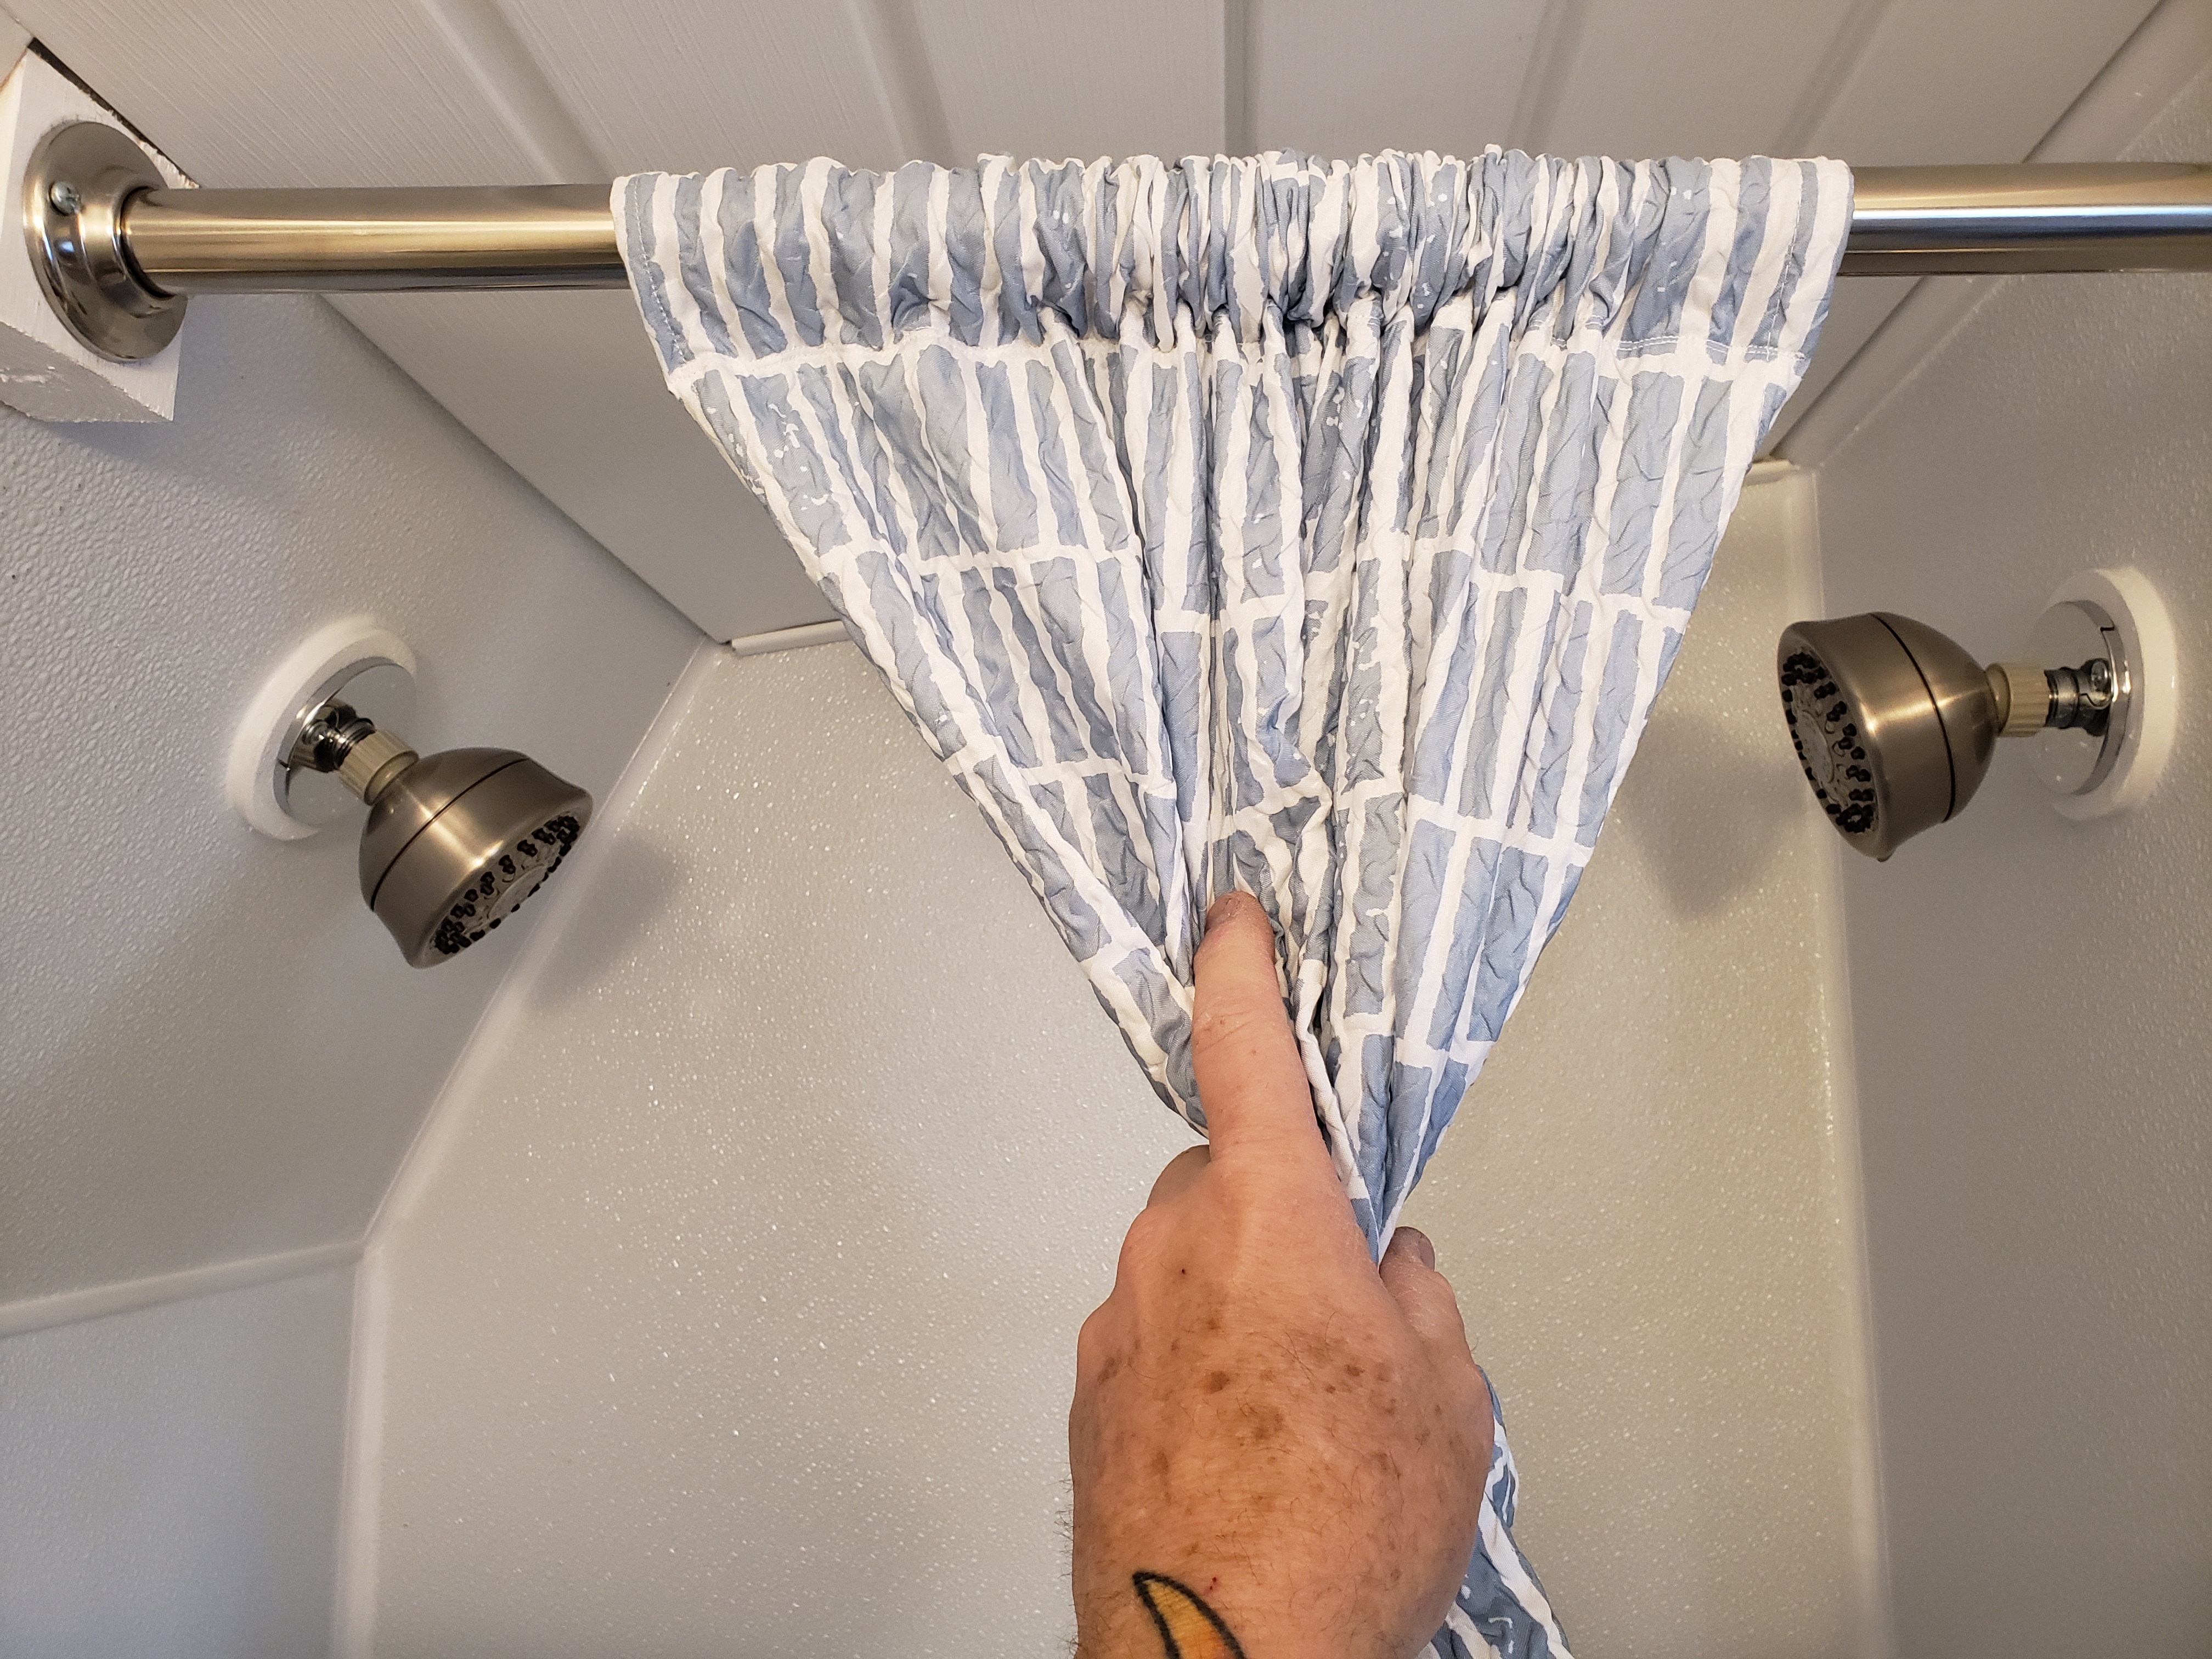
Moving along, above is a photo of the dual shower head setup (heads not installed). I made round spacers to allow a polished escutcheon to be installed. These were painted with exterior paint and caulked with 100% silicone.
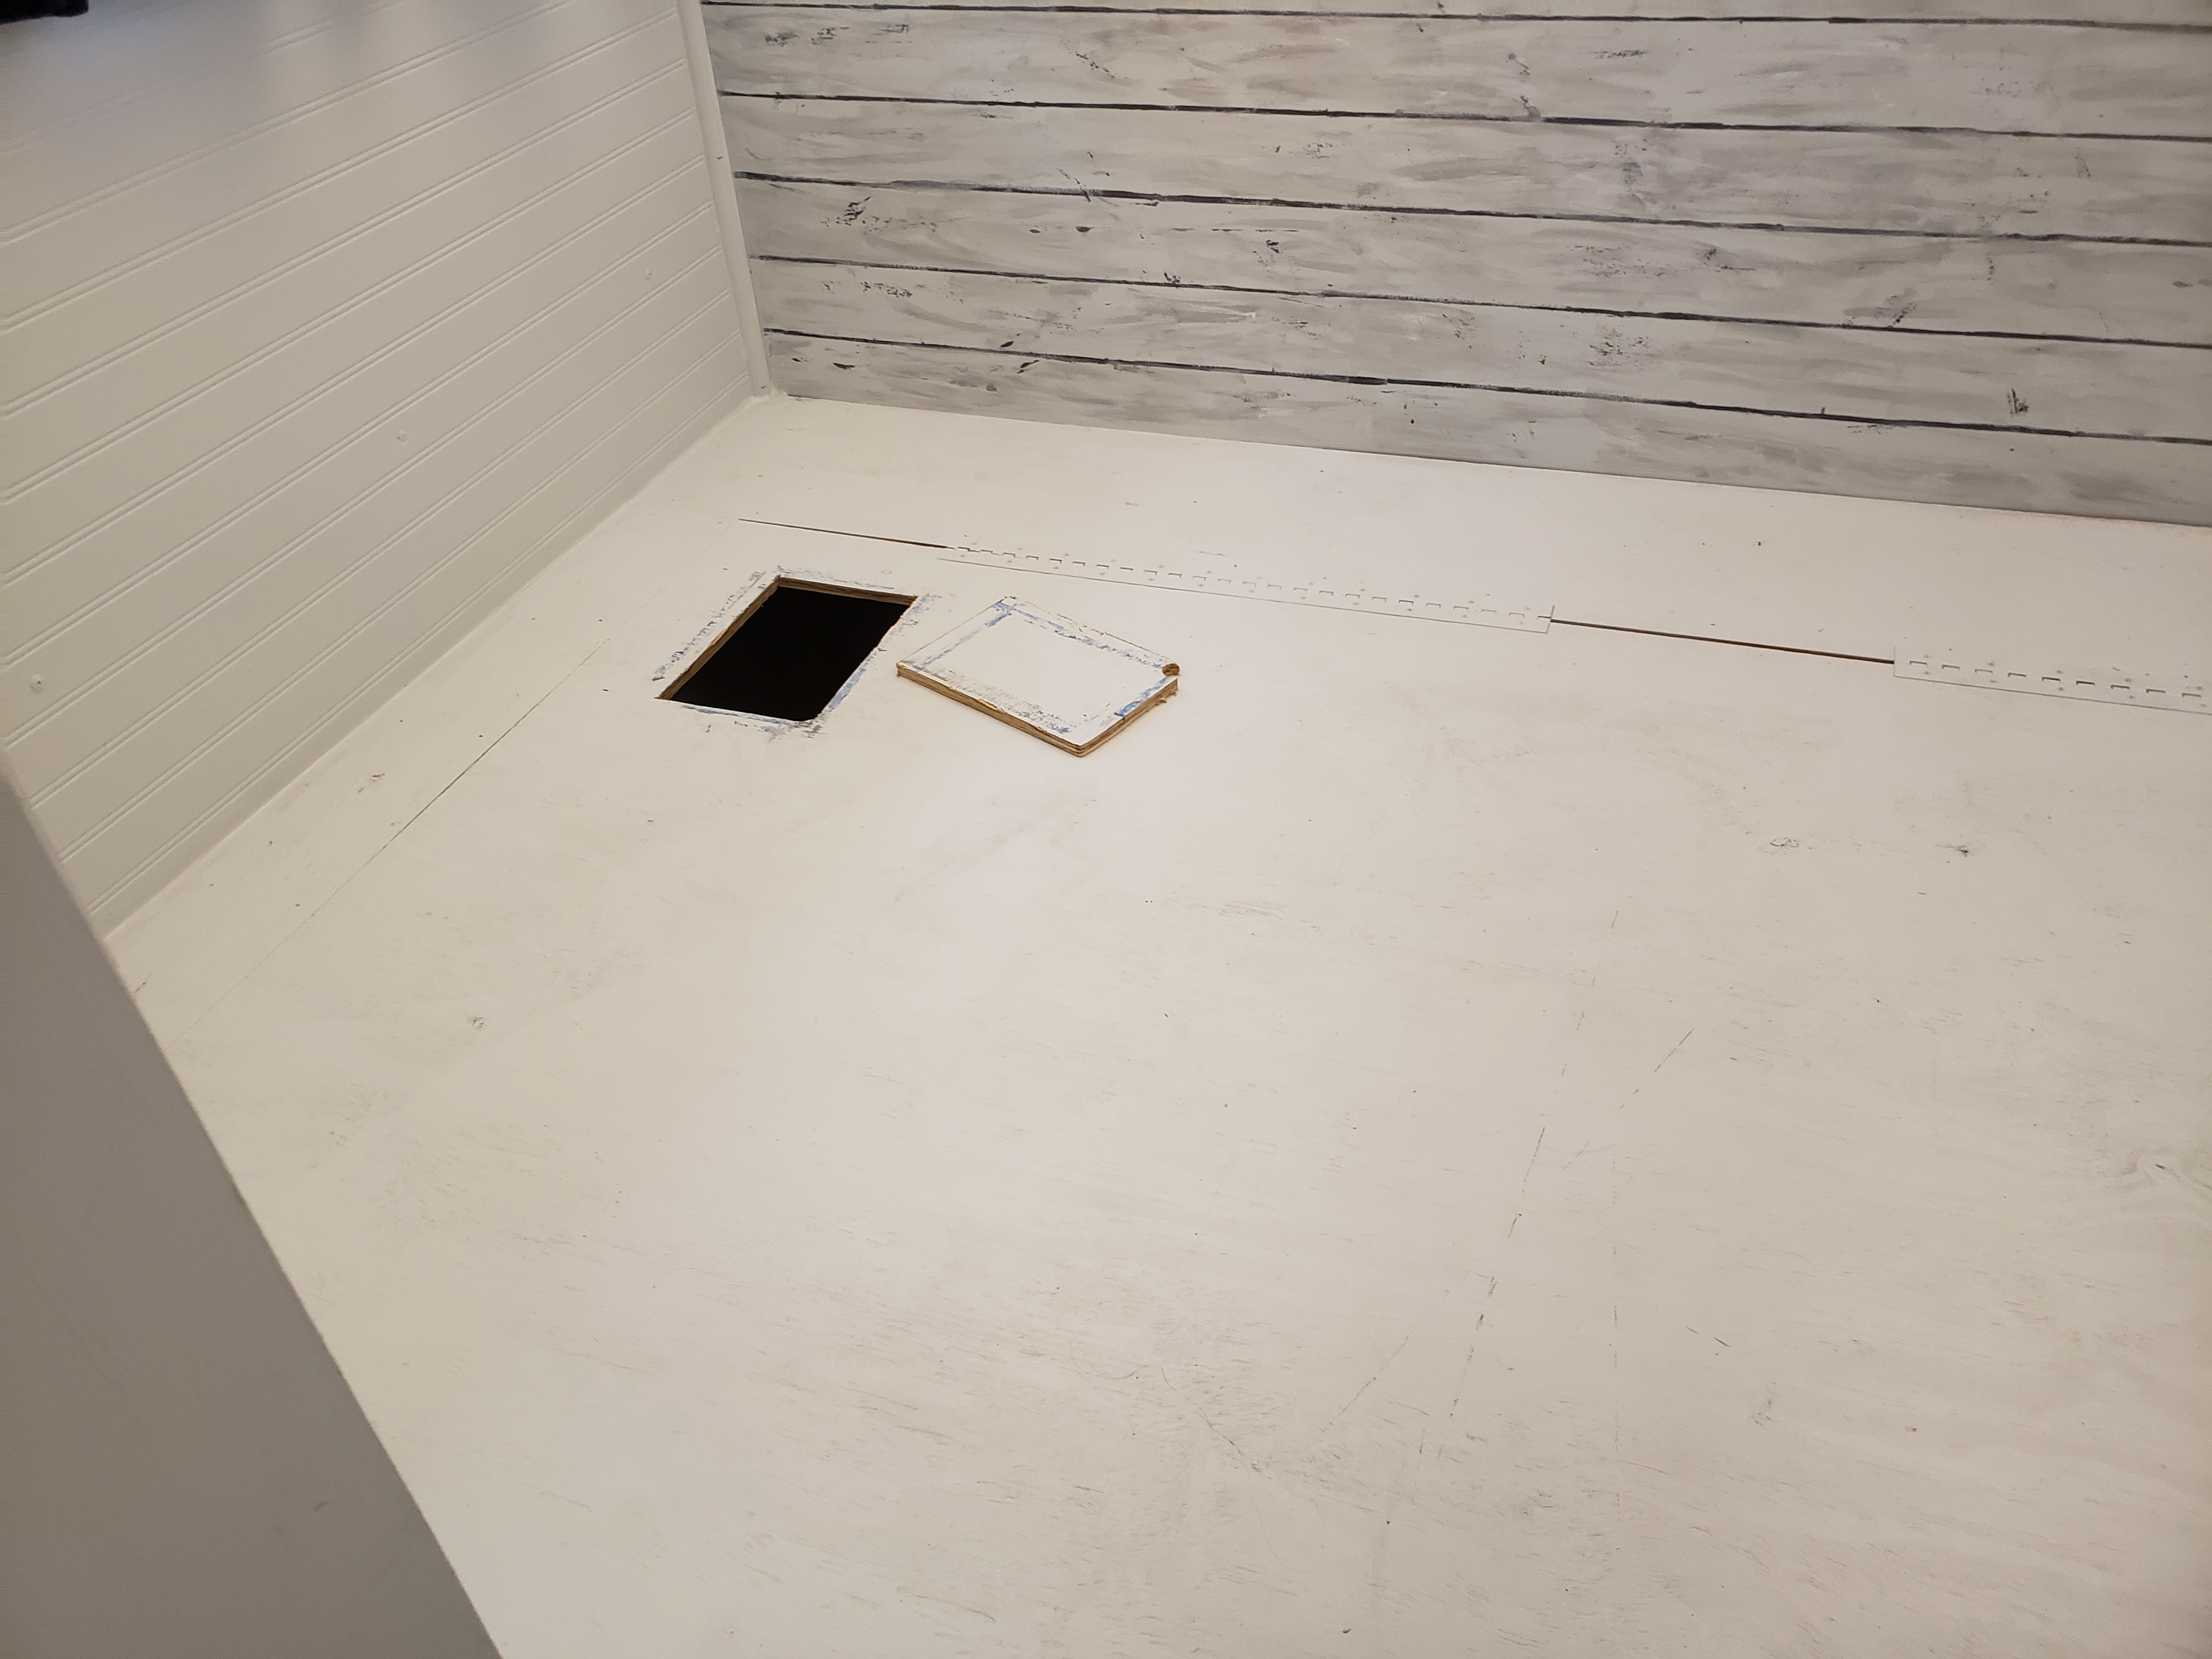
Back to the plumbing under the bed. I wanted an easier way to access the manual control valves without having to lift the bed top. I cut an opening, installed a finger hole, and framed it up to allow it to be easily removed and reinstalled. The 2nd photo shows the view through this service access.
The three photos above show the shower as completed, with the dual shower head system installed. I can't wait to give it a real try. The dual heads were an idea my dad had, to allow for your body to be quickly wet/rinsed without the need to turn around, and without the splattering caused by an overhead nozzle.
Lastly in this post... the new bed mattress is finally installed!! Yay!!! Boy, this thing feels GREAT!! This is a queen size custom built RV mattress. Only 47lbs in weight, but feels really good to my back. More on this once we actually sleep on it for a night.http://www.NCFishy.net