Wednesday, August 31, 2022

Houseboat build, pg6...

 A bit more work is underway on the Tiny-Houseboat project. Debbie has been working on the pontoon paint. We decided to sand and paint the outer pontoons to fill some minor pitting, and protect them from future corrosion. One of the photos below catches Debbie under the boat, working away with the orbital sander. 

Next, I got the Trex decking installed for the front patio. I still have to finish drilling, countersinking, and installing the deck screws through the Trex and into the lower aluminum framework. 

The last photo is a snap of Debbie's handiwork with the marine epoxy. We still have to lift the pontoons up off of the trailer bunking for application of the marine epoxy finish, once she has the epoxy applied to all of the exposed areas. Once the epoxy is finished, she'll be applying a top coat to color match the pontoons to the houseboat exterior trim. Here's the pics...


http://www.NCFishy.net

Monday, August 29, 2022

Houseboat build, pg5...

 I'm back with more pics! This isn't actually current, but I've just now had a little downtime to upload more info.The exterior walls are now reinforced with a complete interior metal stud setup, including top wall caps to tie it all together. The houseboat project is moving along nicely, and we're getting the appliances and other fixtures in now, for installation. Here's a bit of info on these pics...

Here's a batch of the 20ga 2x4 metal studs I used in the internal structure. These had to be cut to length to work correctly with the completed height of the houseboat. I designed this to have a total internal head room of 6'9". This was to keep the center of gravity as low as possible and be comfortable, but plenty of room for my wife and I. I'm 6'1", and since the inside will be illuminated with wall mounted indirect DC lighting, there's no need to a tall ceiling. 


Here's a batch of studs cut to reinforce the roof structure. These are VERY lightweight, less than 20% of a conventional wooden 2x4s, and aren't gonna rot like wood in a damp environment. 


The above pics are of the internal structure with all of the metal studs in place. Spacing is typical 16" off center, with the addition of a few extra studs for other purposes (rear emergency exit door and such). The flooring will be sheeted with 26ga aluminum, with metal studs on top for floor joists, and finally plywood underlayment for vinyl flooring. The entire structure will be "foamed" with closed cell foam to provide a vapor barrier and a superior insulation layer. 


Here's a photo of the top caps on the wall structure. This will provide a solid attachment point for the foor structure and really strengthens the overall strength of the wall. 


Next, we bought a lift to raise the pontoons up and off of the construction trailer for a little maintenance, one side at the time. The pontoons are about 1990 vintage and have a little pitting. Nothing serious, but we're going to coat them with a marine epoxy finish that is designed for this application, to fill the pitting and provide a barrier to prevent any further pitting in the future. Magnesium blocks will be attached to key location to help inhibit oxidation and provide a source for a sacrificial metal should there be any stray electrical currents in the water around the houseboat in the marina where it'll live. 


We picked up all of the Trex (synthetic deck board) for the front patio, and the rear deck (where the generator, LP tanks, etc will go...). This is a brown color and will never need to be painted, stained, etc.


The marine epoxy costings came in for the pontoon treatments. This was supplied by Paul at Progressive Epoxy Polymers in NH. Paul is a wealth of information and very well known in the boating world. 


New vinyl windows for the front and sides of the houseboat. VERY lightweight, and available right at Lowes. Wow, what a find. This will make for an easy cut and fit installation. We also picked up the full front door jam kits (not in this pic) for the front entrance door, as well as the lower thresh hold. 


In this box is the cool new vanity combo (cabinet, lavatory, etc) for the bathroom. The total package is only 55 lbs, and also came from Lowes. Weight is paramount in a houseboat, and we select most items based on weight. We get some funny looks while going around with a set of bathroom scales and weighing materials for the houseboat project. I'll post a pic when we open the box.  


Debbie found a person on marketplace who was updating a RV and had some light weight cabinet doors and drawers for FREE. Since we're building the cabinets from scratch, it'll be easy to work around these parts. Deb will strip and paint these, once everything is fabricated and ready for paint. 

More coming :-).... 

http://www.NCFishy.net

Wednesday, August 24, 2022

Houseboat build, pg4...

Lots accomplished on the houseboat project! First, here's a "toilet paper drawing" of the floor plan and houseboat layout. Lots of time was spent on the design, changes, and finalization. We now have the remainder of the flotation devices and interior appliances selected and sourced. It's amazing how much one can cram into a "tiny-house" of this size. Here's my crude drawing...


We got the lower tracks installed for the outer wall structure, and got much of the vertical walls in place. Next, metal 2x4's will be used to frame against the interior walls, and the upper track installation will really strengthen the structure. 


The last photo shows a prototype metal stud installed vertically in the corner. Next, I have to cut, fit, and install around 32 studs like this. 

http://www.NCFishy.net

Thursday, August 18, 2022

Houseboat build, pg3...

 Today was fairly productive. Dad stopped in and we talked about the overall project, especially the  plumbing design, and he had a great idea on how to maximize the 32 x 24 shower without it spraying water directly on the curtain or in the face of the person in the shower. More on that later, but I thought it was a great idea! Anyway, I removed all of the T-Bars from the logs that originally held the plywood flooring in place, trimmed the T-section away with the carbide saw, and reinstalled those. This will allow a solid metal skin to be attached to serve as a base for the foam insulation, once the floor structure is in place and ready to be sprayed in. Underlayment will then be installed for the vinyl flooring. I'll be foaming the entire structure inside...walls, ceiling, and floor...prior to the coverings being installed inside. A common complaint I've read about is a tiny-houseboat being cold or hot, due to people scrimping on insulation and using thin building materials. 


 Next, I removed the transom from the boat. I'll save it, but don't plan to use it. We aren't building this houseboat to travel the lake, we have other boats for that. We're just going to set it up with electric propulsion from a pontoon-style trolling motor on the front deck to move about the marina and out to spots in the clove close by. This frees up the rear of the boat for another flotation device between the pontoons, and allows us to build a small deck out back to support the generator, LP tanks, etc. It also saved a chunk of weight...the transom alone was over 60 lbs!


Worked wrapped up by getting all of the outside wall tracks installed, and the inside wall metal stud tracks installed. Next work day, the outside wall sections will begin to go up! I'll be leaving some panels out to be able to get the crane in and lift the pontoons up off the trailer, one at the time. I decided to put a coat of marine epoxy paint on these 32 year old pontoons to fill some minor pitting and protect them from the elements in the future. I wanted to get this done before I got to far along in the construction. 


http://www.NCFishy.net

Sunday, August 14, 2022

Houseboat build, pg2...

 The devil is in the details :-) Here's a shot of my crude engineering work on our new tiny houseboat project. There's lots of things to verify, and work out all the details, before the first screw is turned. Buoyancy, balance, total weight, etc. I found the data on the web to be incorrect for the old Lowe Sunbird's weight handling capability. Since this is stripped down and being designed from the ground up, I had the opportunity to calculate the weight and buoyancy and generate what I believe to be accurate numbers. The chicken scratch in much of this paper contains the following info that I'm archiving here for future reference. If it does some of you any good, have at it. This is for my own personal reference and not intended to educate anyone else...it may be wrong :-)


Buoyancy... the pontoon logs on this project are the old foam filled, U-shaped units with flat tops. They have about 154 sq. ft. of .080" 5052 aluminum sheet in their 24' length. The metal weight alone is about 175 lbs. There's about 60 cu. ft. of 2lb foam inside, weighing about 120 lbs, bringing the log weight to about 295 lbs. They can support about 3960 lbs, based on the displacement of 63.36 cu. ft. of water that weighs 62.5 lbs per cu ft. Subtract their own weight of 295lbs, the total support of one log is about 3665 lbs. The pair should support a load of 7330 lbs. if totally submerged. Half immersed should support around 3665 lbs. I'm guessing that the total weight of the project is gonna be around 6000 lbs, so I'll add another set of floats in the middle of the lower hull to add another few thousand pounds of lift...more on that later.

At this time, I've weighed all of the metal cross members, brackets, fasteners, trim, etc. Currently, the floating chassis is weighing in around 1000 lbs. I'm keeping up with every part of this build, so I'll post that data as the project moves along. 

I've talked with some houseboat owners, and read about lots of houseboat builds and problems. Much of the problem, other than load distribution and buoyancy, revolves around issues with wood failure. For that reason, I'm designing this boat so any wood is well above the deck waterline. The internal house flooring is to be raised above the deck, and everything below that point is metal. Hopefully any future issues would be easy to resolve, as opposed to the horror stories I've read of owners having to "un-build" the boat to repair sub-flooring and such. 

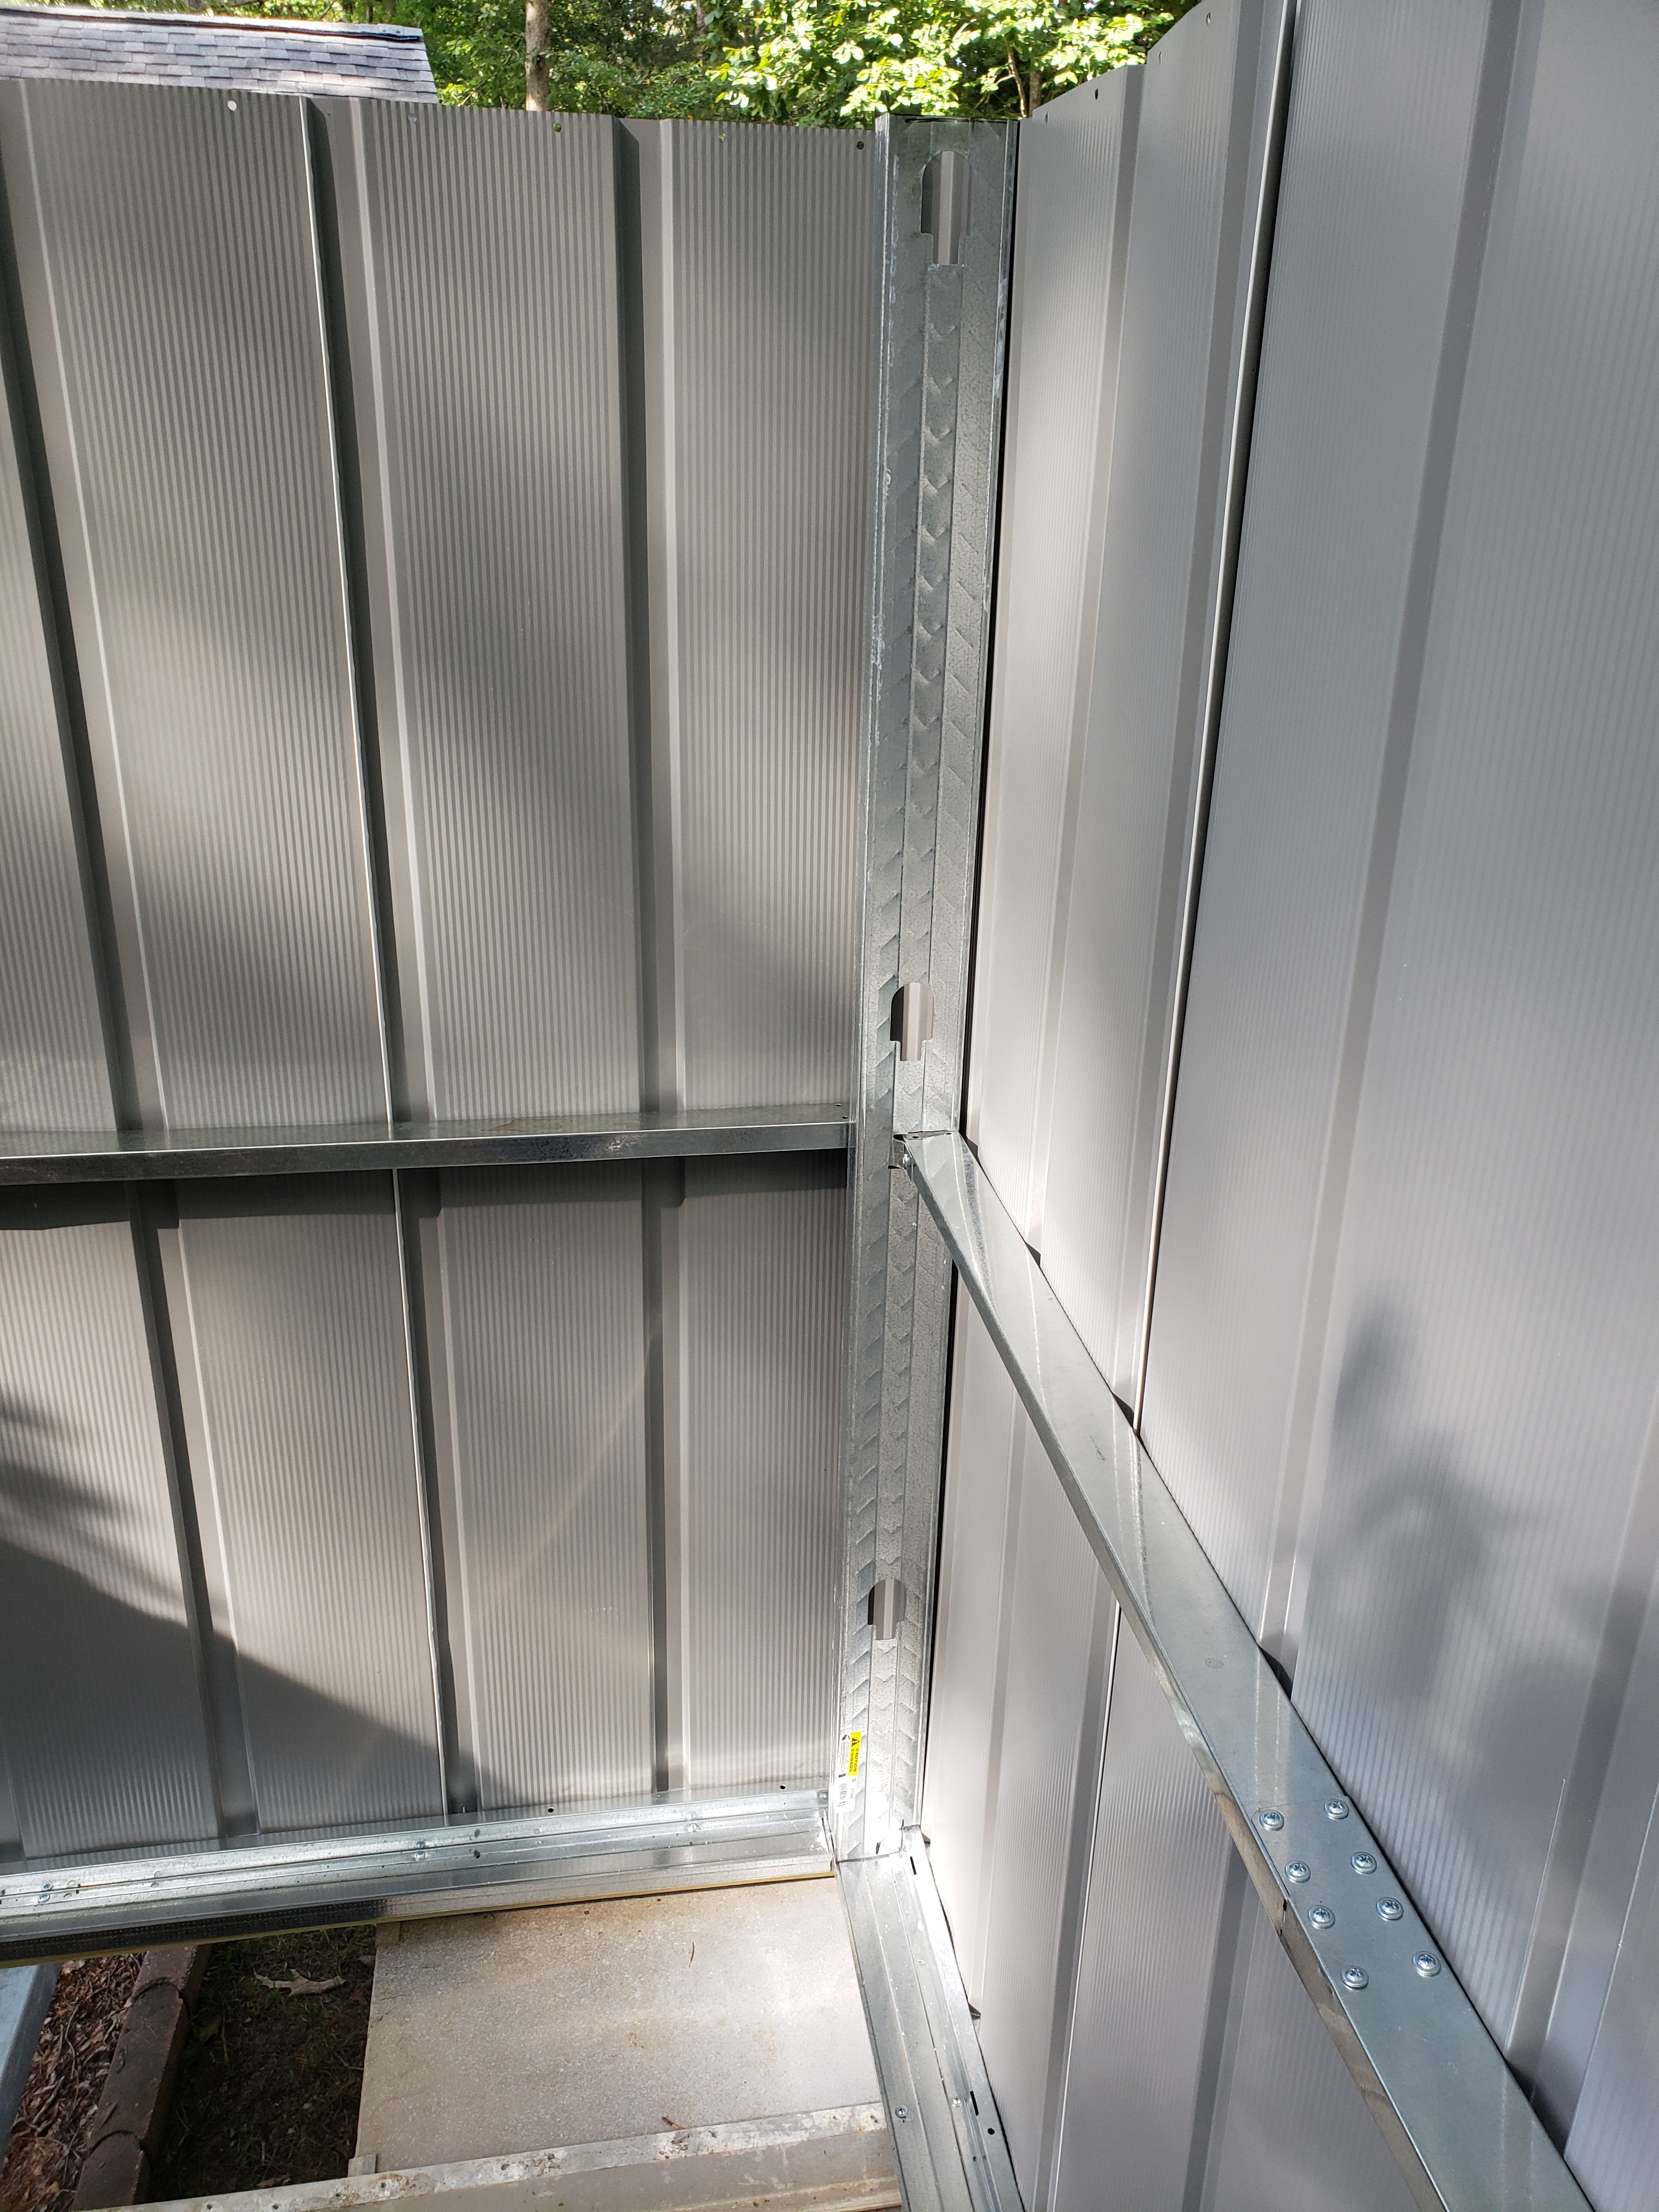
External Structure... We settled on a desired external structure size of 8' x 16'. We couldn't find a building of the size we wanted to start with. Most all buildings start as 10' x 14'. Custom buildings were very expensive. Most of the 10ft wide metal buildings have a low ceiling of 6ft or less. We decided to buy 2 metal buildings of 10'x14' in size. I will reduce the width to 8', and use the metal from 2 buildings to lengthen the building to 16'. I am installing an internal metal 2"x4" structure to strengthen the structure. Additionally, I now have enough metal to allow me to raise the structure to a 76" vertical wall height, with a little more headroom in the center. The entire metal enclosure should weigh in under 400lbs.

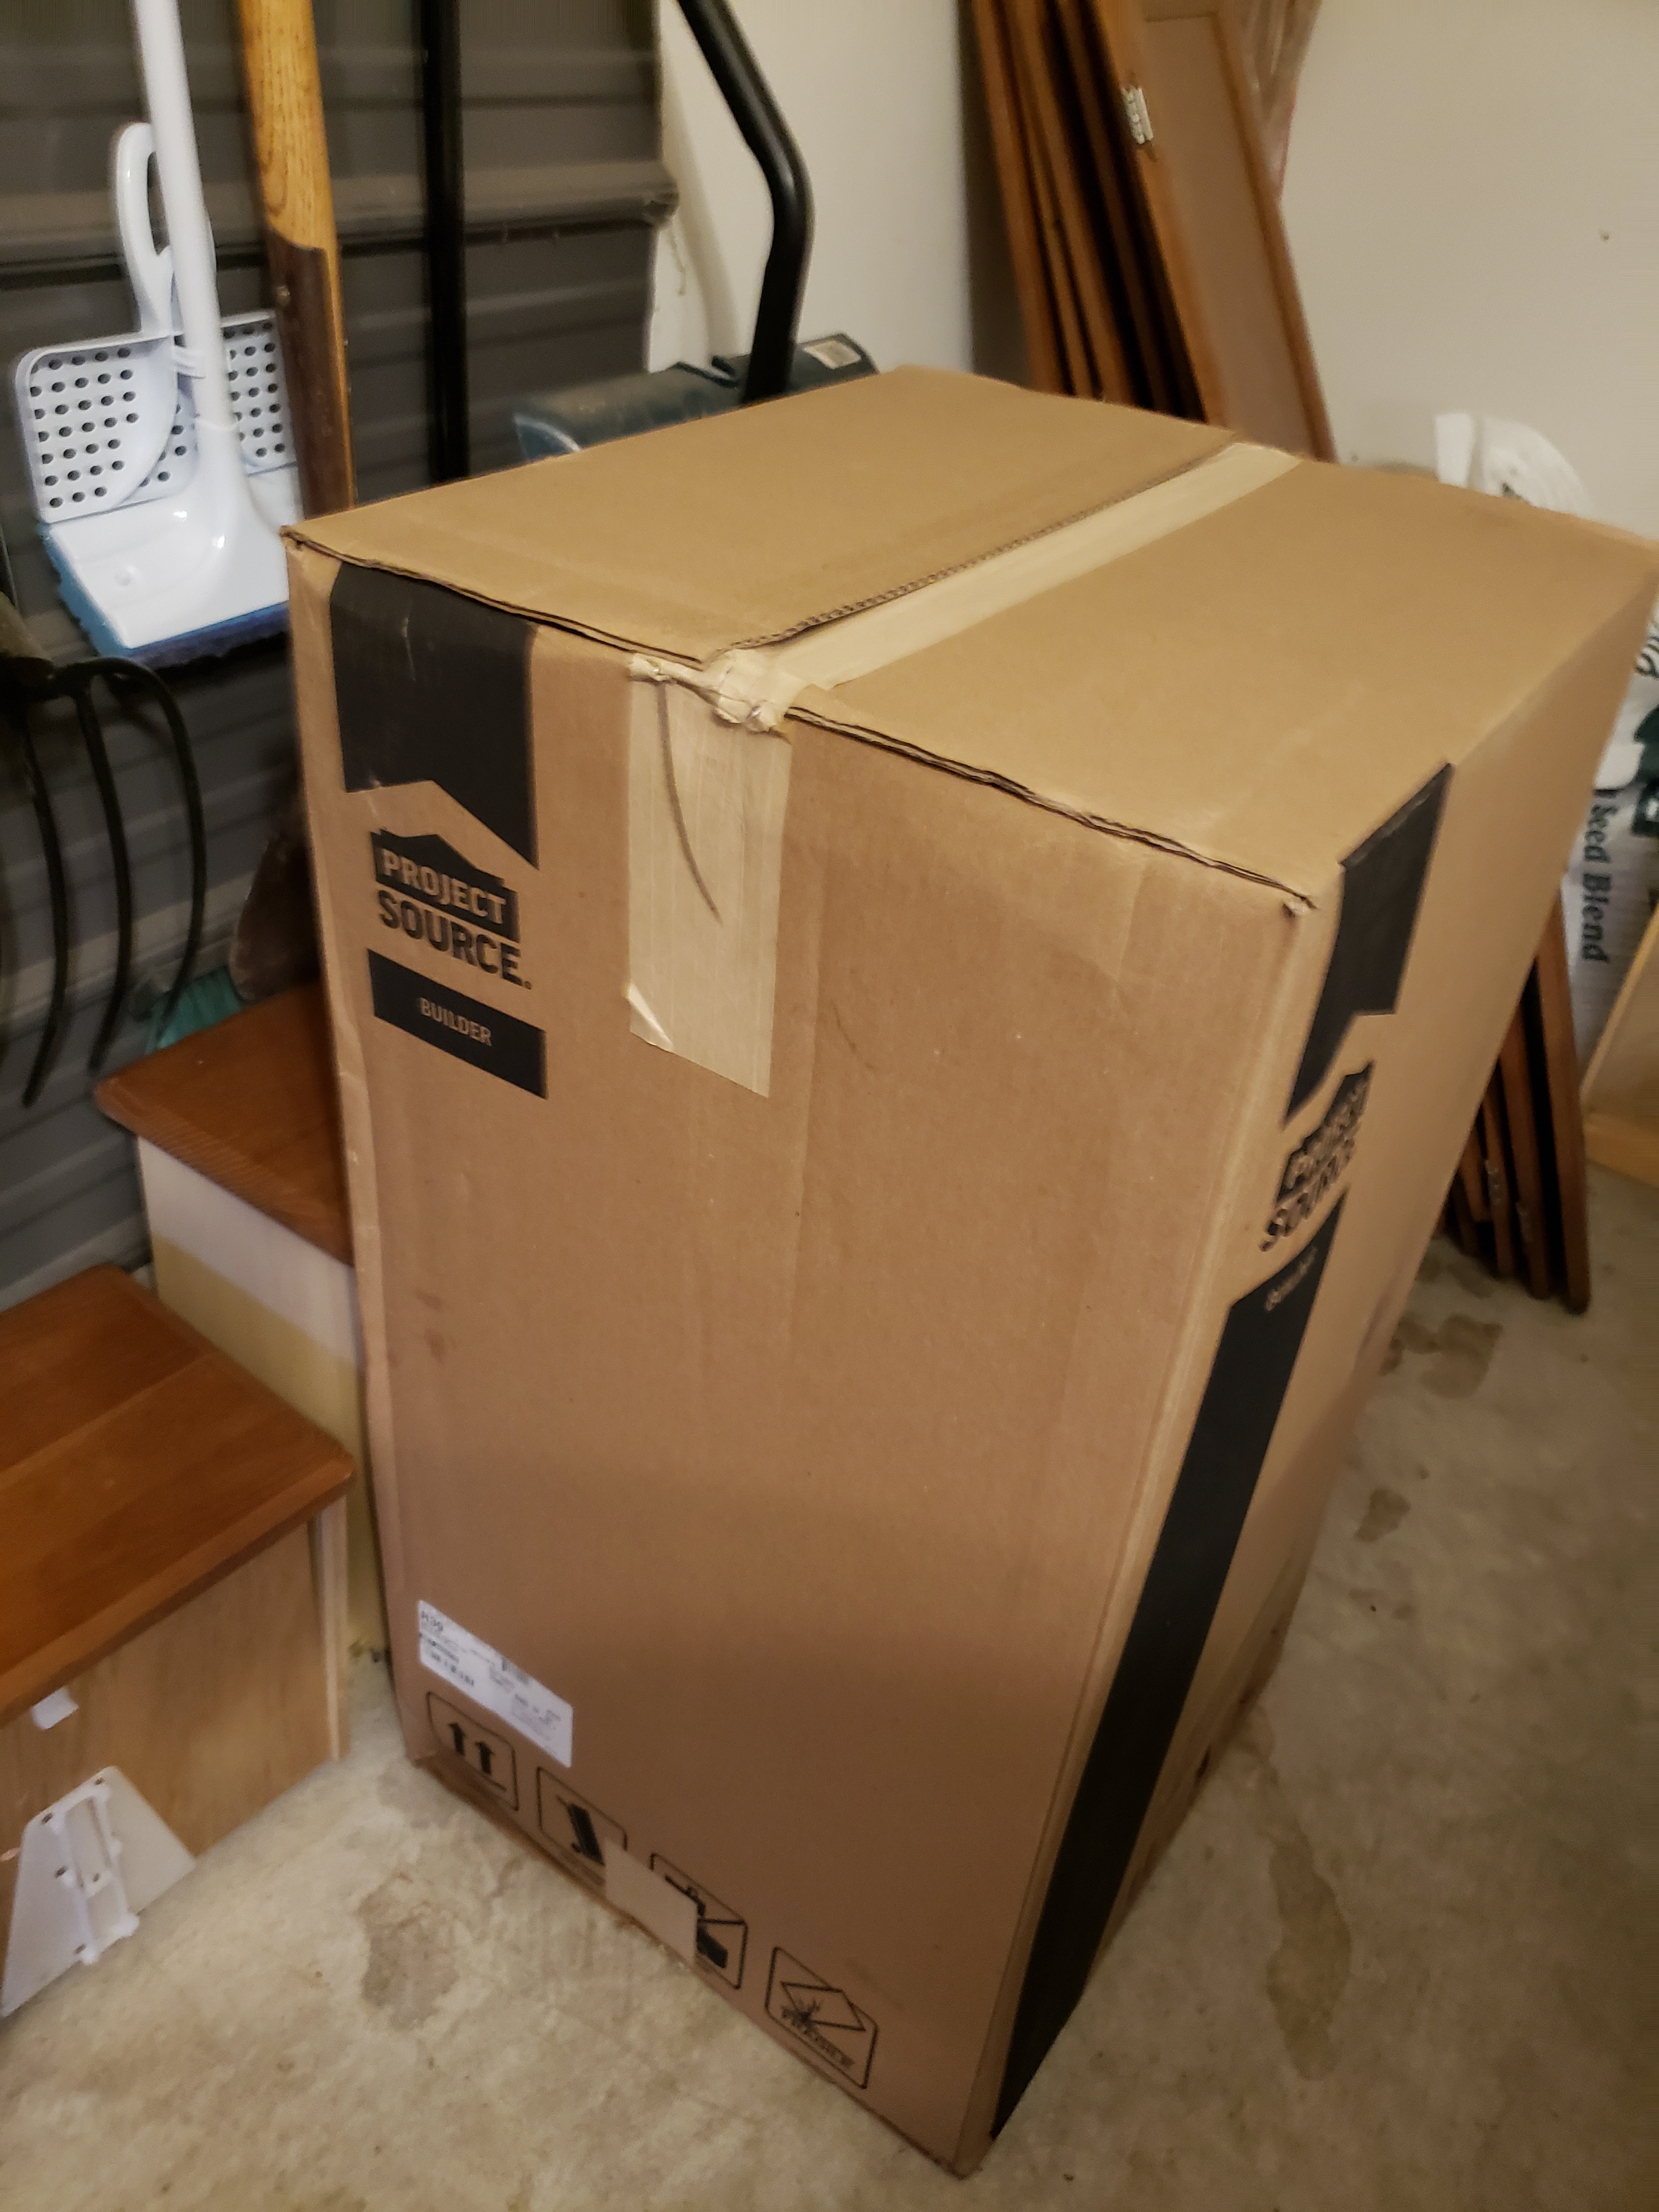
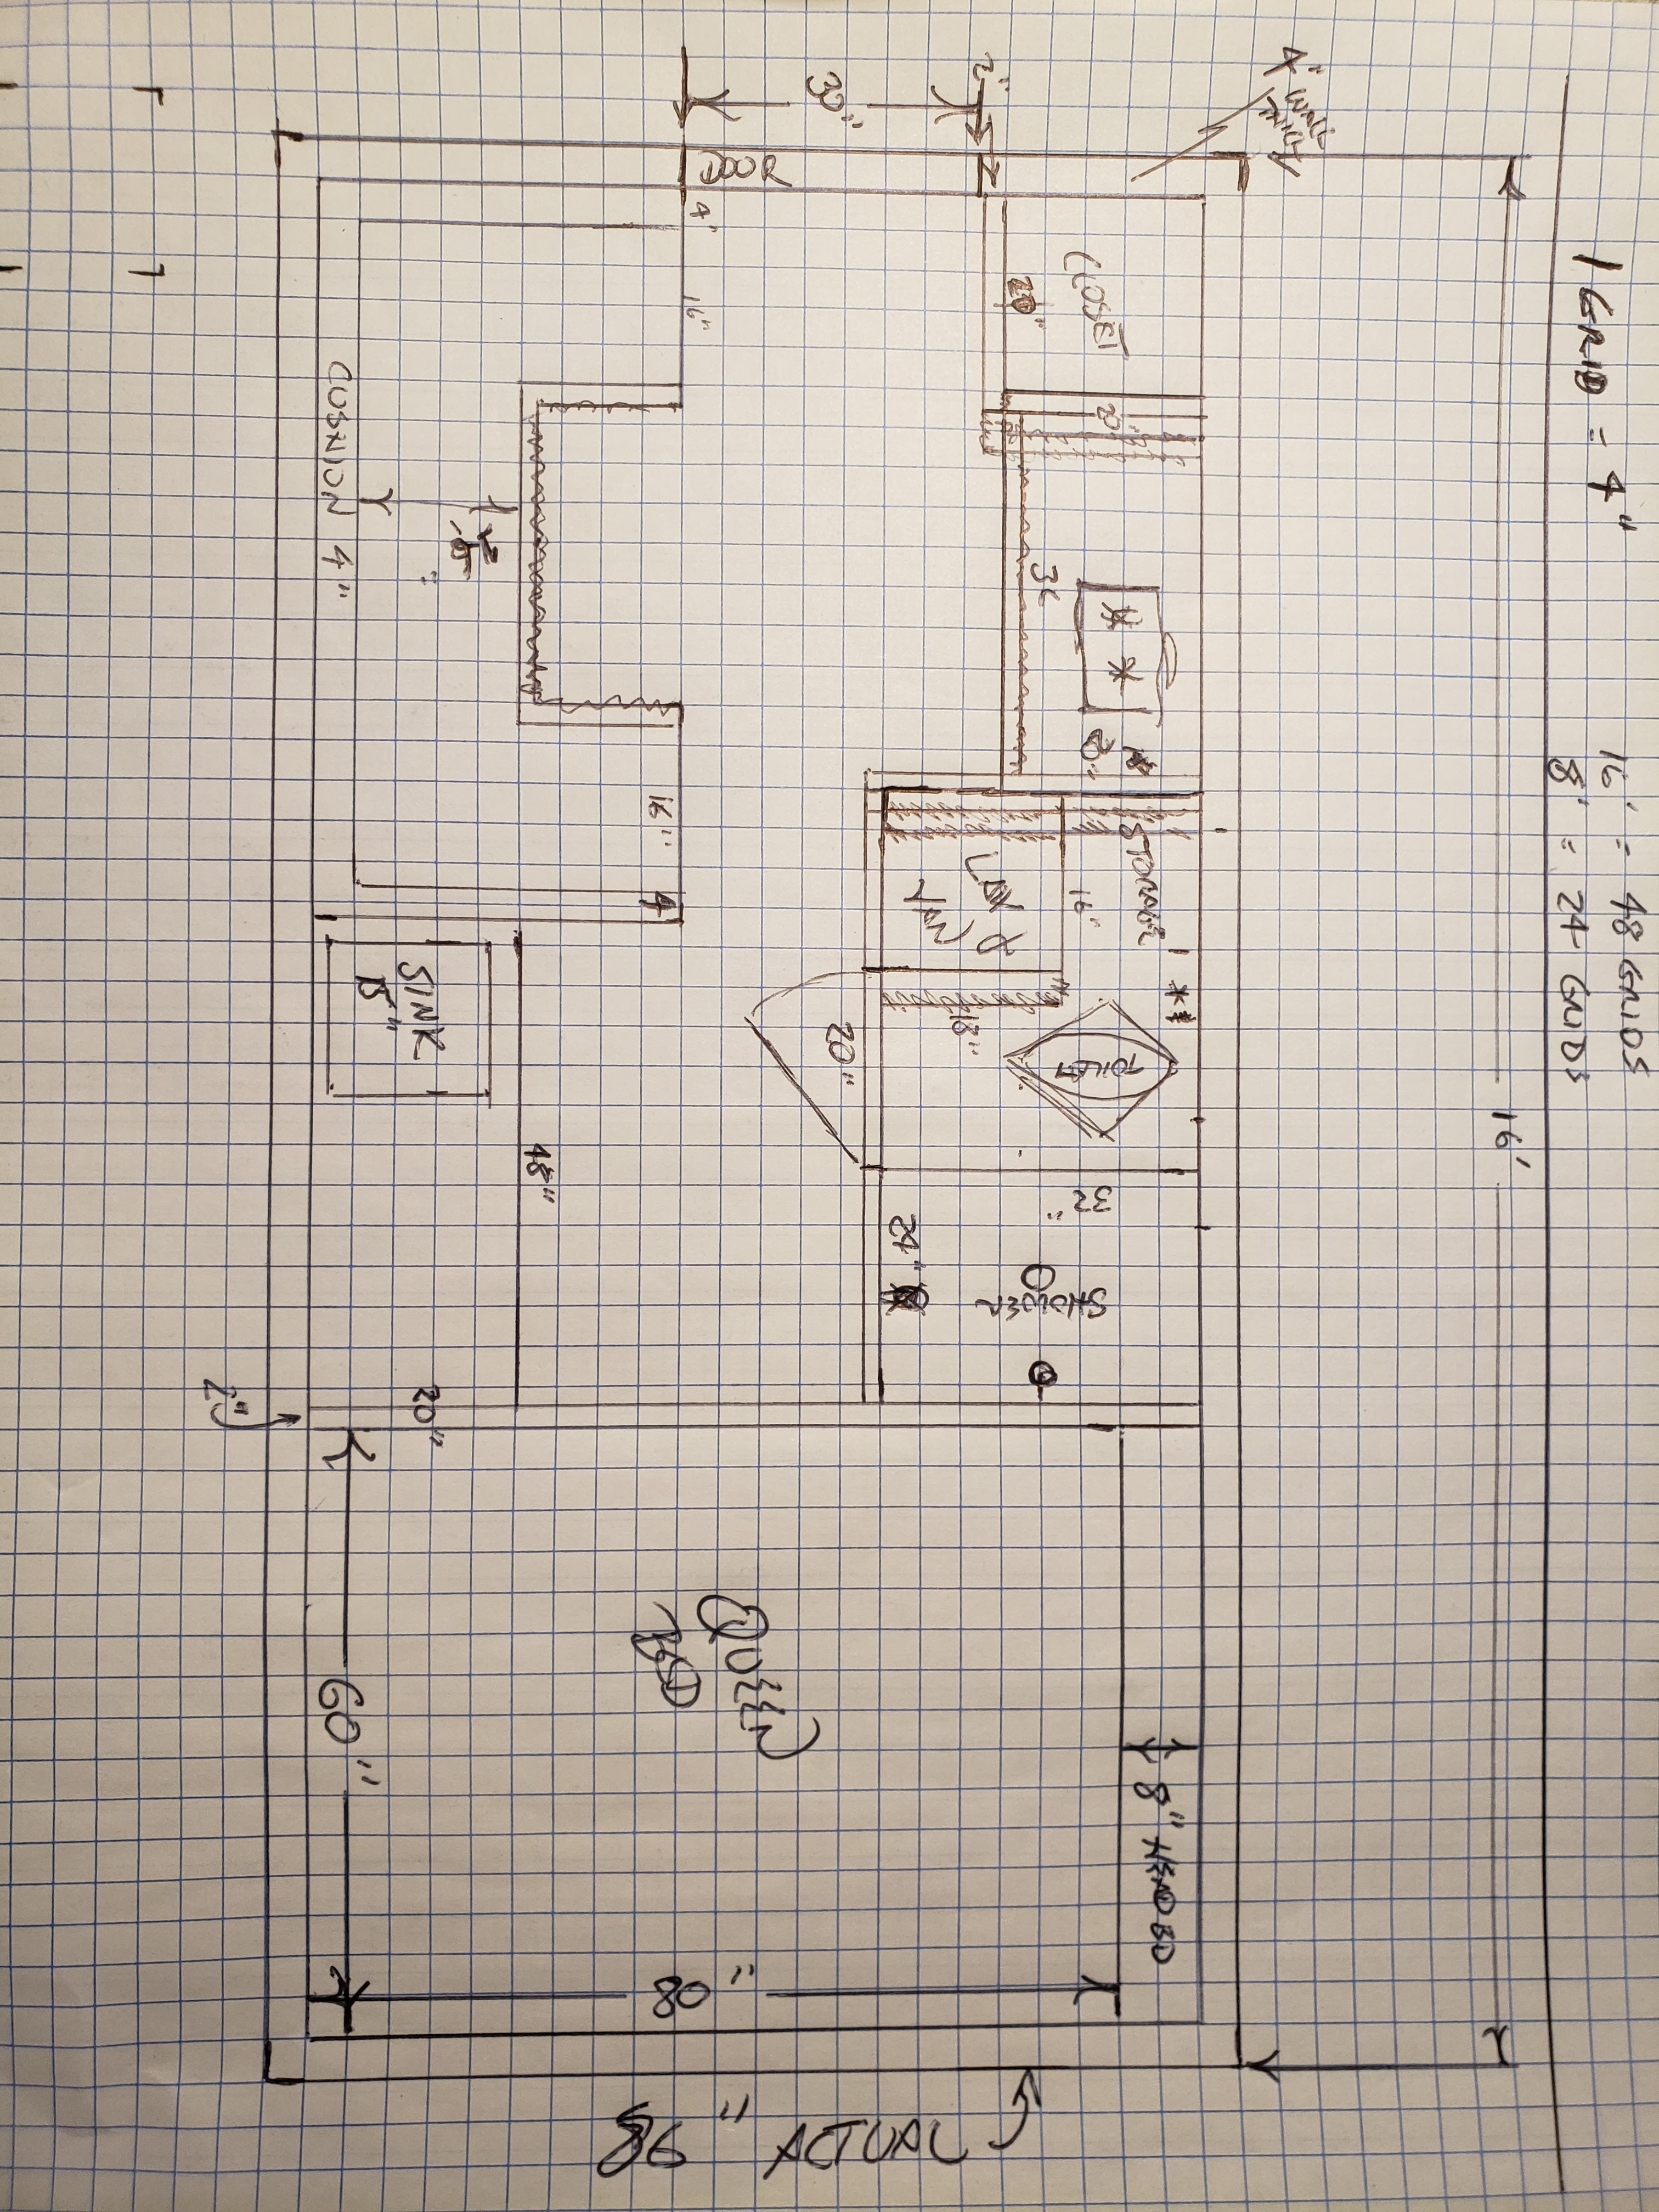
Floor plan... This is a tough one. Weight is so very important here, so I'll be weighing every detail and keeping up with the total as I go. I've laid out the interior to include a queen size bed, 7 linear feet of counter top, and a small bathroom with 24" x 32" shower, toilet, and vanity. There is a 2 burner drop-in stove top, dorm fridge below the counter, and kitchen sink. A small dining area up front converts to a couch and a full size bed as well. A small 5' x 8' patio area out front is to have a matching light weight metal roof from the leftover materials from building #2. I've purchased a light weight exterior door and vinyl windows I plan to cut down and use in the build, but it really depends on how the weight works out. 

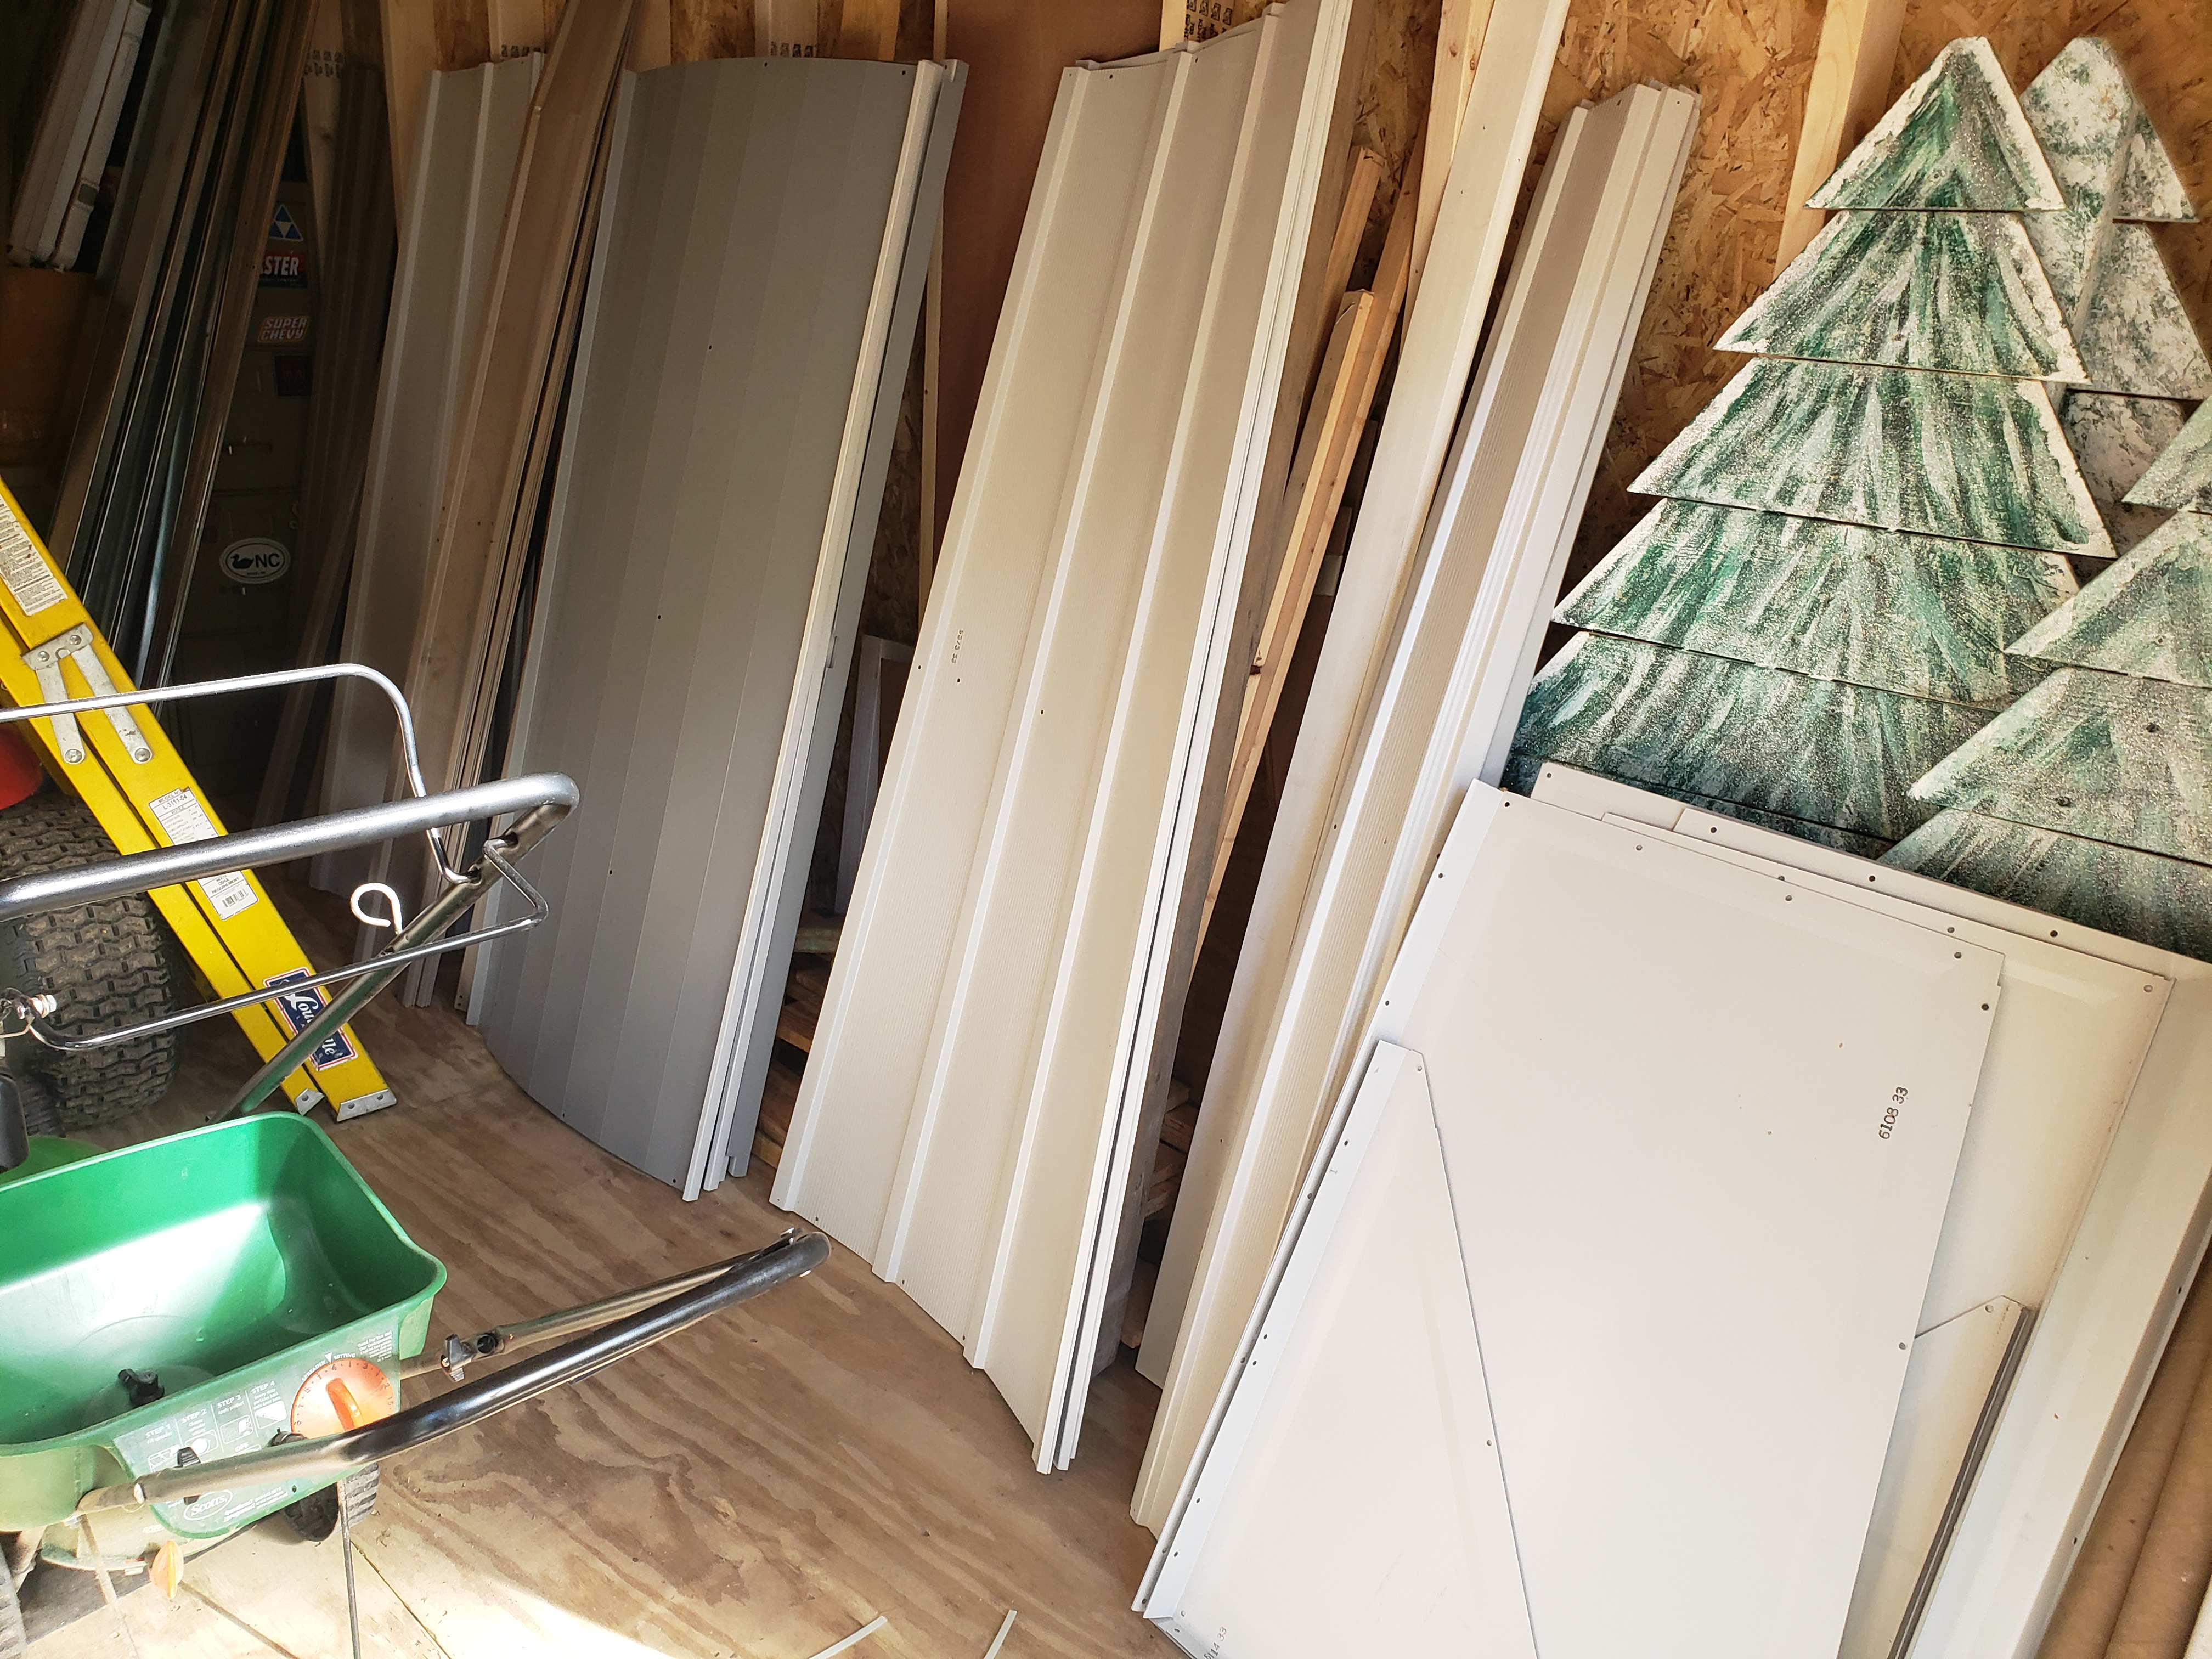
Below are a few pics of the metal building kits we bought to build this from. There will be lots of material left over, but we'll have everything needed to stretch the length, raise the height, and change the angle of the roof. It will be foam sprayed for insulation on the inside, then shaved flush with to studs and wall covering installed on top. This should make a strong but lightweight exterior wall. Interior walls will be fabricated from luan and 2x2 wood. 


Lastly, here are some of the additional floats I'm adding down the center to enhance buoyancy. These are 3' x 4' x 17" floats and capable of lifting 1023 lbs each. There will be 5 of these in the center, raising the total buoyancy to 12,445 lbs., or approx 6222 lbs at half immersion. That should be plenty of safety margin for this light weight "Tiny houseboat". 


http://www.NCFishy.net

Pontoon trip, 8/14/22

 Deb and I had to run to the marina to take care of something, and took a little short trip on the pontoon boat on the lake. A cloud was coming, so we didn't spend much time on the water. I did catch a catfish, but didn't get a photo. We got back to the slip, got the boat tied and covered, and the rain started just as we pulled out. Here's a couple of pics...


Friday, August 12, 2022

The Houseboat Project...

We've decided to build a small houseboat. Lots of reading and prep have gone into it, thus far. We located a platform of the size we wanted, and got started. A lot of thought has to go into things like bouyancy, load distribution, the weight of all materials, efficient layout, waste water storage, electrical requirements, and more. Once we got the platform, we began working on the interior design. We're going to use a lightweight exterior structure, reinforced with metal studs and closed cell foam. We visited a couple of camper dealers to get some ideas... 

Click HERE to see all of the postings about our Houseboat ...

Here's a few pics...


The two pics above are of the platform. It's a 1990 Lowe Sunbird. This one was especially heavy in it's original condition, with lots of wooden furniture and a full-size hard top. This is perfect, because they designed it to handle all that weight plus an additional 3000 lbs of load. Since the original decking and furniture is gone, that now gives us about 4500 lbs of capacity. Next, we're adding additional dock-style floats down the center to add another 2500 lbs of bouyancy, bringing us up to about 7000 lbs of "play room" for the build.


I pulled the platform over to the local weigh scales and got a total weight. My truck & trailer weighs 4880, so the platform weighs about 1000 lbs. I'll be weighing this during the build to keep tabs on the weight. 


The pics above are of it, when I brought it home. I stuck it in the back yard for the build. I'll have to level it up in a bit, before I get started.  


Below, we hit a couple of camper lots to get some ideas. These are pics of 16' used and new campers. We were surprised of the floor space waste we saw in them. I guess they're not as concerned about weight as we are...


Back at home, we now have the platform all level and ready to go. We're planning the primary structure to be 16' long x 8' wide. It'll have a 8' x 5' patio on the front, and space on the rear for a generator, fuel, and waste water connections. I'll post more as this project progresses.


Click HERE to see all of the postings about our Houseboat ...

 http://www.NCFishy.net