Friday, November 18, 2022

Houseboat build, pg38...

 I've been building the cabinet to stack the refrigerator, microwave, and a roll-out trash receptacle. It will connect to the kitchen cabinet when it is fabricated...

The first phase of this was to build a robust framework to support the refrigerator and microwave on top. We wanted to elevate the refrigerator so we wouldn't have to bend over to get things from the bottom. The entire structure is screwed to the structure of the boat. Debbie had an idea to build-in a roll-out solid waste receptacle, so here it is. The photo above shows it with the door test fitted...


The photo above shows the door open, and the trash can holder rolled out for testing. It will hold a 35 qt trash can. 


The photo above is of the first section with the roll-out trash can holder extended. It's lagged to the bedroom wall, and to the metal structure behind the port side wall covering. 


 Jumping ahead, here's the 2nd and 3rd levels fabricated, the refrigerator and microwave installed, and the outer luan covering installed on the structure. The last picture is after all of the joints were caulked and awaiting paint. The lower section is not covered, as the kitchen cabinet will be fabricated and attached on the lower side, so no covering is needed there.

 http://www.NCFishy.net

Wednesday, November 16, 2022

Houseboat build, pg37...

 Misc Framing... Much of the framing for rooms and partitions is coming together. The bathroom is now framed up and plumbed the bedroom wall partition is framed up, the header for the heat pump's indoor section is framed, and plywood added inside of some of the wall spaces for solid attachment points for things. Here's a few pics and descriptions, probably out of order...

Above is a pic of the header above the doorway into the bedroom area. I reinforced it with 1/2" B-C plywood to strengthen it and allow easy installation of the indoor section of the heat pump.  This will allow air to blow directly through the center of the house boat when running. 


The photo above is of the front wall of the bathroom, immediately above where the vanity and cabinet is to be located. This will allow for installation of the mirror on a solid surface. 


The above pic is of the bathroom wall, with the hot and cold water supply lines in place. The vanity cabinet will be anchored to the bathroom wall at this location. 


In the above photo you can see the light switch I roughed into the front wall of the bathroom for controlling the bathroom vanity light. The front wall is a 4" wall to accommodate the plumbing and electrical, while the inboard and rear walls are 2" thick to save weight and space. 


The photo above is of the inboard shower head in the bathroom. This shower is 24" x 36" in size, and has a small shower head on either side (2 shower heads). This will help keep the water in the shower as would happen with a single overhead shower head or a shower head spring one in the face, and wet the bather on both sides so as to not need to rotate in the shower while bathing... important in a small shower like this. 


This photo shows the shower pan in the place where it will be installed. I'll use the white poly panels on the walls of the shower.

 http://www.NCFISHY.net

Tuesday, November 15, 2022

Houseboat build, pg36...

 Completing the overhead cabinets... We got the cabinets painted, doors on, interior painted, handles on, etc. Wow, that really made the houseboat feel more like a house, and added lots of additional storage. Here's a few pics (somewhat out of order)...


In the photo above, Debbie was painting the bottoms of the cabinets (you can see the masking tape). The black cable hanging down from the bottom of the LH end is coax for the antenna of a VHF marine radio that will ultimately be installed under the cabinet. 


Here's the cool handles Debbie found for the upper cabinet doors. I still have to install the mechanisms to keep the cabinet doors lifted when open, and the catches to hold them shut when down. 


The interiors of the cabinets finished out very nicely, once painted. The interior shelving surface is independent from the bottom of the cabinets. 


The photo above is of the starboard cabinet. You can also see the door handle on this cabinet, and it's currently taped out for trim painting. 


The photo above is of the port side overhead cabinet. The LH end is open and unfinished, as it will butt up against the appliance stack I have to build for the refrigerator and microwave oven. 


The three photos above are of the overhead cabinets prior to installing the doors. These are anchored to the metal structure in the walls and ceiling of the houseboat. I can literally swing my body weight up on these with no loose motion. Very solid!


http://www.NCFishy.net

Monday, November 14, 2022

Houseboat build, pg35...

It's been a bit since the last update, so here's more on the build. Things have been going well and we've made a lot of headway. Here's a batch of pics and info... 


In the two photos above, I was installing the luan over the sub-flooring, in preparation for the linoleum floor covering. I laid it with the joints perpendicular to that of the sub-flooring. In the first photo of the two, you'll see a piece of cable coming out of the wall, near an electrical receptacle...that is coax and will be hidden under the couch area. It's for a ham radio connection in the dining area, once completed.


In the two pics above you can see the linoleum laid and looking good! Debbie picked out a nice, neutral color with no pattern to worry about lining up with other things. In the first photo of the two, you'll notice a piece of copper tubing coming out of the wall. This is the LP gas line for the 2-burner cook top to be installed, there.


Above is the bed frame, fab'd up to handle a queen size mattress, 80" x 60" plus a bit of space to be on the left for a headboard with cubbies. The brown panel in the center is where I plane to build in a large drawer. The top will be hinged to allow for extra storage underneath. 


Above, the the far RH corner, you can see the first piece of trim in place. I was trying to get a feel for how that would look, and if it were the trim I wanted to use. It turned out OK, so I'll be using this throughout the house where ever a corner is exposed.


This is a look down, from above the bed frame, showing the large drawer I'm building in. It'll be 34" deep and about 11" tall. It will ultimately be almost the entire width of the entryway into the bedroom. 


In the two pics above, you see the bed frame...all finished, covered, hinged, and some of the paint in the exposed areas applied. Until now, I've used very little heavy wood, but a few things like the bed, the refrigerator build-in, and lower kitchen cabinets will use spruces 2" x 4". Spruce is much lighter than with pine and others, and about the same cost. 


YAY!!! In the three pics above, you'll see that the interior walls are now going in. In the first pic, the structure closest to you is the bathroom...the shower pan is on the floor for sizing / fitment. The bed frame top is a holding area for things I have to fit and tools, now :-) Some walls are 2" thick in the areas where I can get away with it, but the wall behind the area where the vanity will be, is 4" thick to more easily accommodate the water supply lines and wiring.  In the second photo you'll notice an area framed in over the entrance to the bedroom. I call that "the bridge", as it connects the port and starboard bedroom walls. The real purpose is to have a place to mount the indoor section of the wall-mounted heat pump, so it'll blow straight through the house. The final pic above shows the port side wall, framed up and ready for covering. 


The two pics above show the framework of the port side overhead cabinets. The doors will open by swing out and upward,  and have retaining mechanisms. This will make them less likely to become ajar from boat rocking and such. I am framing up a mid-mount refrigerator and microwave cabinet between this and the bedroom wall, that's why they don't go all the way to the bedroom. I'm cutting the interior shelf floor and sliding it in from the bedroom area first, so I'll all be in one piece. I added a 3/4" along the front so goods inside of the cabinet can fall out the front when the door is opened. The cable hanging out from under the cabinet is for a VHF marine and weather radio to be installed underneath the cabinet when finished.


Here, in the final photo, is another similar overhead cabinet, framed up on the starboard side of the boat. It extend from the bathroom wall, to the front wall near the entrance door. There will also be a one piece shelf floor installed through the bathroom wall, before the wall covering is installed. The cable hanging down is for a small TV to be installed under the cabinet. 


http://www.NCFISHY.net

Saturday, November 5, 2022

Pontoon Ride, Nov 5th...

 The weather was great today, so Deb and I grabbed a few things and headed to the lake to spend a little time on the pontoon boat. We fished a little, but mostly just enjoyed riding, a little warm breeze in our hair, and a great day on the water. Here's a few photos... 


Wednesday, November 2, 2022

Houseboat build, pg34...

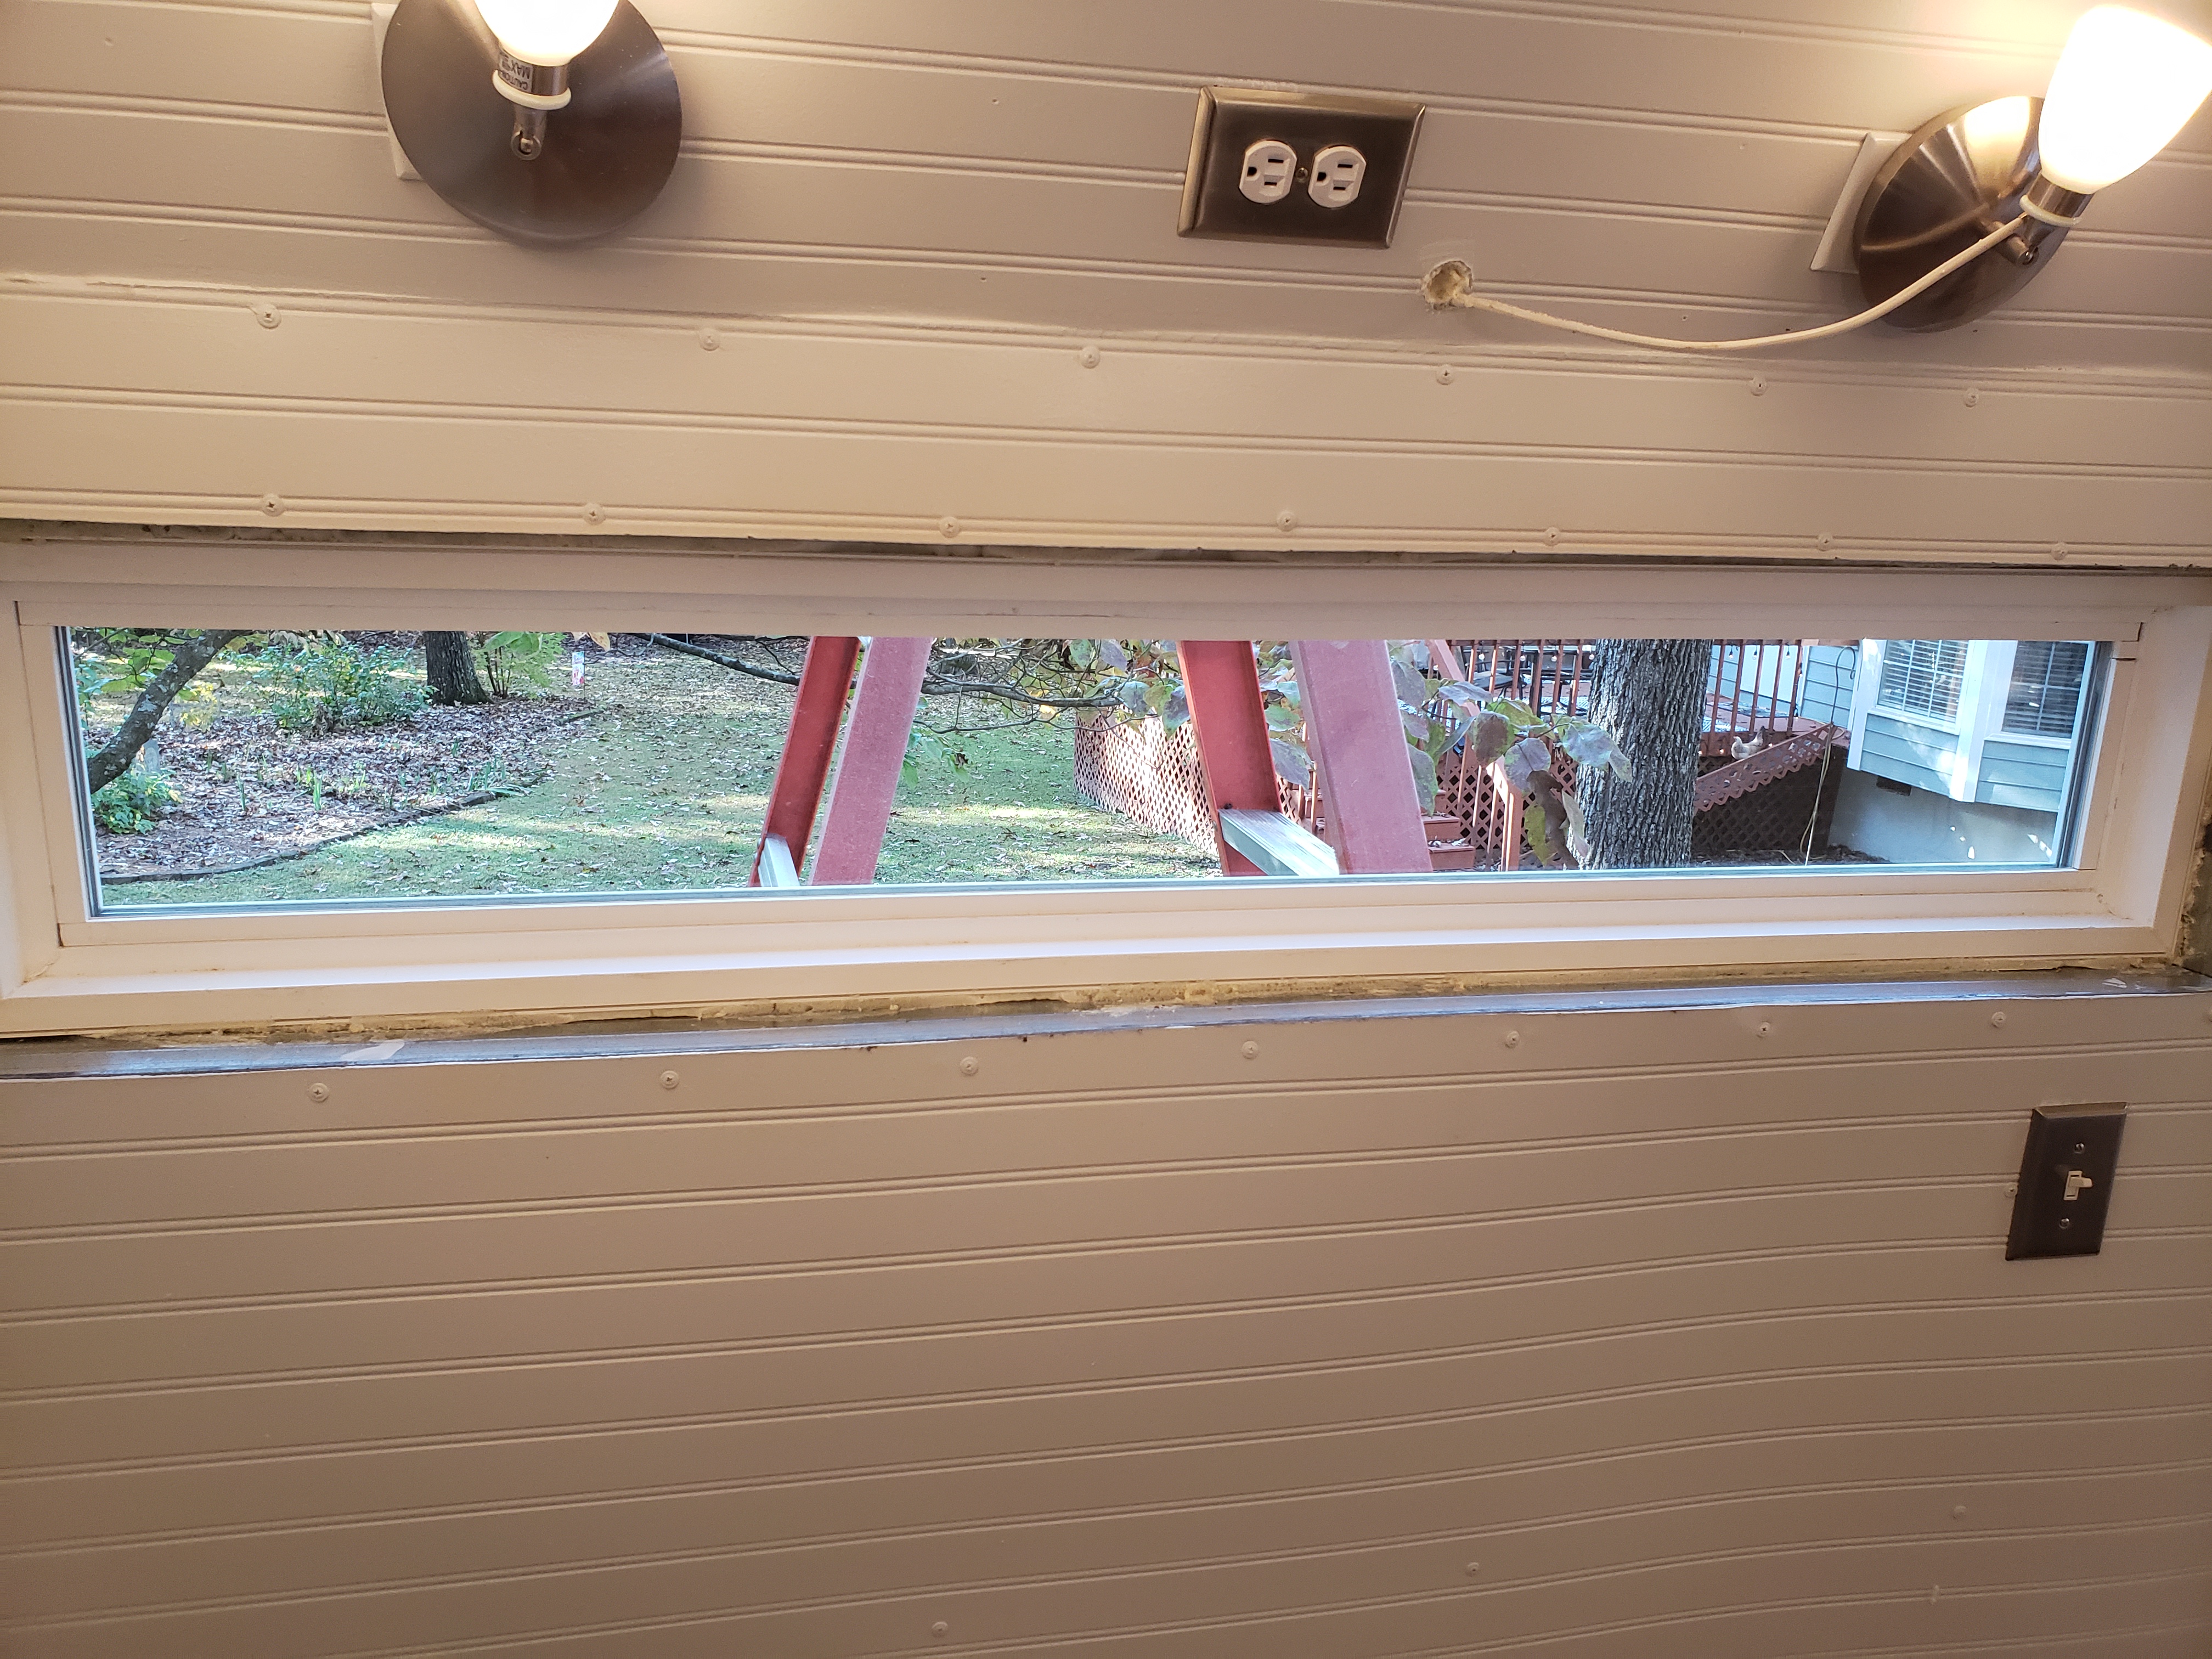
 We're excited, there's lots of stuff finally coming together! We replaced the broken glass in the port side transom window and got that mess cleaned up. I thought I broke it during installation, but when I disassembled it to install the new ($!00!!!) replacement glass, I found that some goober at the factory had filled the track of the supposedly floating window track with silicon adhesive...even plugging up the drain holes. I checked the others, and they weren't like that, so this must have been a "Monday " or "Friday" window... SMH. Doesn't matter how much something costs, these days... Get this, the replacement window they made and shipped to me (after about a month's wait), WAS NOT SQUARE!!! No joke, the glass was off about 1/8" from one end to the other. Sheesh.... I used the carbide saw and modified the frame, and got it installed. Sloppy work, but all's well that ends well, I guess.


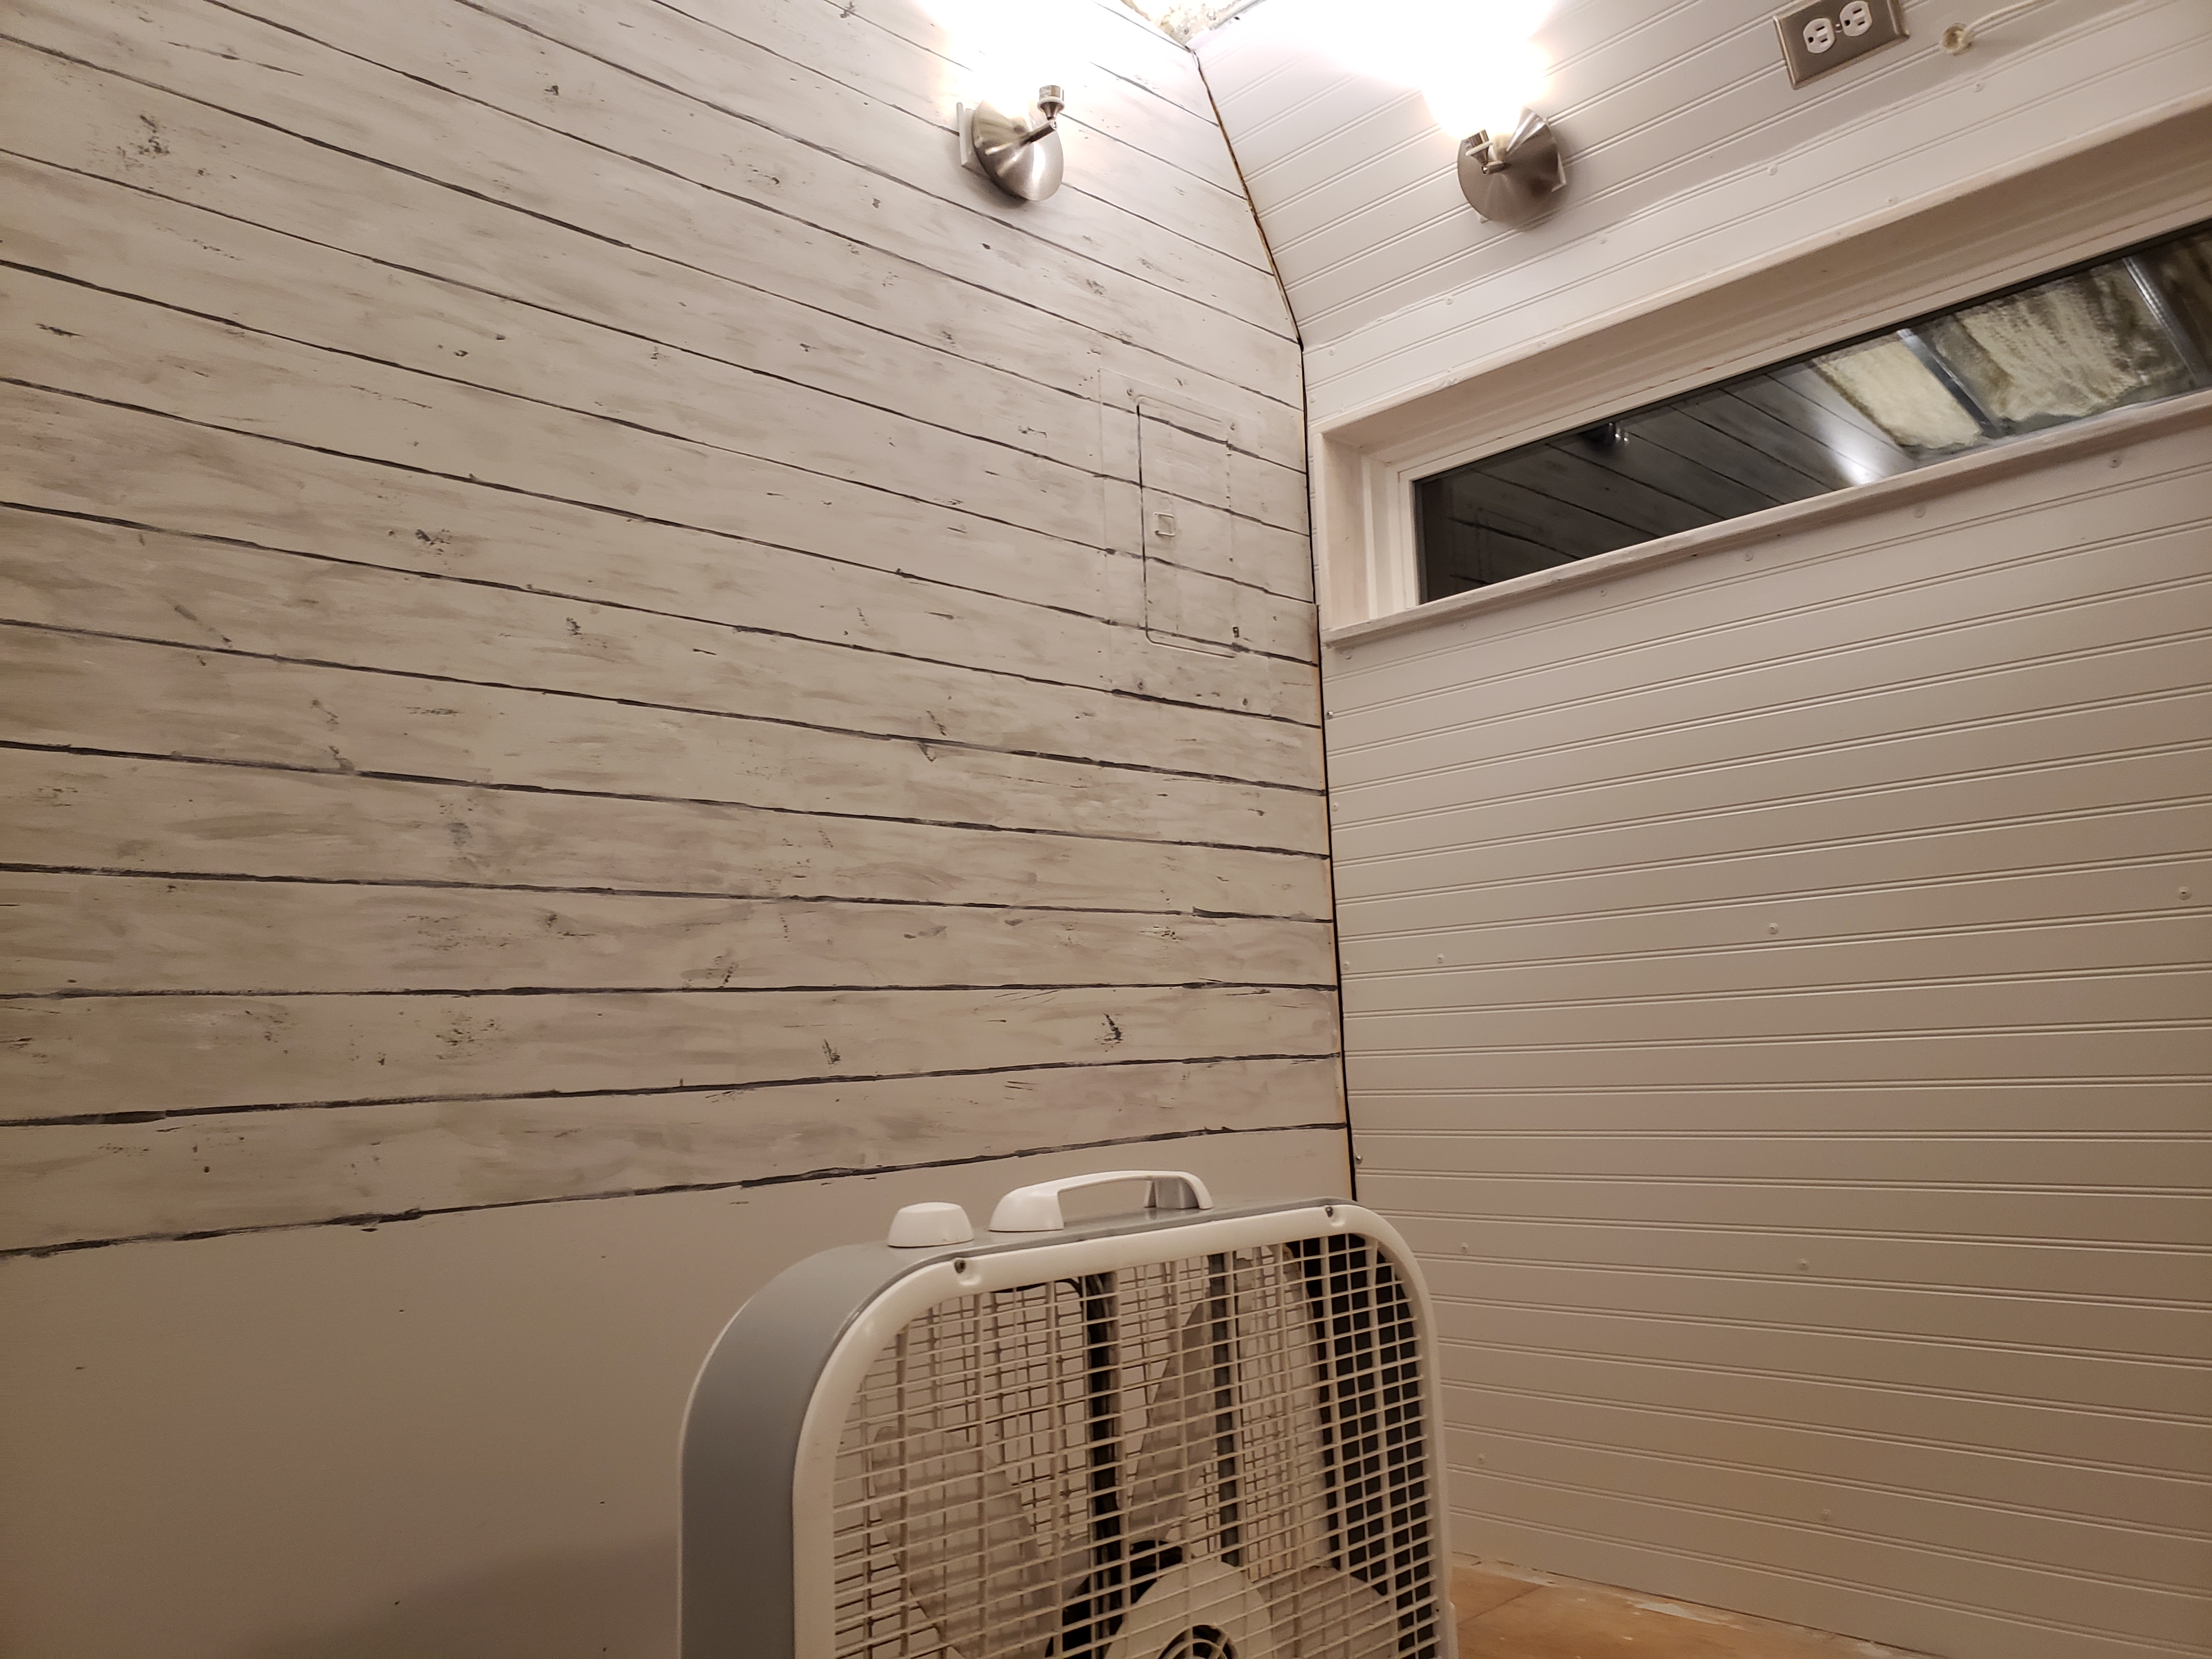
Debbie got the front wall painted with a couple of good coats of color, and we got all of the filling / caulking finished on that wall.


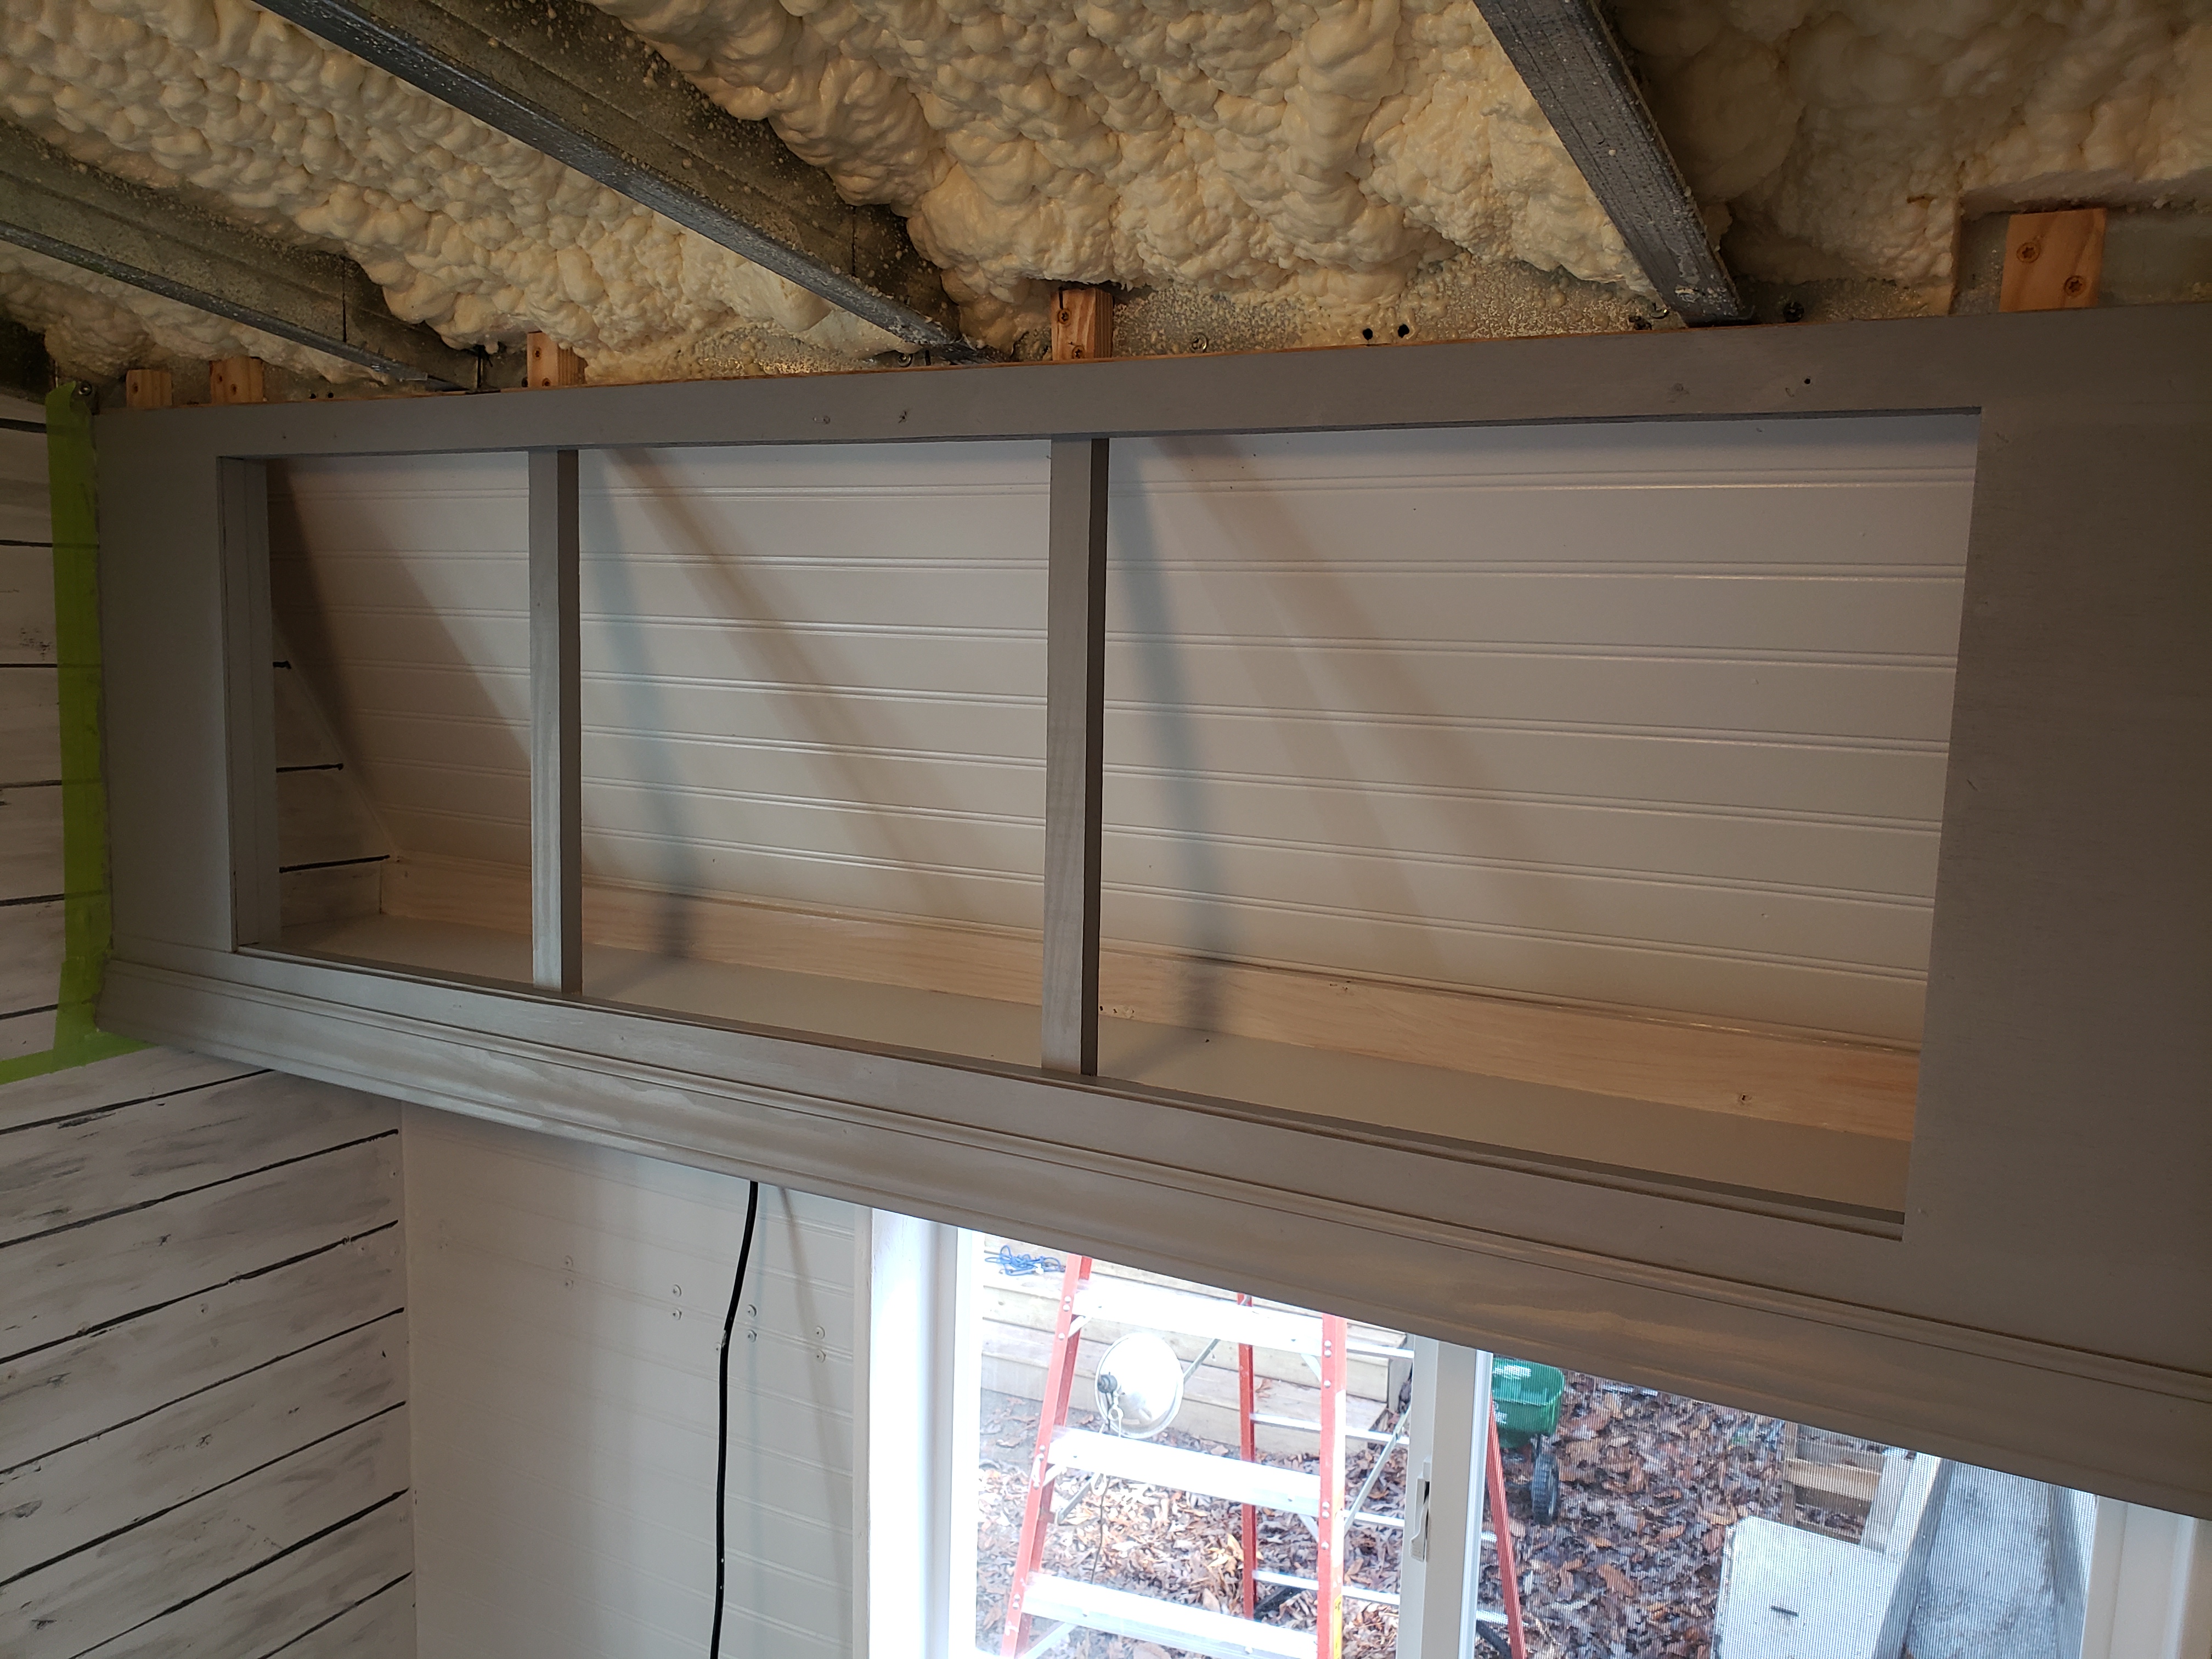
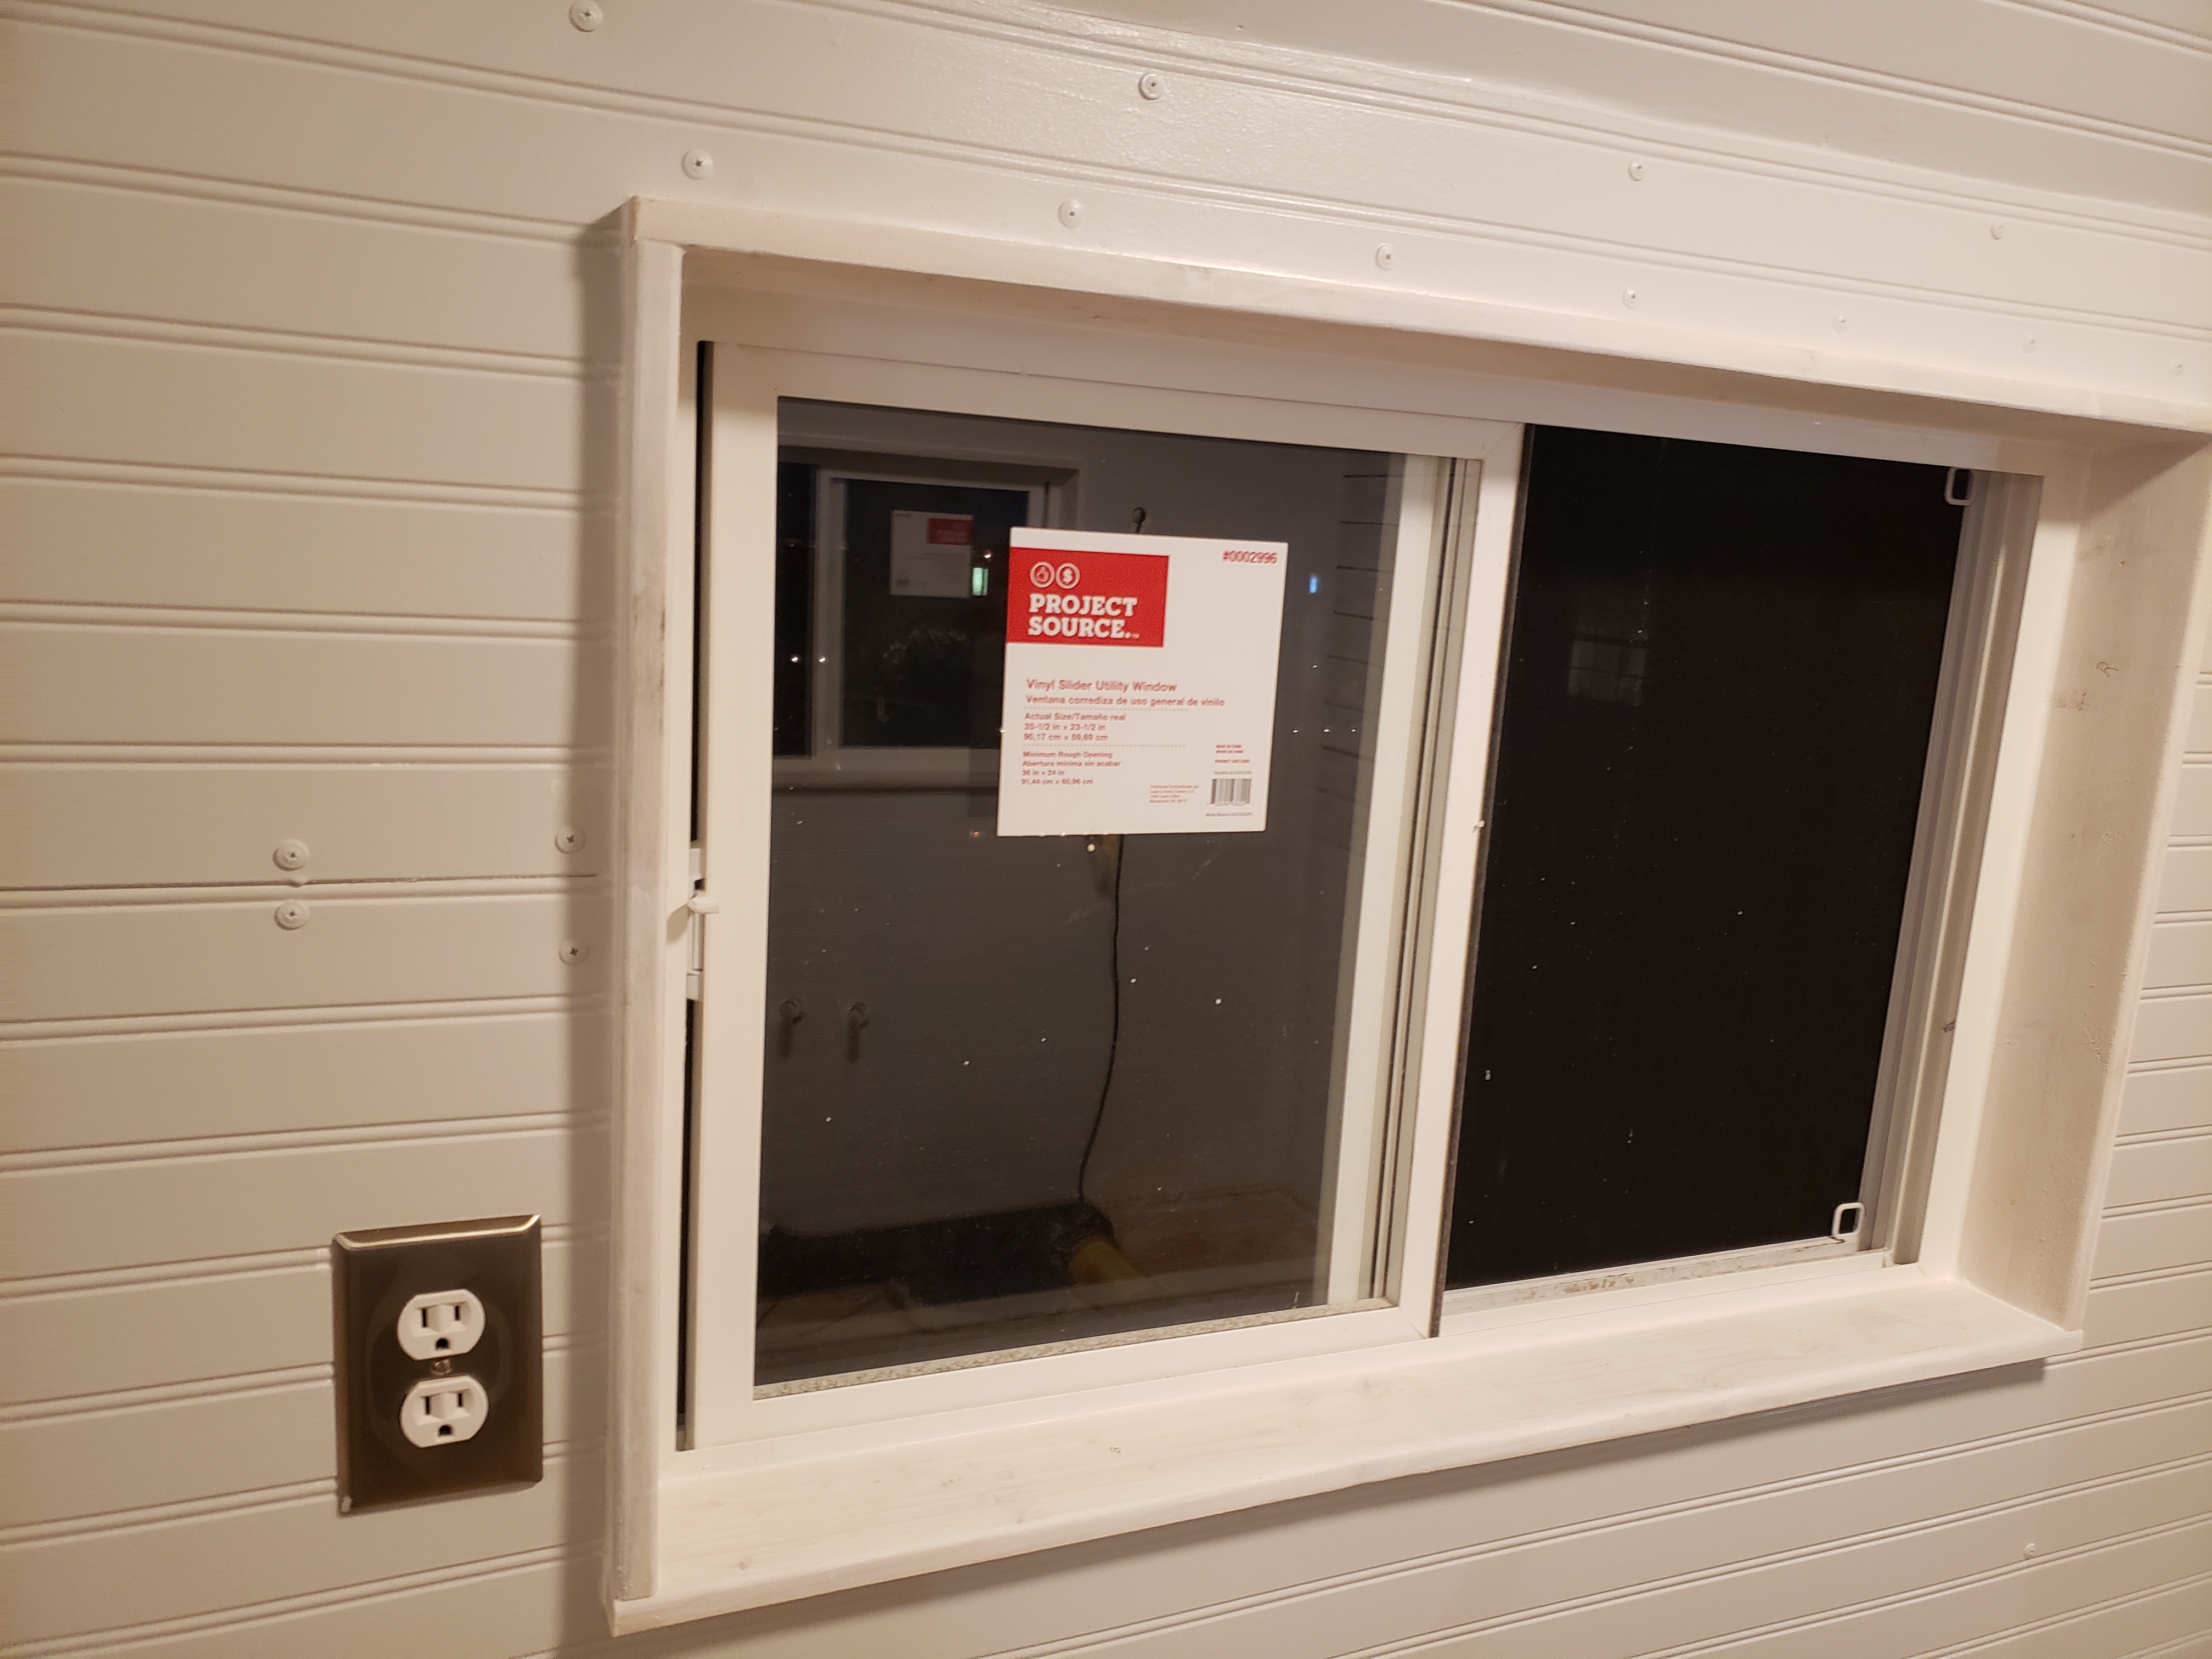
 Below are a batch of photos showing the window dressing I went with. I decided to trim the windows in what looks like "shadow box". It keeps it simple, kinda has a nautical "feel" to it, minimizes all of the trim required, and saves space. Several of these windows will literally have walls, counter tops, and couch tops bumping right up to the window dressing. It gives a larger "ledge" to lay your phone or other items on, as well. 


 Below are a couple of photos showing the front wall, after Debbie laid more art on it. She matched the front to the back, and it turned out great! Has a "ship lap" look, but is only a light weight 1/4" thick sheet of luan plywood. She decorated the wall down to the point on the LH (port) side where the couch / dining table seating will be built-in. We decided to extend the counter top on the RH (starboard)  side and eliminate the closet, since we'll have plenty of space for coats under the lift-up seat of the couch, so Debbie decorated that wall down to the point where the cabinet will build-in. 


http://www.NCFishy.net